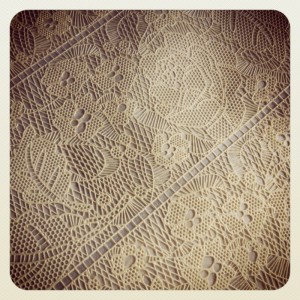
I promised you a Sugarveil how to back in June when I used it for my Sister’s Wedding Cake. So here it is….
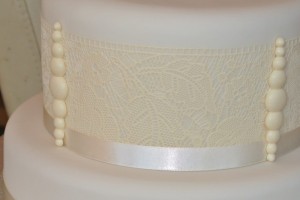
Sugarveil is an edible icing product that starts out liquid and using a special mat you can form flexible edible sheets of icing lace in various designs.
To get started you will need:
1. Sugarveil mix
2. Sugarveil spreader
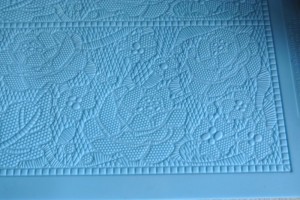
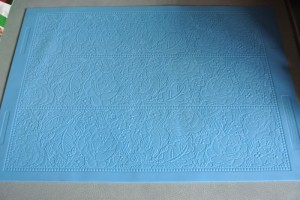
3. A Sugarveil mat with the design of your choice
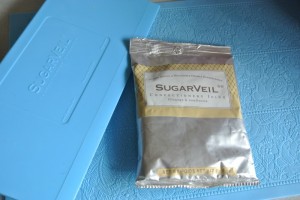

The kit is expensive, the mats alone are £49.99, I won’t fib. Plus you need to put in some practice before you’re a pro but I definitely think the results are worth it.
There are currently several mats available; Original Lace, Flower Net, Celebrations, Dot Veil and Rose Mantilla (the one I’m using). Click on the links for the mats on BakeMake.co.uk
Of the three the Rose Mantilla is the finest in detail and consequently the trickiest to work with (I wish I had known that when I set out instead of jumping in at the deep end!)
So here’s how it works.
I found using the 142g sachets for making up a batch was much more effective than measuring the powder out of a packet. That way any unused stays fresh. Sachets are £6.98 from MakeBake.co.uk and there’s a starter pack available too
Always check it’s in date, I used a pack that was slightly over and it just wouldn’t form the right consistency.
Mixing
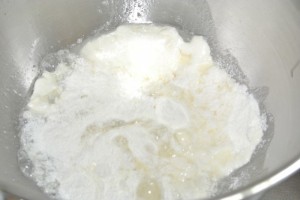
Empty one full 142g sachet into a large bowl or the bowl of your stand mixer.
Measure the water 120ml – it’s best to weigh it rather than measure in a jug. Spot on 120g.
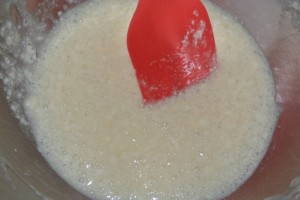
Add it to the powder and mix it with a spatula.
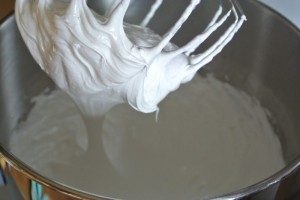
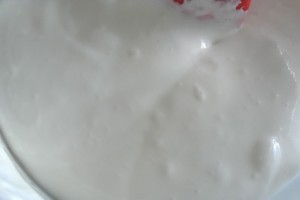
Now with your mixer on full speed, whisk it for a full 4 minutes.
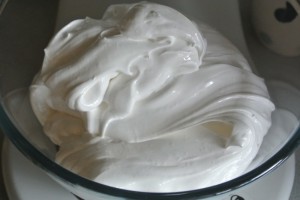
The consistency is a cross between royal icing and marshmallow before it sets (that’s if you’ve ever made it – if not why not? There’s a recipe here x)
Now transfer it to a bowl, cover with clingfilm. It needs to be left for 24 hours to develop. I actually found in practice 2 days developing and it’s much more effective)
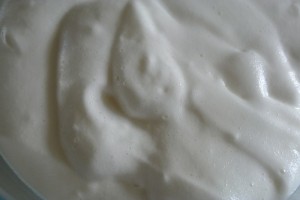
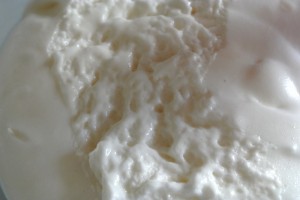
Once it’s developed it will be a very spongy foamy texture.
Beat it with a spatula for a full minute, knocking out the air bubbles and working it back to a smooth consistency.
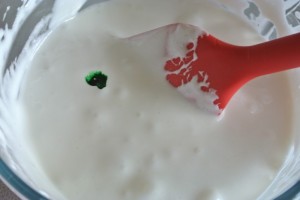
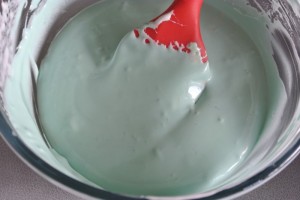
Now it’s time to colour it. Using cake decorating gel pastes. Add a small amount and beat it up until the colour is even.
Now a word of warning. Bear your cake design in mind. If you’re planning on matching a ribbon the the colour of your Sugarveil lace get the ribbon first and match the mixture to the right shade. The finished Sugarveil will be a shade darker than the liquid state. I have done it the wrong way round twice now and have spent frustrating trips around every ribbon stockist I know to get just the right shade. So save yourself the mither, ribbon first!
Something else to think about is matching the colour to a previous batch. Never use up all of your first batch of Sugarveil if you’re planning on making another. Always reserve a little of the mixture to match the colour of your next batch. Doing it from memory isn’t good, you’ll end up with sheets for one project that are in two different shades
Spreading
Now to fill the mat and create your sheet of lace.
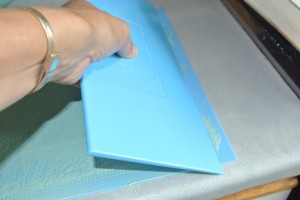
Lay your mat out flat on the work surface. Easiest way is to work with a silicone spatula to begin with.
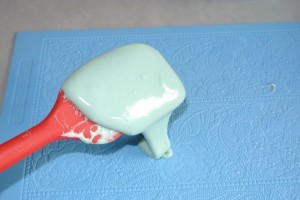
Add on a dollop of Sugarveil and begin to spread it across the mat with the spatula stretching it out working all over the mat. You don’t need a huge amount but add a little bit more if it just won’t stretch.
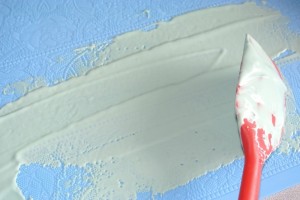
Now you can start to use the Sugarveil spreader. For now though you’re not scraping but think of it as pressing the mixture into the detail on the mat. If one spot is a little low use the excess that gathers on the spreader to redistribute it in the right place.
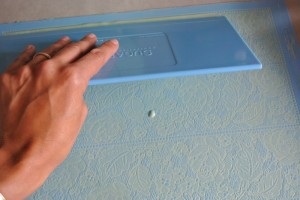
Work the Sugarveil into the design, all over building up the fill.
This should take you about 10 minutes!
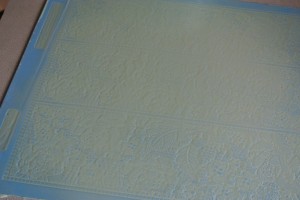
Now, starting from one short edge, holding the spreader at an angle pull it across the mat in a full sweep gently scraping off the excess and lift away at the end.
Now before you do anythingelse check the fill.
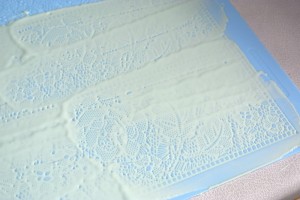
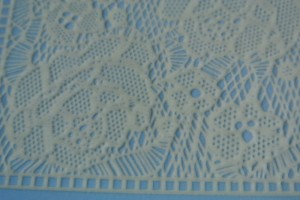
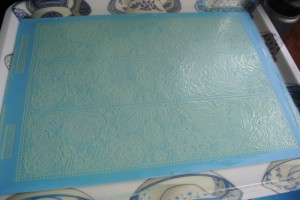
The detail on the mat should be full.
If there are pinprick holes it’s not full enough so rework the excess on the spreader into these areas.
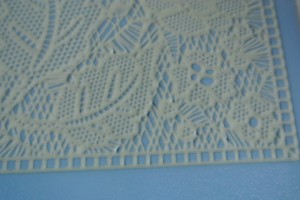
- See the tiny pinprick holes around the leaf?
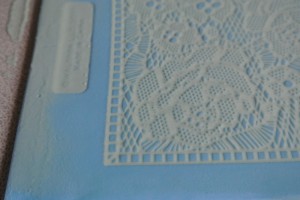
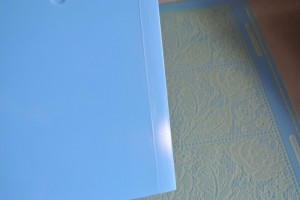
Pay attention to the very edges. The mat should be full at the edge – just like here
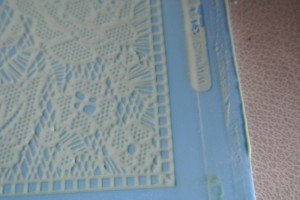
This side of the edging is still too low
It’s also important to get a feel for the pressure needed when scraping off the excess. The action should clear the Sugarveil from the non-filled areas of the mat but not pull out the Sugarveil from the detail. It’s worth spending the time getting this right. Reworking the Sugarveil and the fill of your mat.
Once you’re happy clean off the spreader. Washing it with warm water and drying fully.
Now for one last swipe across the mat to remove any last bits of excess.
Take a slightly damp cloth and clean the edges of the mat taking care not to touch the fill.
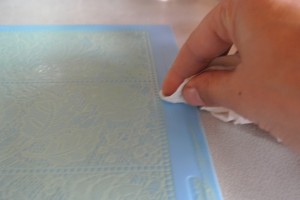
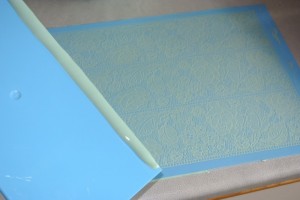
Now it needs to be set to dry out. Placing it on a large tray helps if you need to move it about at a later time.
Drying
So here’s the next tricky bit. Drying out the mat. It needs to go off so that it is completely non-sticky to the touch. Plan on 24 hours minimum but the UK weather really really affects the time it takes. Rainy weather is worst. Somewhere a little bit warm is best.
Okay, I never said it was easy!
I have found a warm kitchen windowsill is good, but not in direct sunlight.
I had best success when the central heating was on, otherwise the air is slightly too damp.
The manufacturers state that it can be dried in the oven on a low temp. When I tried it all I got was a sheet that cracked out of the mat – overdried.
Check it early evening, I found leaving it overnight again into the following day it would absorb more moisture and be tacky to the touch the following morning after being more or less dry the night before.
I have: moved it about all over to find the best drying spot and for me kitchen is best, I have put on the heating specifically to attempt to dry out a sheet that I’ve been waiting for for three days. You need to persevere to find your sweet spot. If you try taking it out of the mat while it’s still tacky you’ll end up in a sticky mess with a ripped sheet.
So it’s dry to the touch, and by flexing the mat you should be able to free a corner without it pulling out of shape. Now time for the next hurdle…getting it out!
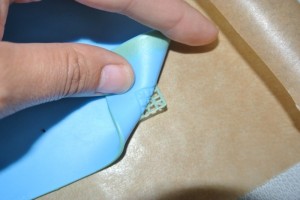
Click to go over to Part 2
Ruth Clemens, Baker Extraordinaire












7 Responses to Sugarveil – A How To… Part 1