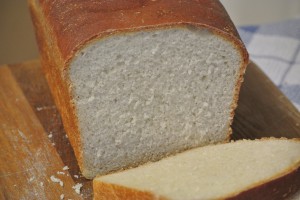
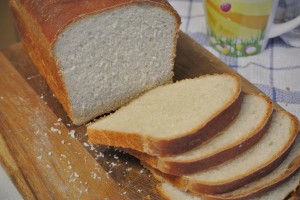
Taking it back to basics, baking is a simple as loaf of bread. But it’s only simple if you have a recipe that works. You know I’m not keen on the whole bread making thingy and that’s down to multiple failures – dough that finally springs into action after being in the bin for a day and a half! So here is my always works white loaf recipe x
From simple ingredients comes the magic of freshly baked homemade bread…
Makes 1 x 2lb loaf or 8 rolls.
Ingredients:
500g strong white bread flour
1 tsp caster sugar
1 tsp salt
2 tsp dried yeast or 1 sachet of fast action yeast
200ml water and 100ml milk combined, lukewarm.
First up – check the kind of yeast you are using if it’s not fast action it will need dissolving in the warm liquid rather than adding directly to the bowl. Fast action yeasts, commonly in sachets are fine to add to the dry mixture directly. Have a quick read of the packet just to be sure!
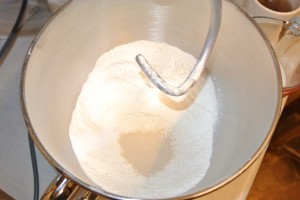
Add the flour, sugar, salt and yeast to a large bowl, or the bowl of a mixer if using. The dough can also be made in a bread maker on the basic loaf setting.
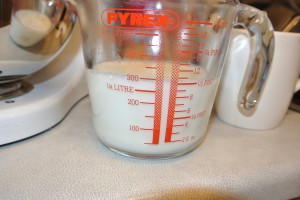
Measure out the liquids. For the right sort of temperature I add hot water from the kettle 200ml and then 100ml milk straight from the fridge. Saves the faffing around warming it up and works just right.
Check your liquid measurement again, just to double check it’s spot on 300ml and adjust if you need to (this is probably more for me than for you, I always think I have it right…and then I check – oops!)
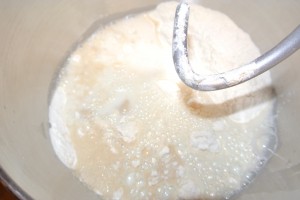
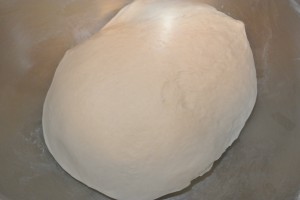
Add the liquid to the dry mix and bring the dough together, knead by hand for ten minutes, or do as I do and let the machine do the work for you, a total of ten minutes on medium speed- I’ve got some washing to be putting in!
If it’s in the stand mixer I’ve found it’s best to mix for five minutes, rest for five minutes and then back on for another five.
However you get there the dough should be nice and smooth after kneading. If it’s not smooth and elastic and is still tearing as you stretch it it needs more kneading (and you need bigger muscles!)
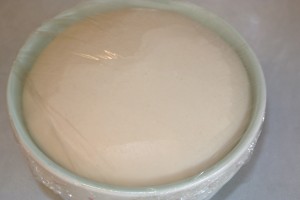
Prepare a bowl, a 2litre bowl is just right, I had a habit of using a big bowl to give the dough plenty of room but it prefers being a little bit snug and cosy. Lightly oil the bowl with veg or sunflower oil.
Add the dough and turn it to lightly coat it with the oil.
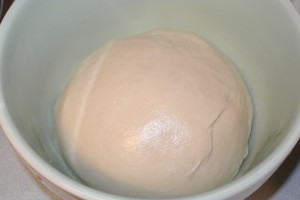 Cover with a clean tea towel or clingfilm and place it in a warm draught free spot for an hour or until doubled in size.
I’m a big fan of the airing cupboard for proving, my house must be quite draughty and this is the best spot.
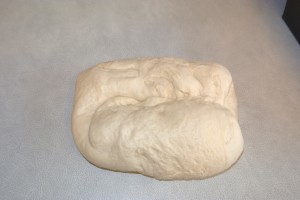
Once doubled in size tip the dough out of the bowl onto the worksurface. You shouldn’t need any flour on the worksurface, if you’re finding the dough sticky (it shouldn’t be if you double checked your liquid 😉 ) use a tablespoon of vegetable or sunflower oil instead of dusting flour to stop it from sticking to your hands.
Knead the dough gently for a couple of minutes and then start to shape your loaf.
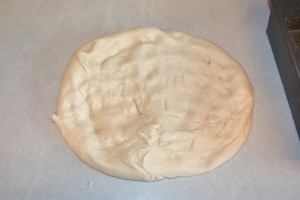
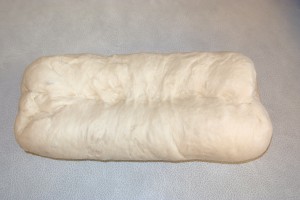
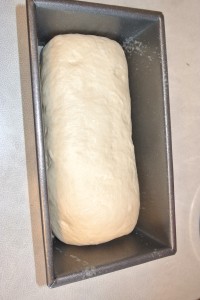
Giving the loaf a good spine will help you in getting a good rise. Flatten out the dough into a rectangle and fold the edges into the centre (rectanglish will do). Keep folding in the dough to the centre – this tightens up the shape and forms a good spine in the centre of the dough. Aim to keep the shape approximately the length of your tin.
Flip the dough over so that the seam is underneath.
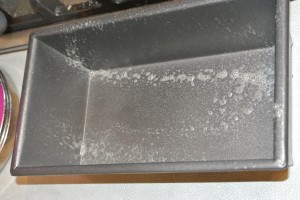
Lightly grease your loaf tin, cake release spray into action for me.
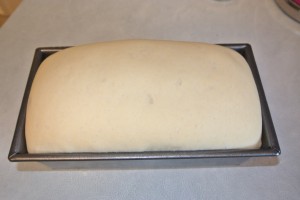
Place the dough into the tin, cover again and leave to rise in your warm spot for 45 minutes or until doubled in size.
Preheat the oven to 200c (fan)/220c/Gas Mark 6.
Once your loaf is ready for baking place it into the oven and straight away turn down the heat to 180c (fan)/200c/Gas Mark 5.
Bake for 35-40 minutes. Keep an eye on the crust and depending on how dark or light you like it you can cover it with a piece of baking paper after 20 minutes if it’s getting to dark.
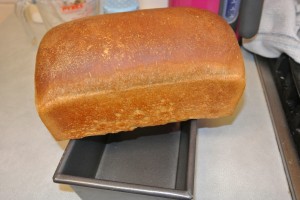
Once baked flip it straight out of the tin and allow to cool on a wire rack, leaving bread to cool in the tin will make it sweat so always tip it out. The bread should sound hollow when you tap the base of it. If it’s a dull noise it is slightly underbaked and should go back in the oven for a further five minutes.
Homemade bread doesn’t keep half as well as shop bought, about two days, because it doesn’t contain all those additives 🙂 but can easily be frozen as soon as it is cooled.
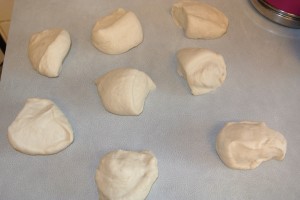
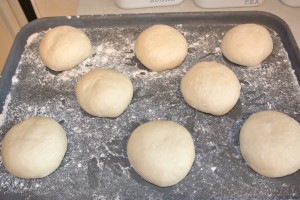
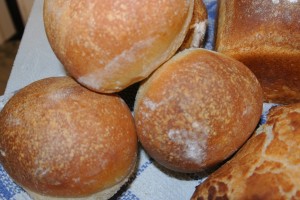
The dough can also be made into rolls if that’s what you’re after. Split the dough into eight after the first rise and shape into rolls. Again creating a spine is really important to get them to rise upwards instead of outwards, especially as they don’t have the tin to contain them.
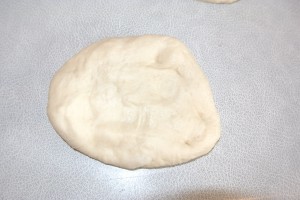
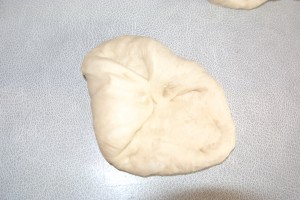
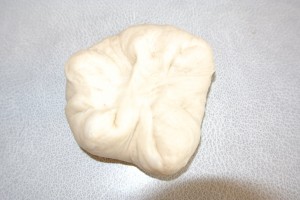
Flatten each piece and fold in to the centre, repeat, repeat, repeat!
Flip them over so the seam is underneath and make a cage from your fingers. Move your hand in a circular motion keep your fingertips on the worksurface – this should round the balls nicely for you.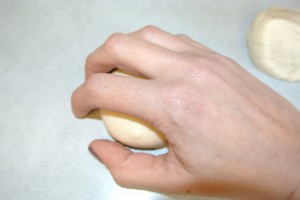 Place the rolls onto a greased or floured baking tray spaced apart. Cover with a clean tea towel and bob them somewhere warm to rise until doubled in size.
Rolls will need to bake for 15-20 minutes.
Tin Tips: A 2lb loaf tin will come in various shapes, a good way to check your tin is to measure the volume by filling with water. A 2lb loaf tin should hold 1.5 litres to the brim.
How to make a basic White Loaf
Ruth Clemens, Baker Extraordinaire





Pingback: Tiger Bread or should that be Giraffe Bread? | Baking, Recipes and Tutorials - The Pink Whisk
Pingback: Tiger Bread or should that be Giraffe Bread? | Baking, Recipes and … | freebakingclassonline.info