Yes it’s completely chocolate!
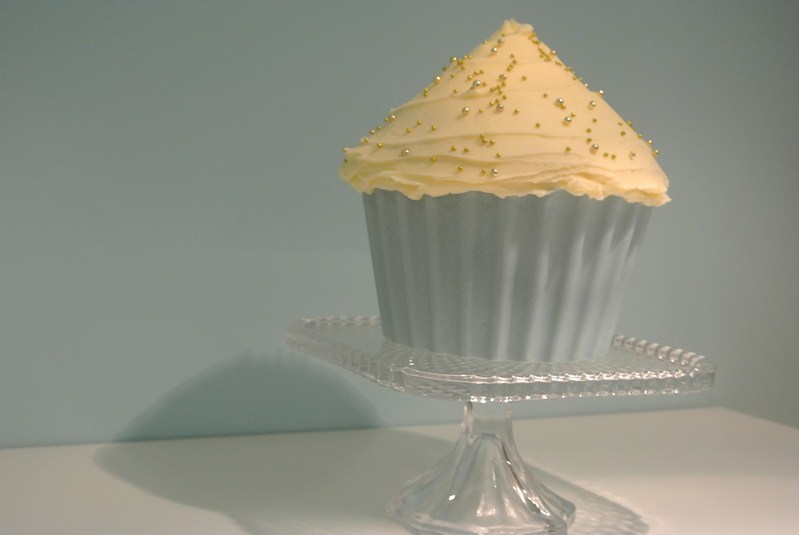
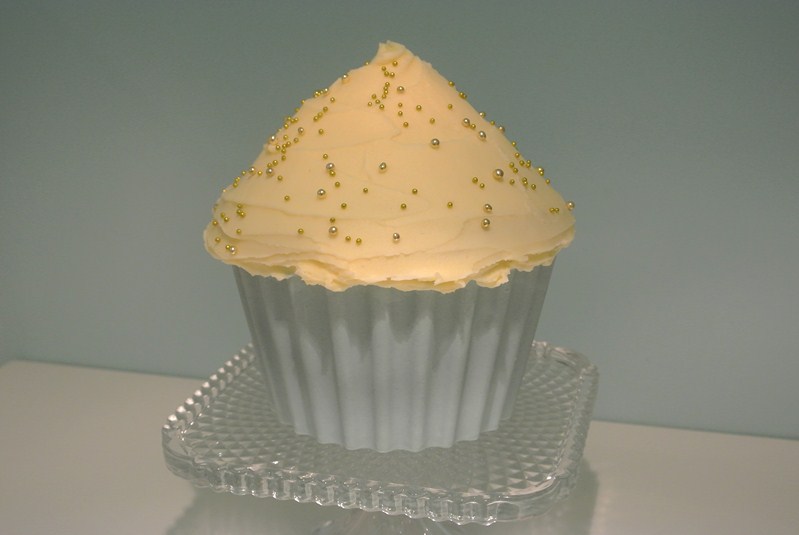
How about sitting your Giant Cupcake Cake in this?!
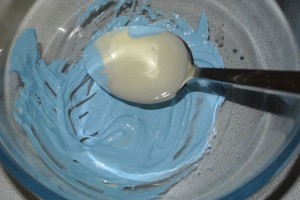
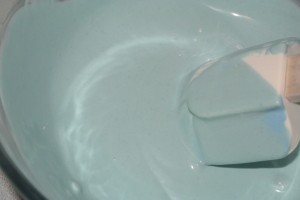
To make a Giant Cupcake base chocolate shell you will need 400g of chocolate, white dark or milk. My photos show a blue chocolate shell as it’s easier to see in the photos – tips of colouring white chocolate are at the end of the post.
Work with 150g of chocolate to begin with and melt gently.
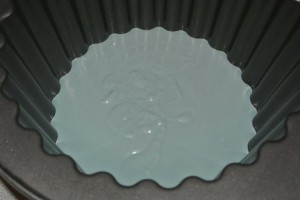
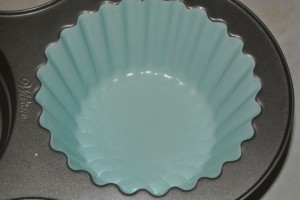
Pour it into the base of the clean dry Giant Cupcake tin.
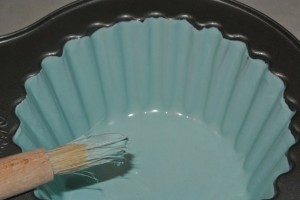
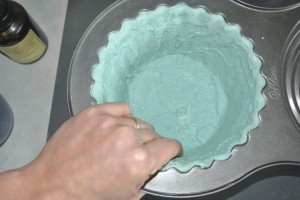
Gently turn the tin so that the chocolate swirls and coats the inside of the tin completely.
Use a pastry brush to help if you need to.
Set the shell somewhere cool, but ideally not the fridge to allow the first coat to set.
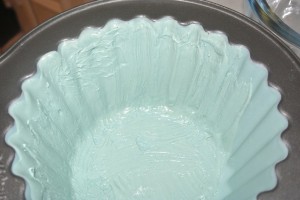
Once that’s set melt another 150g of chocolate and pour it into the set shell.
Use a pastry brush to recoat the first layer completely and then allow to set again.
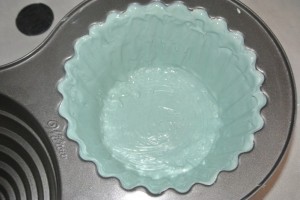
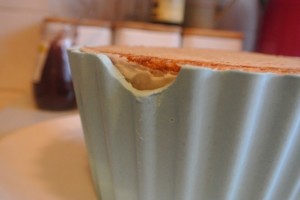
Finally repeat with the final 100g of chocolate. Pay attention to the very top edge using the pastry brush to lift the chocolate right up to the top trying to keep the chocolate even across the shell.
Set aside to set fully.
Once it’s set completely it’s time to get it out.
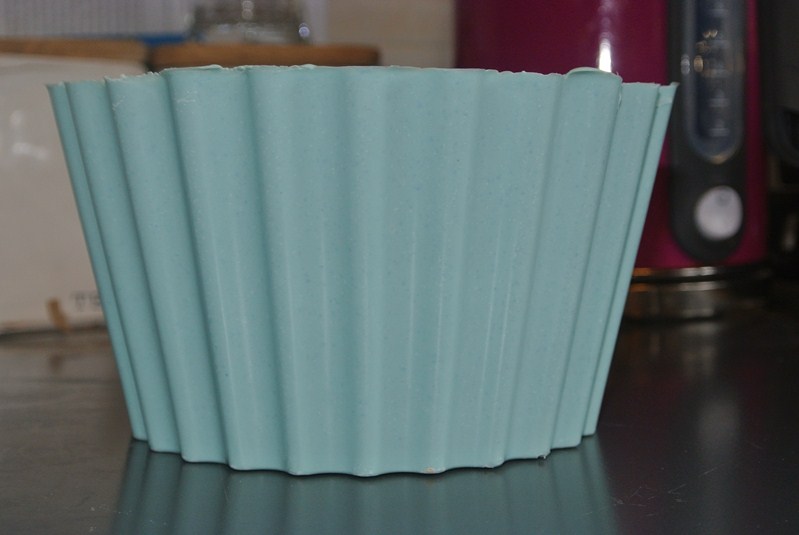
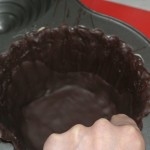
Much easier than you may think. Insert the fingers of one hand into the shell and apply pressure on the shell upwards and towards the side of the tin. You should feel a sharp pop as the shell releases.
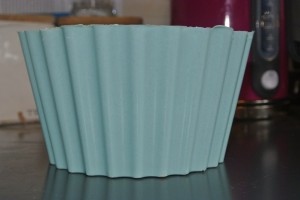
Carefully remove the shell from the tin.
Ta Dah – one expertly made chocolate shell.
You can trim the top edge very neatly with a sharp warmed knife. The base of the Giant Cupcake cake will have to be trimmed down with a sharp serrated knife to fit inside. Just taking off the ridges around the side will have it just the right size for you.
Just don’t put it next to the hot kettle – doh!
Top Tips:
Dark chocolate is much more forgiving to work with than milk and white.
Avoid subjecting your chocolate to extremes of temperature – melt it gently gently and cool it at room temperature avoiding the fridge if at all possible. Both heat and cold can cause the chocolate to bloom when finished, putting you right back to square one.
If you can’t get your shell out of the tin. First check that your shell is thick enough, it really does need to be made with the full 400g amount of chocolate and should pop out easily. If it doesn’t pop the whole lot in the freezer for a couple of minutes and then try again. A gentle squeeze upwards and to the side of the tin with the fingers of one hand should just release it.
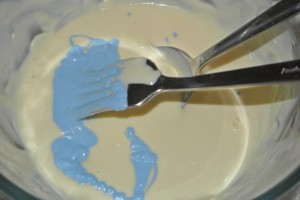
White chocolate can be coloured using food dusts, don’t use gel paste colours they will cause the chocolate to seize. To colour with food dusts remember that white chocolate is actually fairly yellow. Rather than choosing a dust that is the shade that you want choose one much darker then you won’t have to use as much.
Sift the food dust first as it tends to clump together in the pot a fair bit. Place the dust in a small bowl and add a good couple of spoonfuls of melted chocolate.
Work out any specks of dust in the chocolate with a spatula, paddling it against the side of the bowl. This bit is super important, if you don’t get rid of them now the finished shell will have a speckled effect.
Now add this coloured chocolate back to the rest of the melted chocolate. Repeat until you have the right shade.
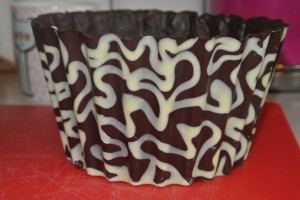
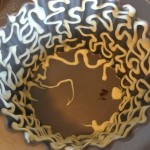
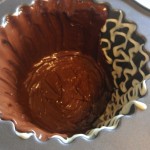
Create a squiggly white and dark chocolate shell by piping in slightly cooled (so it doesn’t run everywhere) white chocolate in squiggles. Set the white and then create a dark shell around it using 400g of dark chocolate.
You’ll be turning out Chocolate Shells in no time!

Ruth Clemens, Baker Extraordinaire
Meet me down the aisles of The Pink Whisk Shop – for all sorts of cake decorating and baking delights!
 " width="477" height="261" border="0">












Pingback: Giant Cupcakes – Tips & Ideas | Baking, Recipes and Tutorials - The Pink Whisk
Pingback: Giant Mocha Pound Cake with Ganache and Chocolate Buttercream | Clogs