This is a lovely project to make for gifts – Individual Chocolate Christmas Cakes. Waitrose is heading a #BakeItForward campaign, something lots of us do for Christmas – creating something special for friends. I’m sending some of my individual cakes to Helen at Casa Costello and Jenny at Mummy Makes Cakes – lovely cakey friends with great blogs that I met up with recently.
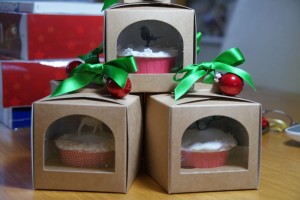
Baked in baking cups from Iced Jems, decorated with retro Christmas decorations and packaged to perfection in boxes and bags from Elite Packaging Company.
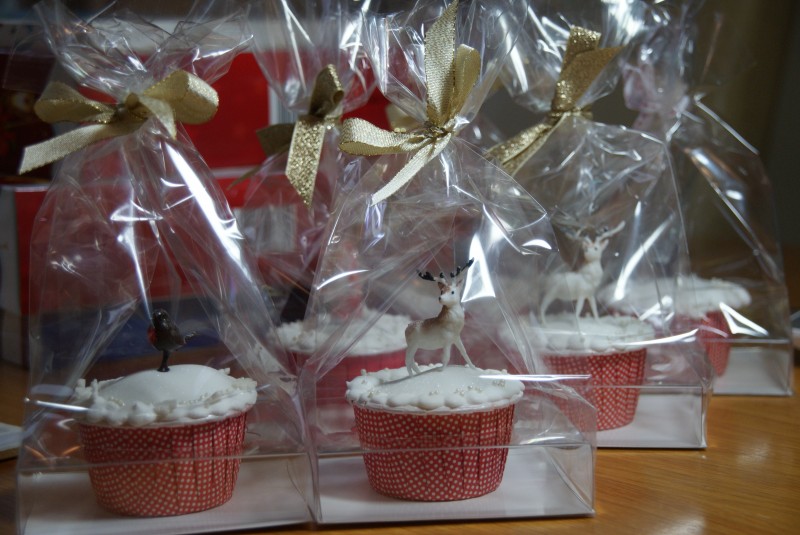
 The 8” cake recipe makes plenty – approx. 24 so only make a full batch if you need plenty or are gifting them to a Christmas Fair! You could also make a smaller 5 or 6” cake and using the remaining mixture for these cupcake sized cakes.
You will need:
1 x Chocolate Christmas Cake mixture – recipe here
Festive Baking Cups (Iced Jems) or silicone cupcake cases
Retro Christmas decorations
Marzipan
White sugarpaste
Royal Icing
Christmas snowflake and pearl sprinkles
A dusting of icing sugar
Boxes and bags from Elite Packaging Company
Make up the Christmas cake mixture following the recipe here. Preheat the oven to 130c(fan)/150c/Gas Mark 1.
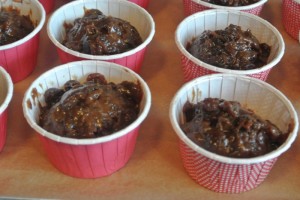
Line up your baking cups on a baking tray and fill each 2/3rds full, gently level the mixture with the back of a spoon.
Bake them in the oven for 50 minutes to 1 hour until a skewer when inserted comes away clean.
Set them onto a wire rack to cool.
Once they’ve cooled its time to decorate.
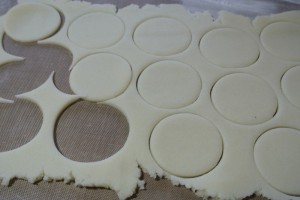
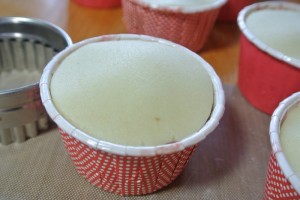
Using a round cutter cut out discs of marzipan to fit the tops of your cakes. The cakes are moist on top so you should just be able to press them into position without the need to brush on any apricot jam.
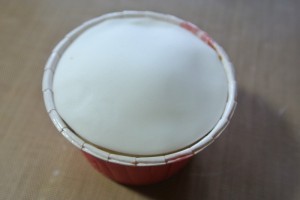
Now you will need discs of sugarpaste, you may need to use a slightly larger circle cutter than the one you used for the marzipan – see what fits your cakes best
Lightly moisten the marzipan with a brush of clear alcohol (gin, vodka etc) and place the sugarpaste disc into position. Smooth it with your fingertips and the heel of your hand until it looks even.
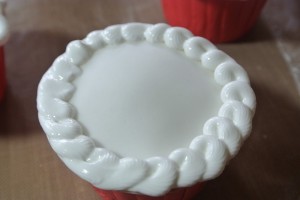
Mix up some royal icing from the packet but add the water just a little at a time to prevent it from being too runny. Add it to a piping bag with a small star type nozzle.
Pipe the royal icing around the edge of the sugarpaste sealing the cake into the baking cup.
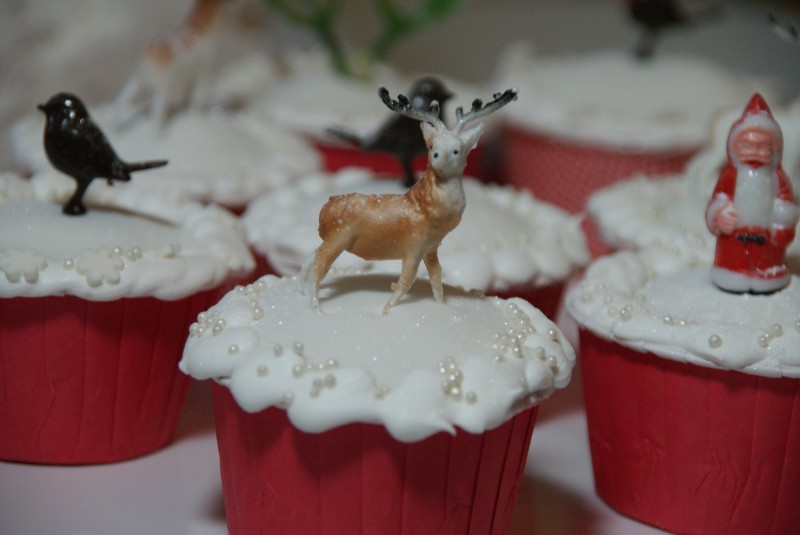
Sprinkle the wet royal icing with some Christmassy sprinkles – snowflakes and tiny pearls for me!
Add a retro Christmas decoration to the centre of each cake.
These single cupcake bags and boxes from Elite Packagaing Company have made the presentation perfect – all ready to give as gifts!
Ruth Clemens, Baker Extraordinaire
 " width="477" height="261" border="0">

















Pingback: Day 4 – Chocolate Christmas Cake | Baking, Recipes and Tutorials - The Pink Whisk