Posts by The Pink Whisk:
Exciting Times for The Pink Whisk
October 2nd, 2012First up I’m sorry I’ve not been about quite so much -trying to manage everything (and the boys as well) has been keeping me working like the clappers!
So where have I been…..? Working on this, for you lovely lot!
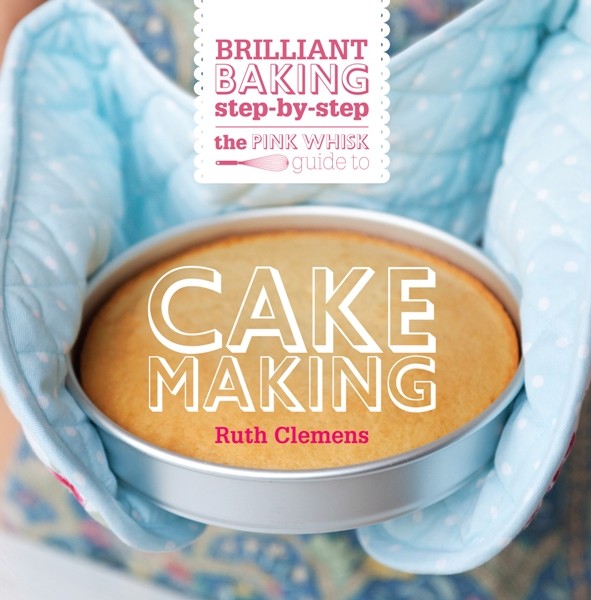
A new book for spring next year!
It’s the book I held out to write. Finished shots of every recipe, step by step pictures to help you along the way and recipe methods that give you full details. Even if you never wanted to bake a single one of the recipes in the book just reading through the methods and tips will make all of your cake-making even better. Read the rest of this entry “
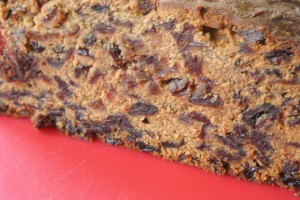
Time to Start Your Christmas Cake
September 17th, 2012Oh yes, really it is!
Now’s the time to prep your dried fruit and set it soaking. In six weeks time it will be perfect to bake your cake with.
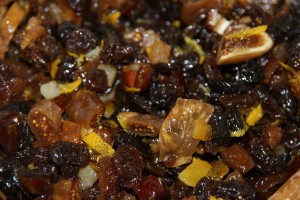
Of course if you’ve baked your Christmas cake with me before there’s the trusty original ‘Boozy Fruit’ soak. This year I’ve come up with another two more versions for you to choose from, one uses different fruits for a different slightly tangier taste the ‘Jewelled Boozy Fruit’ version
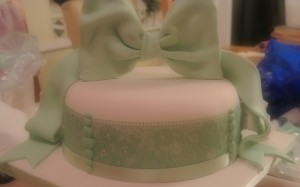
Making a Bow Topper and Ribbon Tails
September 4th, 2012I thought it would be useful to show you how to make an oversized bow topper and tails for a cake. It needs a bit of forward planning for the drying out stage but looks super impressive, especially on a tiered cake. This sizes given for the bow are proportional for an 8″ round cake but can be scaled up or down depending on the size of your cake.
You will need:
A covered cake (obviously)
A cake tin the same size as the cake.
2 x plastic cake dowels (Cake Dowels – Amazon)
Cocktail stick – cut in half
Sharp knife
200g Sugarpaste
200g Gum paste/Sugar Florists Paste (I like Satin Ice Gum Paste or the Squires Kitchen Sugar Florists Paste) Read the rest of this entry “
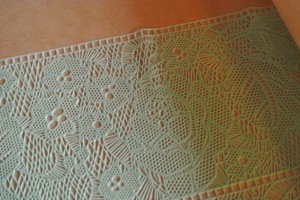
How to use Sugarveil Sheets
September 4th, 2012The possibilities are endless. Here are my tips for cutting, working and applying sugarveil to your cakes.
So you now have a sheet of Sugarveil and you want to use it on a cake.
Plan out your design, for simplicity I’m wrapping the collar of a cake with Sugarveil.
I have an 8″ cake that is already covered with sugarpaste set on it’s own cake board. Applying Sugarveil is easiest to a cake that has already been covered and dried out for 24 hours so that the surface of the sugarpaste is dry.
One sheet of Sugarveil is 35cm long so the only cake you could wrap it around in one complete piece is a 4″ cake (tidgy tiny) Read the rest of this entry “
Sugarveil – A How To… Part 1
August 24th, 2012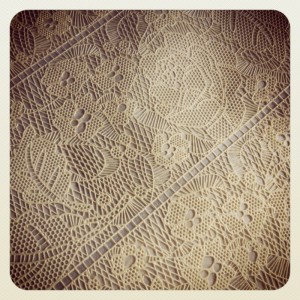
I promised you a Sugarveil how to back in June when I used it for my Sister’s Wedding Cake. So here it is….
Sugarveil is an edible icing product that starts out liquid and using a special mat you can form flexible edible sheets of icing lace in various designs.
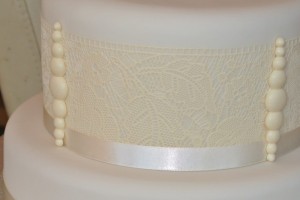
To get started you will need: Read the rest of this entry “
Sugarveil – A How To… Part 2
August 24th, 2012Removing from the Mat
First up lay a sheet of non-stick baking paper just over twice the size of the mat on the worksurface. I have done it directly onto the worktop which resulted in the sheet sticking to it like glue, after all that hard work you don’t need that!
Flip the mat Sugarveil down onto the paper.
Gently release one short edge of the Sugarveil about 1 cm. Read the rest of this entry “
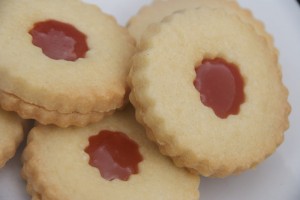
Jammy Dodgers
August 9th, 2012Real Jammy Dodgers – with the chewy raspberry caramel filling. Yes I know you can just sandwich them with jam but that’s not quite the same is it? Fill these with raspberry caramel and you’ll be in Jammy Dodger heaven!
Ingredients:
220g butter
110g caster sugar
1 tsp vanilla extract
340g plain flour
Raspberry Caramel (recipe here)
Makes 18. Read the rest of this entry “
Raspberry Caramel
August 9th, 2012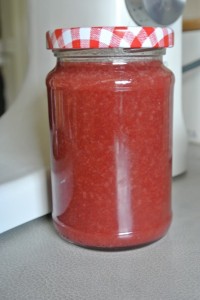
– think of the endless possibilities – drizzled over icecream, profiteroles, Jammy Dodgers , eaten from the spoon (did I really just say that?!) This raspberry caramel is completely delicious!
Ingredients:
300g caster sugar
75ml water
120g raspberries
approx 75ml double cream
100g butter
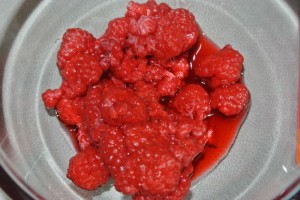
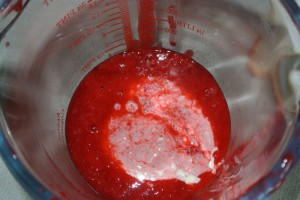
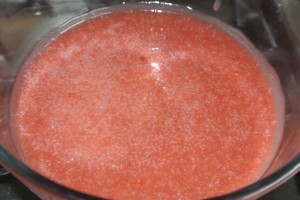
Start off with the raspberries – Fresh ones I’ve found will give you more puree and the reddest colour caramel but frozen ones aren’t bad either if that’s all you have.
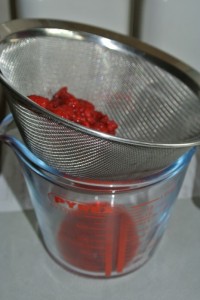
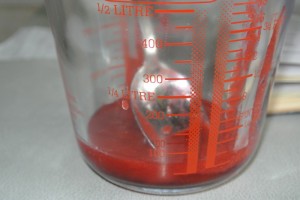
Push them through a sieve with the back of a spoon to puree them and discard the seeds. It helps if you squish them directly into a jug.
(This batch uses frozen ones which is why they look super squishy)
Now add in enough double cream to make it up to 140ml in total.
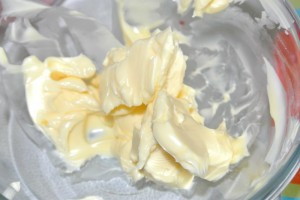
Measure out the butter into a small bowl – make sure it’s nice and soft.
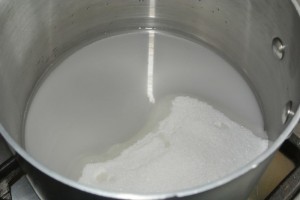
Keep the raspberry cream and butter to one side and get yourself a big pan. Add in the caster sugar and water.
Heat it over a gentle heat – you can stir it gently at this point so that the sugar and water are evenly mixed. As it starts to warm up you’ll see sugar crystals up the side of the pan. Dip a pastry brush in water and wash these down back into the sugar syrup. These little blighters can cause the caramel to recrystallise later so it’s best to get rid of them now.
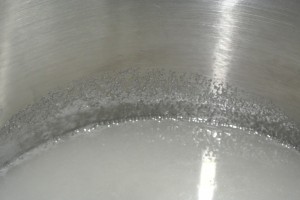
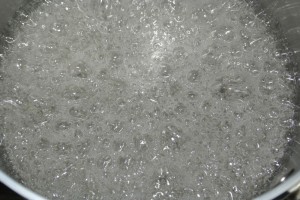
After about five minutes the syrup will go from cloudy to clear as the sugar dissolves and start to boil.
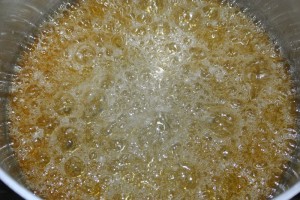
After another five minutes the colour will start to change to a caramel colour.
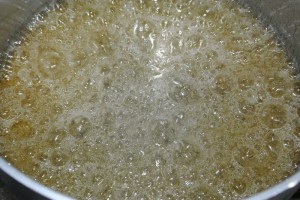 Keep going (about another two mins) until the colour deepens – but watch it carefully it doesn’t want to get too dark or it will taste burnt and horrible!
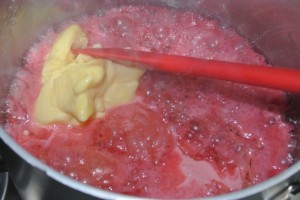
Take it off the heat and straight away pour in the raspberry cream and the the butter. It will puff and spit so please be careful!
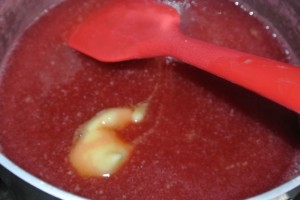
As it subsides stir it in until it’s even and the butter has melted.
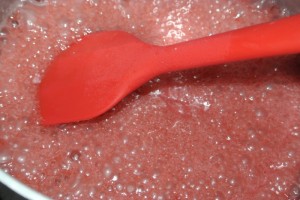
Now back on the heat and bring it up to the boil again stirring constantly this time boil it for two minutes.
Take it off the heat and transfer it to a clean bowl and allow to cool and set.
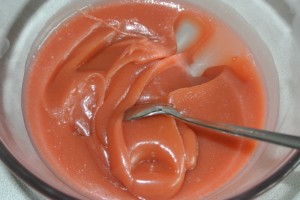
Once set you should have a fab thick raspberry caramel.
It will keep in an airtight container for 3 weeks in the fridge – use whatever you need and transfer the rest to a jam jar (it helps if you warm the caramel to make it pourable!)
Ruth Clemens, Baker Extraordinaire
Arctic Roll
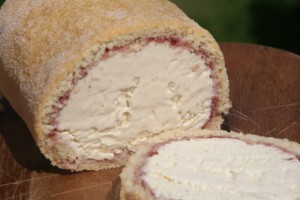
July 26th, 2012Remember these? Memories of childhood tea times, if Arctic Roll was served up in our house it was a great day – I was obviously easily pleased! A chance twitter conversation with Jenni Baden Howard from nonstopmama.com set me off thinking about making my own. Now I have to admit that this Arctic Roll probably cost me about four quid to make, I’m sure they’re only £1 from the freezer cabinet but we all know that’s not the point is it?!
So if you fancy making your own (most definitely not cost effective but definitely most satisfying) Arctic Roll then here’s how! Read the rest of this entry “
Rhubarb Pie and a Spot of Pie Art!
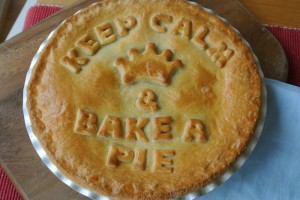
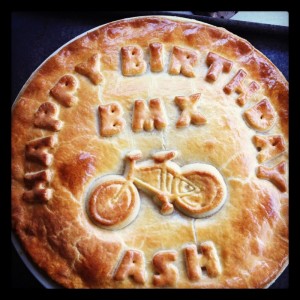
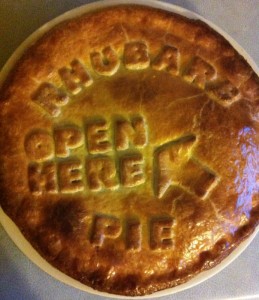
July 5th, 2012This recipe is for a ‘Pie Art’ Pie allowing a little extra pastry for decoration. If you struggle with pastry then the addition of an egg yolk as part of the liquid to combine it is a brilliant addition. It makes the pastry so much easier to work with, it’s far less likely to become overworked and elasticky, it’s a breeze to roll out and it doesn’t crack and fall apart! Of course the decoration is up to you, check out your cookie cutters for inspiration – raid the children’s playdoh cutters (just give them a good wash first!)
These mad pies all came about because my children have allegedly been over-exposed to cake. If asked what they’d like for their birthday bake the response is now often ‘pie please’ I suspect that it’s just for the custard.
If you fancy giving rhubarb pie a try here’s my recipe and how I do the ‘Pie Art’ bit too. Read the rest of this entry “

