Posts by The Pink Whisk:
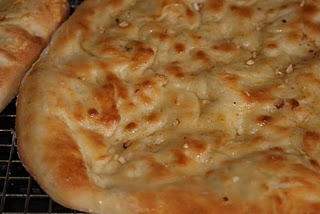
Ultimate Pizza Dough
August 12th, 2011or ‘the boys make pizza’
Ingredients:
450g strong white plain flour
½ tsp garlic powder
½ tsp onion salt
2 tsp sugar
2 tbsp sunflower oil
1 ½ tsp dried active yeast
300ml warm water
Makes two medium pizza bases or garlic bread.
Okay so you can make it by hand, I’m not going to, that’s what the mixer/breadmaker is for surely? Plus four boys nipping at my heels to make pizza (yes I know I only have three boys, I decided to borrow my nephew for the afternoon too). I have two secret ingredients in my pizza dough. Okay they’re not secret and they’re not exciting either but they are good!
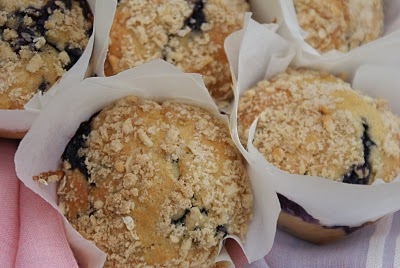
Blueberry Crumble Muffins
July 22nd, 2011This time of year blueberries are sweeeeeeet and juicy, if you can resist eating them straight from the punnet these muffins will go down a treat
Ingredients:
180g self raising flour
55g soft light brown sugar
150ml milk
1 egg, large
25g melted butter
100g blueberries
Crumble Topping
2 tbsps flour (self raising is fine and you’ve already got it out of the cupboard)
10g butter, softened
2 tbsps oats
1 tbsp soft light brown sugar
1 tbsp chopped mixed nuts
If you don’t like nuts or oats just leave these out.
Makes 6 muffins.
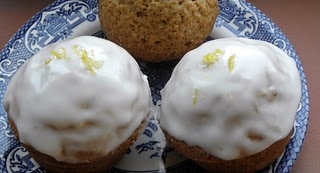
Mum’s Ginger Muffins
July 14th, 2011
You can always rely on Mums! Mums mind children when you’re flat out, Mums give you a hug when you’re adamant you can’t possibly do one more thing….and Mums make great Ginger Muffins coated in sticky lemon icing! They also write it up for all The Pink Whiskers too!
Here’s my Mum’s recipe for fab Ginger Muffins Thanks Mum xx
One Year at The Pink Whisk
July 5th, 2011Friday 8th July 2011 will be the 1st Birthday of The Pink Whisk and goodness what a year it’s been!

105 blog posts, one new Stoves oven, countless new cake tins, 23 pots of glitter ;), 6 new baking paraphernalia cupboards fitted in the garage, a husband who has taken over the washing because he was fed up of waiting for me to do it, children who are now astounded if they come home from school and there’s no treats awaiting them and last but not least 6,000 cups of tea to get me through the lot!
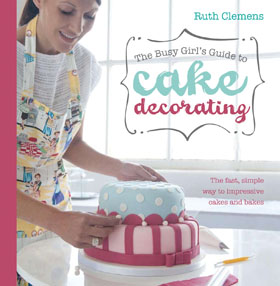
I’m lucky to say that The Pink Whisk supports my professional career and the opportunities I have had in the past year are, for me, beyond belief; working for brands such as Sainsburys, Nielsen-Massey, Disney, Dr Oetker, Cadbury (and yes I was paid in chocolate), being featured in the Mail on Sunday’s You Magazine, a contract for a cake decorating book and teaching a range of baking and cake decorating courses through cookery school Seasoned to name just a few.
So what can you look forward to? Well, I’m about to have some recipes printed in Making Magazine, the website is getting a design makeover from the professionals and there’s still lots of exciting projects on the go that I can’t reveal just yet (I know that’s just mean of me!) Stick with me and you’ll be the first to hear.
 A sneak preview of the new logo xx
And before you all ask where’s the baking book? It’ll come but I’m holding out for step by step photography and finished product shots of every recipe – that’s the way I do it and I don’t see why a book should be any different. I think you’d be disappointed if it wasn’t?
And the reason I do it all? That would be for you lot, the 4,600 of you subscribed to The Pink Whisk who enjoy baking as much as I do. It’s as simple as that, The Pink Whisk is for you. Whilst you still want to bake I’ll still come up with the recipes. So here’s to another year of The Pink Whisk who knows what it will hold.
Ruth xx
PS. Don’t forget to join me for The Pink Whisk Birthday Treasure Hunt on Friday 8th July 2011 here from 10.00am onwards (full details here)

Ruth Clemens, Baker Extraordinaire
Finalist on BBC2 The Great British Bake Off
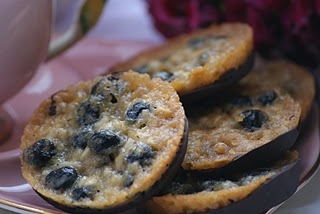
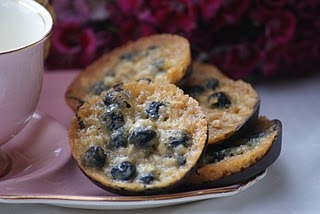
Blueberry and Hazelnut Chocolate Florentines
June 22nd, 2011Florentines are notoriously tricky blighters, seemingly simple but accurate measurements are needed (Ruth are you paying attention, no really paying attention? Okay out come the digital scales).
Florentines also need to go on the tray well spaced apart, another instruction in recipes I fail to ‘get’ and frequently end up chiselling a sheet of florentines from a baking tray, add to that the messy affair of coating the monkeys in chocolate and we’re talking baking disaster tantrums. Time Florentines had The Pink Whisk makeover – follow the recipe and you’ll be making them time and time again (me included).
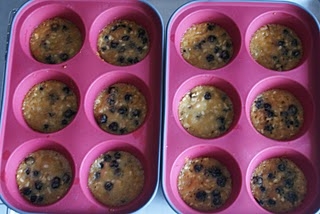
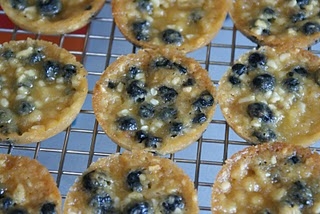
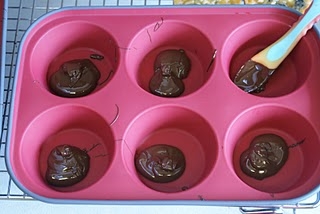
Perfectly round and easily chocolate coated florentines are made in silicone cupcake trays. I don’t get on well with silicone moulds for cakes but do have a cupboard full so I’m always on the look out for other ways to use them. Florentines bake a dream in them, I’ll never return to baking them on a tray again. Aside from the fact they’re brilliantly perfectly round (appears to me I have some issues with things being uniform?!?) they pop out a treat once baked and make the chocolate coating step a doddle! If you don’t have silicone trays the individual silicone cupcake cases will work a treat too.
Ingredients:
50g golden syrup
50g butter
50g demerara sugar
50g plain flour
60g dried blueberries
40g chopped hazelnuts
150g dark or milk chocolate to coat
Makes 12.
Preheat the oven to 170c Fan/190c/ Gas Mark 5.
As mentioned before you will need to pay attention and measure super accurately for these to work, digital scales are ideal.
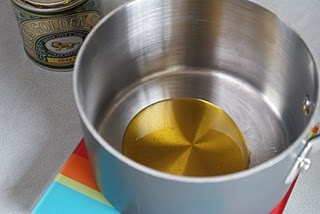
Begin by measuring out the syrup, directly into a medium sized pan. 50g on the dot.
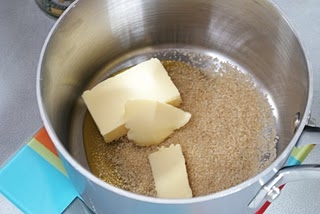
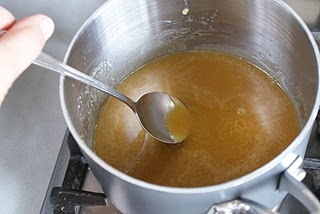
Add the butter and demerara sugar to the pan and heat over a medium heat until the butter is melted.
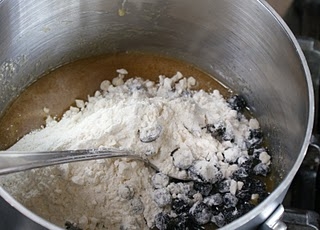
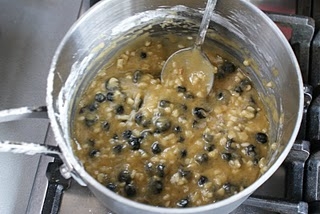
Remove the pan from the heat and add in the flour, dried blueberries and chopped hazelnuts and give it a good old stir up.
I’ve tried with fresh blueberries and unfortunately they lose too much juice and ruin the florentines so in this case dried is best. If you can’t get hold of blueberries used dried cherries, craisins or raisins in the same quantity.
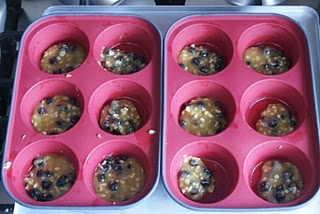
Divide the mixture between the 12 recesses of a silicone cupcake tray, it will be approx a heaped teaspoon measure each.
Using the back of the teaspoon gently encourage the mixture to cover the base of each. The mixture is thick and it will be a little reluctant but they need your help at this point.
Into the oven and bake for 8-10 minutes until golden brown, starting to crisp around the edges and looking a little holey! A strange instruction however if you bake them you’ll know what I mean.
Remove from the oven and allow to cool in the trays. They’ll be soft when they come out so leave them alone to harden up before you pop them out of the trays onto a wire rack. Do not be tempted just to try one, you’ll burn your mouth – don’t say I didn’t warn you.
Whilst they’re finishing off cooling on the wire rack wash out the silicone trays. They’ll be greasy from the florentines and we need them for the chocolate stage.
Melt the chocolate – milk or dark whichever you prefer – in short 30 second bursts in the microwave.
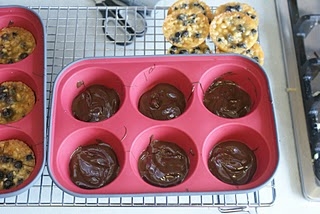
Place 2 teaspoons of melted chocolate in the base of each recess and spread across the bottom using the spoon.
(That’s my nephew’s baby spoon I’m using – it’s the same size as a teaspoon but flexible made from silicone, don’t tell him I use them for baking)
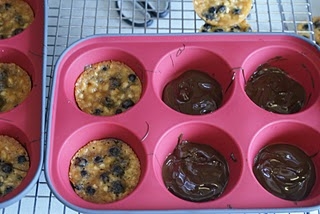
Drop each florentine back into the tray on top of the chocolate.
Chill in the fridge to set.
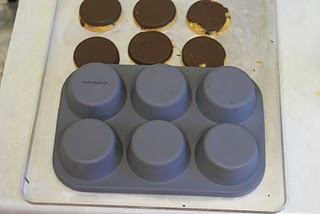
Once the chocolate has set you can flip out the florentines with their fab chocolate base.
Eat them all before anyone else comes home and knows you even made them – shhhh I won’t tell!
Ruth Clemens, Baker Extraordinaire
Finalist on BBC2 The Great British Bake Off
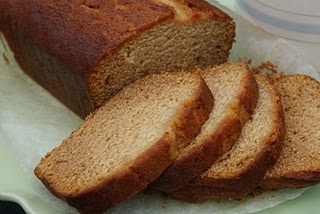
Golden Syrup Loaf Cake
June 14th, 2011Whilst playing around with egg-free recipes I made this cake, quite by accident. It wasn’t what I was intending it to be but it’s fast become a firm family favourite here, it’s egg-free too!
(If you’re looking for egg-free recipes be sure to try my best ever ginger cake)
You may well be wondering why I’m giving you quantities for two loaf cakes here but trust me, even two isn’t enough. Wrapped well in clingfilm this loaf cake can be frozen – that’s if you can snaffle it there before anyone spots it.
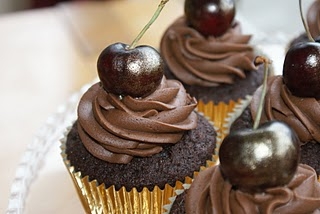
Are you ready for these…? Smoky Choc Cherry Cupcakes
June 9th, 2011I developed these last year as an option for the final of The Great British Bake Off. In the end I went with Mint, Ginger and Blackberry (recipe here) so before the weather gets truly summery here’s my recipe for Smoky Chocolate and Cherry Cake.
In The Pink Whisk Kitchen…My Pride and Joy
June 8th, 2011What would my pride and joy be? I bet you’re all thinking its a fancy bit of equipment or in fact a super cool pink stand mixer of the Kitchen Aid variety? Well you’d be wrong, my pride and joy is my oven.
Buying a fancy pants oven was never on my list of priorities, in a house where being strapped for cash is the norm when we were buying our oven the budget was meagre. Baking day in day out from sunrise to sunset for the Bake Off nearly killed my oven, it developed a death rattle and wouldn’t heat up above 180c, we limped along together.
On the set of Bake Off we had superly expensive Neff Ovens, we’re talking over £1,000 each – holey moley! Disappointingly for said brand new mega bucks ovens the doors came off in our hands (frequently), they cut out in protest after being on for three hours or so. I came away very dissappointed with the all singing all dancing, remortgage your house Neff Ovens, they were definitely crossed off my list.
Stoves however came to my dying ovens rescue and offered me one of their ovens the SEB600MFS to be exact, it retails around £340. The oven has now been in operation for a couple of months in my kitchen, tested to it’s limits and it is indeed my pride and joy plus I’m ready to tell you all about it.
If you’re looking for a new oven you really can’t go wrong with this one!
FS SEB600MFS
I’m not going to give you the full spec. but you can find it here, what I will do is tell you from a baking point of view why for me it’s the perfect bakers oven.
Unlike many electric fan ovens you can turn off the element in the top and just bake with the fan – the top element plays havoc when baking anything as it browns cakes quickly before they’re cooked through and will ruin a bake.My dead oven had to have one shelf positioned at the top with a big baking tray on to protect whatever was baking below.
The thermostat is ACCURATE – heck that’s a first for any of my ovens, I still bake with an oven thermometer just for reassurance – old habits die hard.
Two telescopic slider shelves and eight shelf positions, you wouldn’t believe what a difference these make to the cake tin/baking tray juggling act, no more burnt arms for me!
The biggest test I know for an oven is baking a Victoria sponge or a tray of cupcakes, invariably one side browns too quickly, the Stoves oven gives a completely even bake right across the shelf = perfectly domed sponge and cupcakes, no more cracked volcanos for me.
So do I like it? Too right I do, my Stoves oven is my pride and joy. If you’re looking for the perfect baking oven I have no hesitation in recommending this one. Oh and you can cook in it too, trouble is I don’t find that half as enjoyable!
Stoves
Due to lots of requests asking what equipment I can’t live without I’ll be bringing you more In The Pink Whisk kitchen episodes as the weeks go by (In between the recipes of course).

Ruth Clemens, Baker Extraordinaire
Finalist on BBC2 The Great British Bake Off
Afternoon Tea – Eclairs – Two ways! Vanilla Choc & Coffee
May 31st, 2011
Now I’ve done the Choux pastry how to (here) lets see what we can do with them.
Vanilla Chocolate and Coffee Eclairs
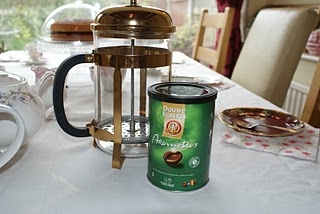
Before I give you the low down on the eclairs I thought I’d share a couple of my other tea party essentials.
In my coffee pot are these….
Douwe Egberts Aromettes – individual bean shaped pressed ground coffee – just pop them in, no scoop required.
In my sugar bowl….
Oh how cute are these, you can pick them up in John Lewis I’m not going to tell you how much they cost, I can’t bring myself to say it out loud let alone write it down for all to see – click on the link and save me from embarrassment. They did however give us so much fun at the tea party they were well worth it!
John Lewis – Belle Sucre
Ingredients:1 x Quantity of Choux Pastry piped and baked into 8cm eclairs (recipe here)
Vanilla ChocolateTopping
100g dark chocolate, melted
100g icing sugar, sifted
2 tbsp hot water
50g icing sugar mixed to a thick paste with 1 tbsp hot water
Filling
200ml double cream 2 tbsps icing sugar
1 tbsp vanilla bean paste or1 tsp vanilla extract
CoffeeTopping
1tsp of instant coffee dissolved in 1 tbsp hot water
100g icing sugar
50g dark chocolate, melted
Filling
200ml double cream
2 tbsps icing sugar
1tsp coffee essence or 1 tsp instant coffee dissolved in 1 tbsp hot water
Makes 24 mini eclairs (12 of each variety)
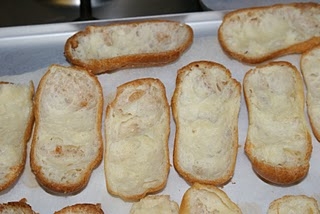
Split the eclairs into two trays – one for the vanilla choc and one for the coffee. Keep the tops and bottoms matched up side by side to avoid confusion later. I guarantee you’ll mix them up some how and have a top and bottom that don’t match, I always do!
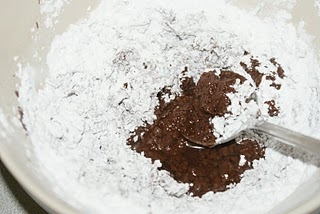
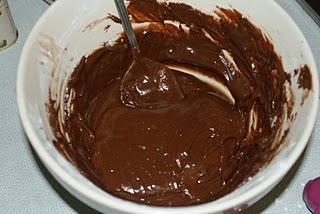
Prepare the chocolate topping by melting the chocolate and then beating in the icing sugar and hot water.
At this stage I add it to a piping bag to make it neater when actually getting it on to the top but feel free to pile in at this stage and do it with a knife.
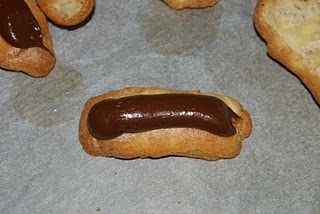
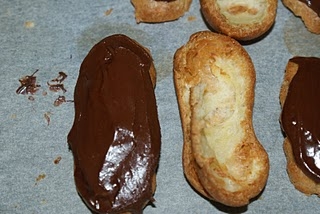
Pipe a stripe of frosting on the top.
Spread to cover the top with a knife dipped into hot water.
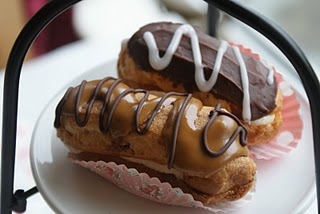
Mix up the plain white icing and drizzle over the tops.
Place the bases of each eclair into an opened cupcake case.
Whip the cream together with the icing sugar and vanilla bean paste. Add to a piping bag and squeeze into each base to fill. As eclairs start to soften once filled if you’re not serving them right away leave the cream in the piping bag and fill and top just before you want to serve them. It only takes a couple of minutes so can easily be done at the last minute.
The coffee eclairs are done in exactly the same way but instead of spreading the coffee icing I have left it squiggly and then drizzled with melted chocolate. Fill with coffee cream and serve.
 Ruth Clemens, Baker Extraordinaire
Finalist on BBC2 The Great British Bake Off
How to make Choux Pastry
May 30th, 2011Choux pastry is a really versatile pastry to have up your sleeve, it gives some people grief so I thought I’d do a quick how to before using it in a recipe.
Traditionally used for profiteroles, choux pastry can also be made into a great variety of lovely things, eclairs and gougere included!
Ingredients:
120ml whole milk
120ml water
115g butter, cubed
1/4 tsp sugar
1/4 tsp salt
140g plain flour
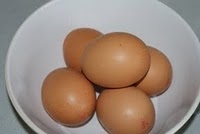
5 large eggs
Makes 45 profiterole balls, 24 x 8cm mini eclairs or 12 full size eclairs.
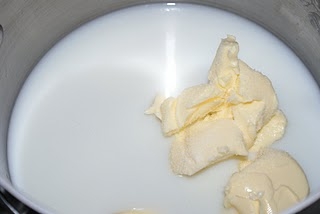
Place the water and milk into a large saucepan, with the butter, salt and sugar.
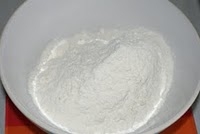
Have your eggs ready and the flour in a bowl on standby!
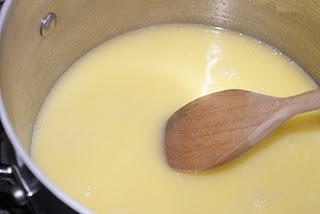
Heat the pan over a low heat until the butter is melted.
Turn up the heat and bring it to a rolling boil. Turn the heat down to medium.
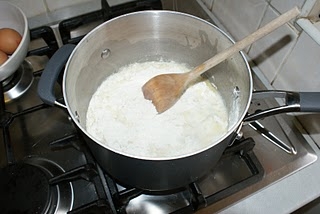
Add all the flour to the pan and with a wooden spoon mix for your life.
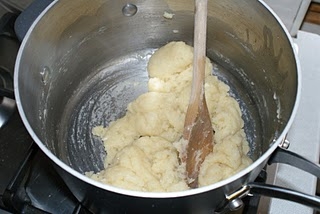
As the flour incorporates the mixture will come together and lift from the sides of the pan.
Turn off the heat and remove.
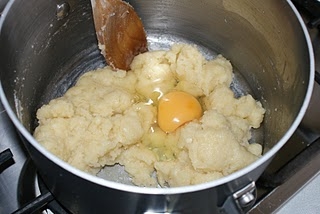
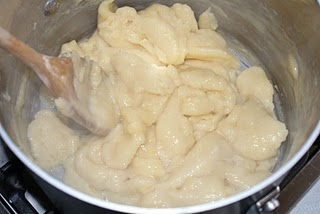
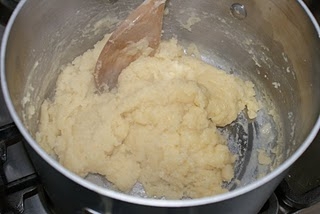
One by one add the eggs mixing well after adding each.
It will seem like it’s never going to incorporate but all of a sudden it does don’t worry.
You will need a strong mixing arm – keep going!
After the addition of one egg.
After two eggs
After three eggs
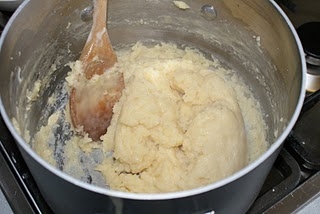
After four eggs
Five eggs added – the perfect choux pastry
Once all the eggs are combined you will have a thick glossy choux pastry that’s ready to use. It should hold it’s shape when you dollop or pipe it.
For profiteroles/choux balls shape with a desert spoon and lay on baking trays lined with greaseproof paper or bake o glide.
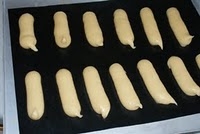
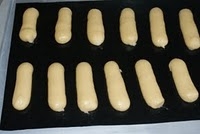
For long eclairs pipe the mixture from a piping bag fitted with a round open 1cm nozzle.
If your choux pastry has ‘tails’ use a dampened finger to push them back into shape.
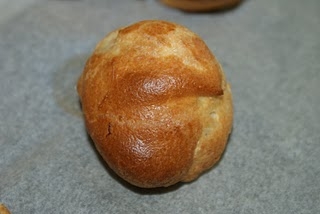
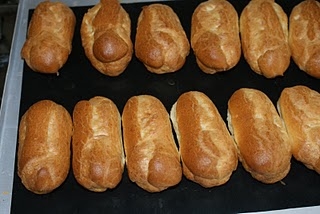
Bake in the oven at 180c Fan/200c/Gas Mark 5 for 15-20 minutes until lovely puffy and golden.
Now here’s the important bit – although they are nice a crisp and golden on the outside there is still steam and moisture trapped inside. Take a sharp knife and make a slit in each choux bun, place them back on the tray and pop them back in the oven for 3 minutes until they are nice and dry on the inside.
If you skip this stage and moisture in the bun will soften the choux and make it soggy and limp.
If you’re making long eclair type choux, instead of just a slit I cut them in half using a sharp pair of kitchen scissors before laying them open on the tray and then back in the oven to dry out. Just make sure you keep each pair together side by side so you know which is the right top for the right bottom!
You can keep choux shells once baked for 24 hours in an airtight container if you wanted to make them in advance. If they seem less crisp refresh in a hot oven for two minutes before using.Once filled with cream, custard or whatever takes your fancy they are best served straight away as they will start to absorb the moisture from the filling and start to go soggy.You can bake and then freeze right away, when defrosted refresh in the oven to crisp up for a couple of minutes before filling.You can also open freeze piped dough before baking. Baking from frozen you will need to add five minutes or so to the baking time .
Ruth Clemens, Baker Extraordinaire
Finalist on BBC2 The Great British Bake Off
 " width="477" height="261" border="0">