Posts by The Pink Whisk:
12 Days of Baking Christmas from The Pink Whisk
December 13th, 201012 Christmas baking recipes over 12 days – Merry Christmas and Happy Baking
Love Ruth xx
Here’s the full run through….
Day 1 – Lebkuchen
Day 2 – Snowman Cookie Lollies
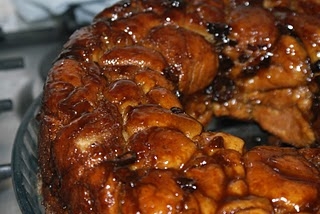
Day 3 – Christmas Monkey Bread
Day 4 – Complete Guide to Decorating your Christmas Cake
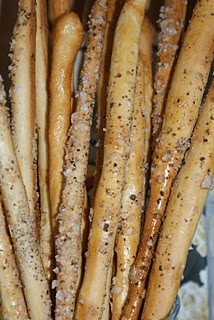
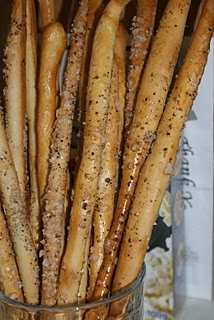
Day 5 – Party Breadsticks
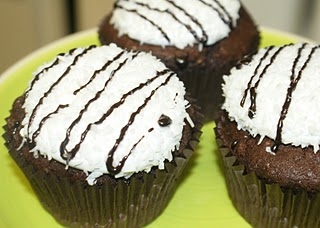
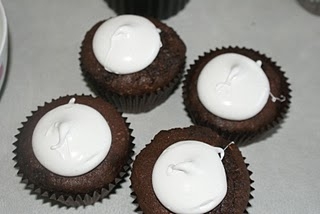
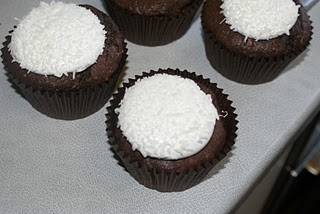
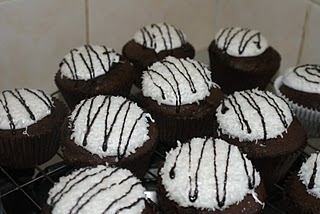
Day 6 – Chocolate Coconut Snowballs
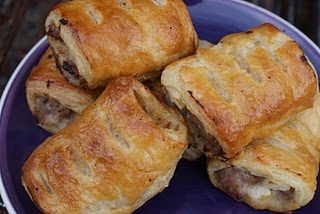
Day 7 – Ultimate Sausage Rolls
Day 8 – Stollen
Day 9 – Mince Pies The Pink Whisk Way
Day 10 – Gingerbread Men Cupcakes
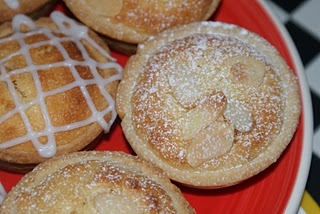
Day 11 – Christmas Bakewell Tarts
Day 12 – Brandy Snap Baskets
 Ruth Clemens, Baker Extraordinaire
Finalist on BBC2 The Great British Bake Off
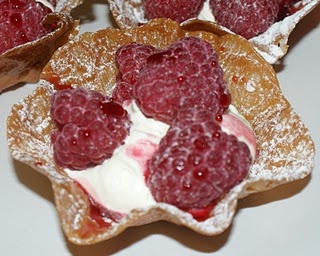
On the twelfth day of Christmas The Pink Whisk sent to me…..Brandy Snap Baskets
December 12th, 2010The last in the 12 Days of Baking Christmas from The Pink Whisk. I hope you’ve enjoyed the recipes, I’m off to put up my Christmas tree, I’ll be back with more baking madness once the big red man has been to visit – I’ll still be on Facebook if you fancy popping over for a chat www.facebook.com/ThePinkWhisk
Wishing all you Pink Whiskers a Very Merry Christmas Lots of Love Ruth xx
A retro bit of baking for you – brandy snaps! Make baskets now to save for an impromptu desert over Christmas.
Ingredients:
50g butter
2 tablespoons of syrup
50g caster sugar
50g plain flour
1/2 tsp ground ginger
1 tbsp brandy or lemon juice
Makes 12 baskets.
Preheat oven to 170c fan/190c/Gas Mark 5.
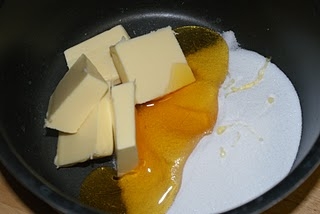
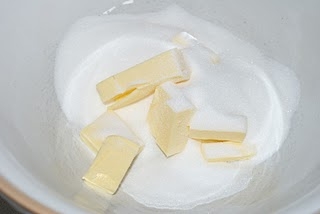
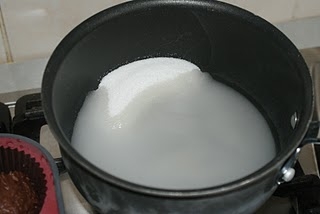
In a pan place the butter and sugar.
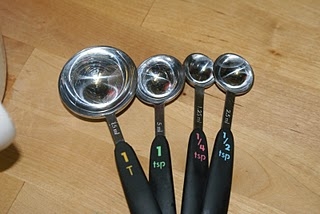
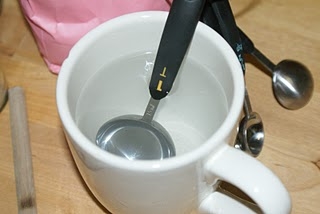
This is one recipe where it’s really important to measure out your ingredients really carefully – especially the syrup. This is where a set of metal measuring spoons comes in really handy.
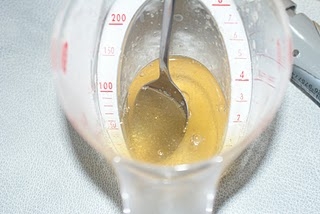
Fill a mug with hot water and sit the spoon in it to warm up. Once warmed use it to measure out two tablespoons of syrup and add to the pan. Make sure the spoonful is level and the warmth of the spoon will mean the syrup slides straight off.
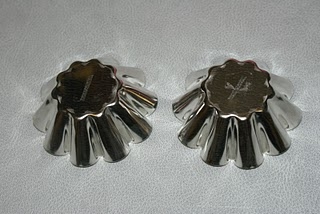
If you’re making little baskets you will need something to mould them over, I’m using little brioche moulds but ramekins work really well as do oranges and upturned tea mugs! Add a little oil to a piece of kitchen roll and use to grease the outside of whatever it is you choose to use. Just a little oil will stop the snaps from sticking.
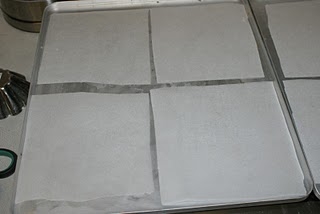
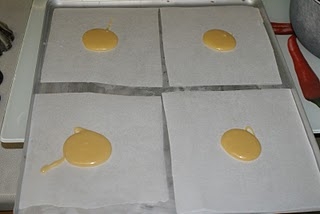
Prepare yourself two baking trays. Line with baking paper and then cut into four. This will make life much easier whilst shaping each brandy snap.
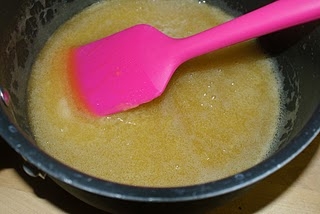
Heat the pan over a gentle heat until the butter and sugar are melted.
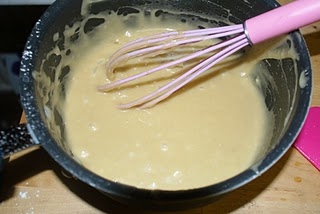
Remove from the heat and stir in first the brandy and then the flour and ginger. You may need to use a whisk to get rid of any lumps.
When the mixture is fully combined drop a teaspoonful of the mixture on each square of baking paper.
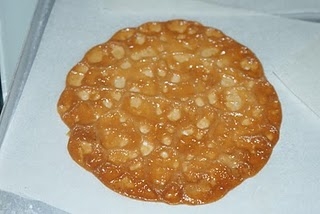
Bake in the oven for 8-10 minutes until golden brown.
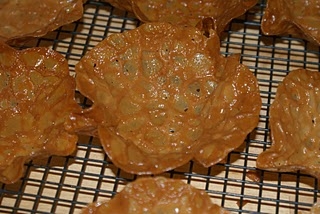
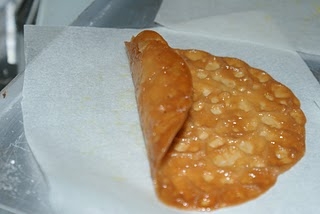
Allow to cool still on the tray just for a couple of minutes. Carefully pick up the baking paper, the brandy snap will still be soft and malleable. Place it on the item you are using to shape your basket and encourage it into shape with your fingers. Be careful they will still be hot!
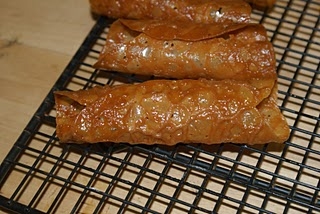
The brandy snaps harden as they cool and can soon be placed on a wire rack whilst you shape some more.
Bake in batches until you’ve used up all your mixture.
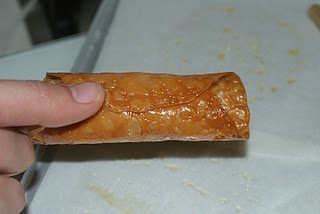
If you prefer you can make brandy snap tubes – these can be filled with cream!
Allow the discs to cool for a couple of minutes after taking from the oven. Curl up one edge with your fingers, carefully it’s quite warm!
Then curl up the other edge and press together with your fingers.
You will feel the tube harden as you shape it. You could also use the handle of a wooden spoon to help you shape the tubes. You will soon get a feel for shaping the discs but don’t worry if they harden too quickly for you, pop them back in the oven for a couple of seconds to soften them again. Allow to cool on a wire rack.
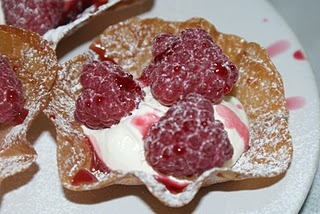
Brandy snap rolls and baskets will keep in an airtight container for a couple of weeks. If storing the baskets inside one another place a square of baking paper between them. They are perfect for improptu puds – fill them with cream or icecream fruits and berries and dust with icing sugar.
 Ruth Clemens, Baker Extraordinaire
Finalist on BBC2 The Great British Bake Off
On the eleventh day of Christmas The Pink Whisk sent to me……Christmas Bakewells
December 11th, 2010Instead of the usual jam try these Christmas style with Cranberry and Port mincemeat!
Makes 18 small Bakewell Tarts
Ingredients:
Pastry
225g plain flour
25g caster sugar
100g butter
1 egg yolk
35ml cold water
1/2 jar of mincemeat
100g butter, melted
2 eggs
100g semolina
100g ground almonds
a few drops of almond essence
100g caster sugar
flaked almonds or icing to top
Start off by making the biscuity pastry base, because its so rich and buttery you can get away with making it in the food processor.
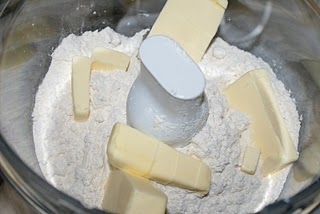
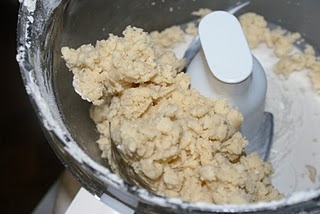
Add the flour and the butter to the bowl of the processor. Pulse the processor until the butter is worked into the flour and resembles fine breadcrumbs.
Add the sugar and egg yolk and pulse again.
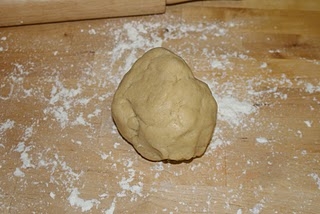
Now with the processor running add the water a little at a time until the dough comes together in a ball. Turn off straight away and remove the dough from the bowl.
Wrap in clingfilm and allow to chill and rest in the fridge for half an hour.
Preheat the oven to 160c Fan/180c/Gas Mark 4.
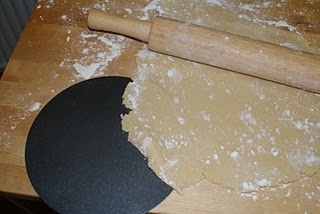
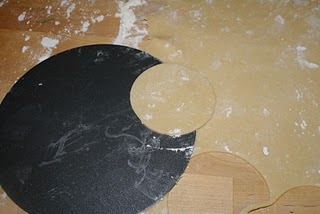
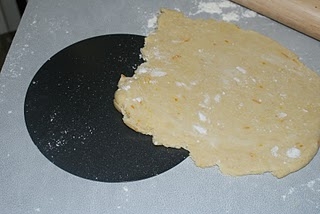
Once the pastry is rested roll it out onto your well floured work surface. Use the loose thin base of a cake tin or flan base to keep lifting the pastry and making sure it doesn’t stick. Roll the dough to approx 3mm thick.
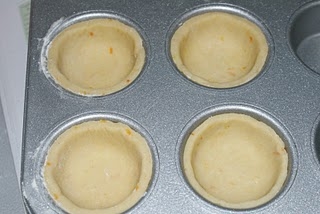
Use the flan tin base to lift the circles of dough into the tin. If the dough splits don’t worry just push the edges back together as you go.
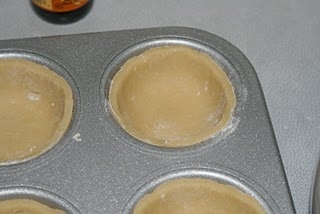
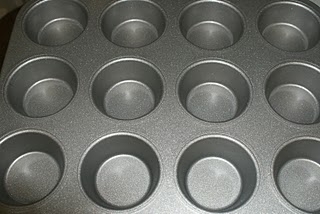
Cut out large circles to line the recesses of a deep bun tin. The tin should be well greased with butter.
Once all the recesses are lined pop them in the fridge to chill whilst we get on with the next bit.
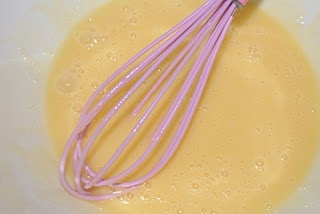
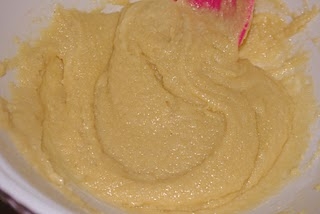
In a bowl whisk together the 2 eggs, melted butter and a couple of drops of almond essence.
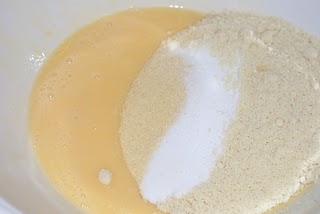
Add to the mixture the semolina, caster sugar and ground almonds and stir well.
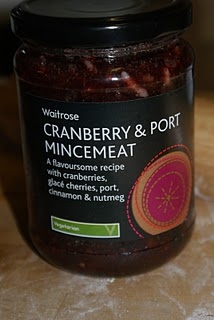
Now for the Christmas bit! You can use normal mincemeat but I found this lovely stuff in Waitrose – Port and Cranberry which I’m using here.
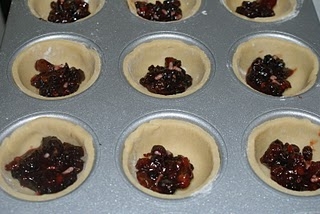
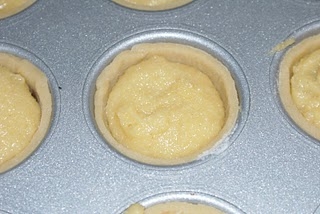
Add one teaspoon of mincemeat to each of the tarts.
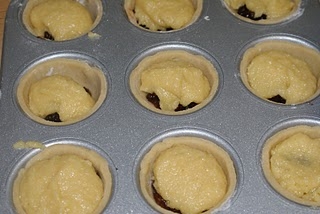
On top of the mincemeat add one desert spoon of almond mixture – just place it in for now.
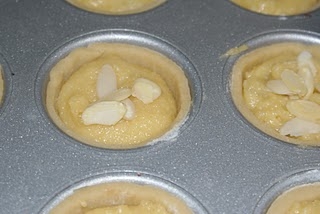
Once you have done all the tarts using the back of a spoon smooth the almond mixture to meet the sides of the dough without disrupting the mincemeat underneath.
Now you can top the tarts with a few flaked almonds or bake them plain and then add some icing afterwards.
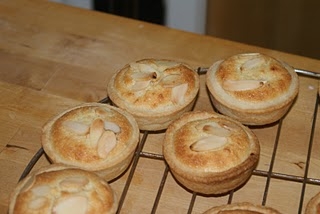
Place them in the oven for 18-20 minutes until golden brown and firm to the touch.
Once baked leave to cool in the tin before easing each tart out gently with a knife. Allow to cool on a wire rack.
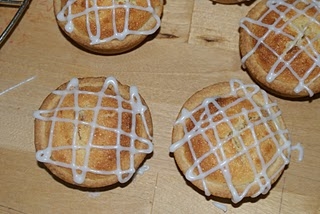
Dust the almond topped tarts with a snow of icing sugar, if you prefer you could mix a couple of tablespoons of icing sugar with a drop of water and use to drizzle over the tops.
Christmas Bakewell Tarts
Ruth Clemens, Baker Extraordinaire
Finalist on BBC2 The Great British Bake Off
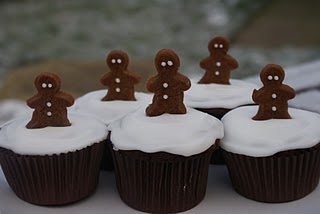
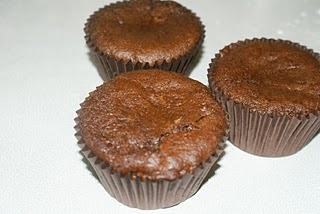
On the tenth day of Christmas The Pink Whisk sent to me…… Gingerbread Cupcakes
December 10th, 2010
Gingerbread Men Cupcakes
Makes 18 cupcakes
Ingredients:
Cakes
115g butter, softened
55g dark brown sugar
50g caster sugar
1 large egg
150ml treacle
310g plain flour
1 1/2 tsp bicarbonate of soda
1 tsp cinnamon
1 1/4tsp ground ginger
230ml greek yoghurt
Gingerbread men (optional) to decorate
Frosting
500g icing sugar, sifted
1 tbsp meringue powder/meri-white/egg white powder
or
1 x box of Silver Spoon Royal Icing Sugar
90ml lemon juice
Preheat the oven to 160c fan/180c/Gas Mark 4.
Cream together the butter and the sugars.
Add in the egg and give it another good mix up.
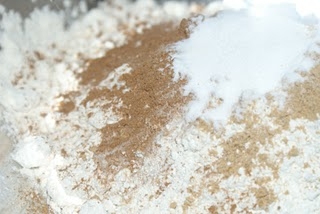
Measure out all the dry ingredients together.
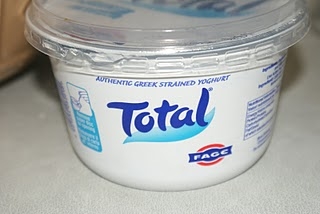
Next is this recipe’s secret ingredient…okay not so secret Total Greek Yoghurt.
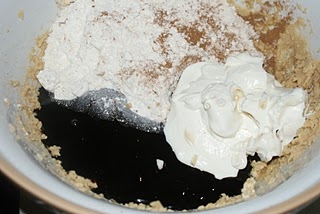
Measure the treacle, yoghurt and add to the mixture along with all the dry ingredients.
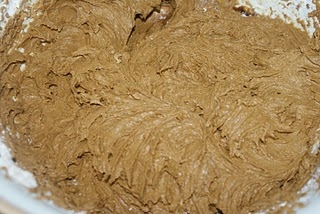
Thoroughly combine until you have a fairly thick cake mixture.
Add to cupcake cases filling them each 2/3rds full. Bake in the oven for 25-30 minutes until risen, golden and firm to the touch.
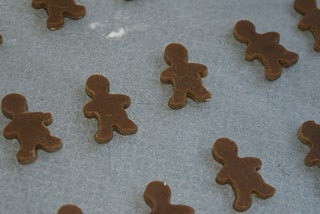
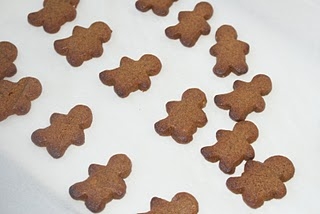
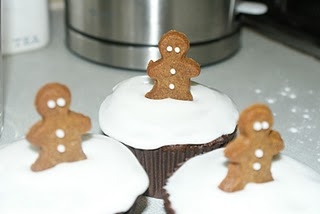
For the decoration I have made some teeny tiny miniature gingerbread using a super cute teeny tiny gingerbread man cutter. (Link to the set at the end of the post).
The little men are purely optional but do look lovely!
Ingredients:
75 g soft brown sugar
2 tbsp syrup
1 tbsp treacle
1 tsp ground ginger
110g butter
½ tsp bicarbonate of soda
225g plain flour
Sorry I have photo fail here as I forgot to pick up the camera but I’m sure you can manage it.
Place the sugar, butter, syrup, treacle and ginger in a pan and heat over a medium heat until fully melted and combined.Take off the heat and stir in the flour and bicarbonate of soda and mix with a wooden spoon into a dough.Place the dough in a plastic bag and chill in the fridge for one hour.Once chilled, roll out the dough, cut into gingerbread men and place on a greased baking tray.Bake in the oven at 180c/170c Fan/ Gas Mark 4, for 10–12 mins for full size gingerbread men and only 3-4 minutes for the tiny ones for decorating these cakes. Allow to cool on the tray for a couple of minutes before transferring to a cooling rack.
Remove from the oven and allow to cool on a wire rack.
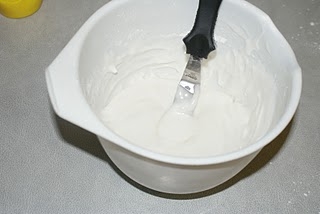
Mix up the royal icing – 500g icing sugar, one tablespoon of egg white powder/meringue powder/meri-white and approx 90ml lemon juice. The lemon juice stops the royal icing from setting rock hard and works really well with the gingerbread cakes. I use meringue powder all the time for royal icing but you can just use a box of royal icing sugar powder from the supermarket if you prefer.
Pipe or dot buttons and eyes onto the miniature men with the icing.
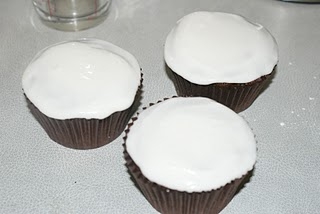
The frosting should be thick and spreadable. Using an angled small palette knife is the best tool for the job, but if you don’t have one a table knife will work just fine.
Place a good dollop onto the top of a cake and holding the cake in one hand and the knife in the other start spreading the frosting to the edges working around the cake in a circular motion.
Top with a little gingerbread man – keep your eye on it so that it stays upright and fixes in place.
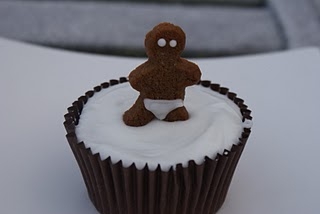
And here’s one just to make you smile!
Gingerbread Men Cupcakes
Ruth Clemens, Baker Extraordinaire
Finalist on BBC2 The Great British Bake Off
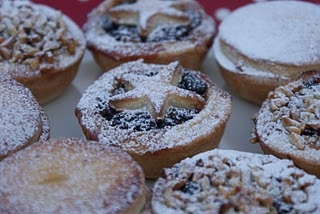
On the ninth day of Christmas The Pink Whisk sent to me…. Mince Pies
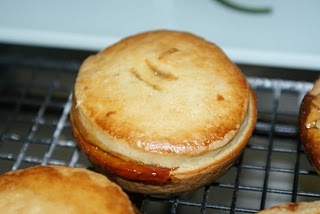
December 9th, 2010Mince pies The Pink Whisk way – with zesty pastry, mince pies were meant to be individual, sticky, oozy, bursting with mincemeat and a good dusting of icing sugar to hide the imperfections!
My mince pies are like my scones, very definitely homemade – I have never striven for looks of perfection with these beauties – uneven tops and sticky bits of mincemeat that ooze over the edge are everything I like in a mince pie – if you’re after neat and precision perfection you won’t find it here!
Ingredients:
225g plain flour
100g butter, cold diced
25g caster sugar
zest and juice of one orange
1 x jar of mincemeat
Icing sugar to dust
Makes 8 mincepies
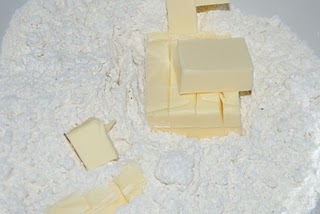
In a large bowl place the flour and the cold diced butter.
Rub the butter into the flour using your fingertips or a pastry blender until the mixture resembles fine breadcrumbs.
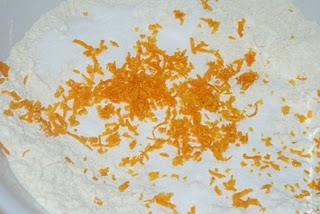
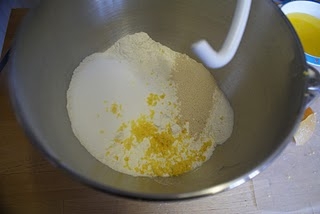
Add the sugar and the zest of the orange and stir through until combined.
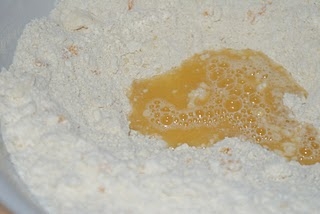
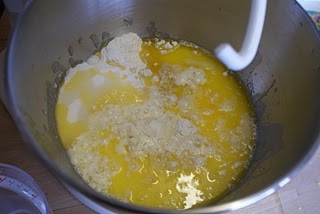
Add the orange juice a little at a time and work with a knife to form a dough, if you run out of juice add a little cold water.
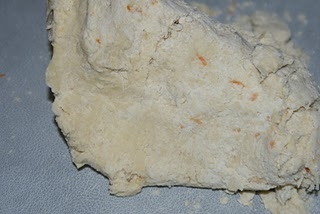
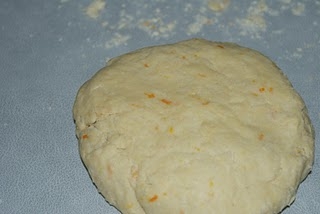
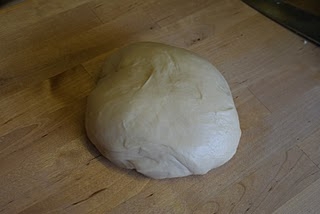
When the dough is coming together, tip it out onto your worksurface and work gently into a smooth pastry.
Wrap the pastry in clingfilm and allow to chill in the fridge for 30 minutes to let it rest.Preheat the oven to 180c Fan/200c/Gas Mark 6.Roll out on a well floured surface. Keep turning the pastry around and lift it using the flat removable base from a cake or flan tin – that way you can make sure it isn’t sticking. Roll out to approx 3mm thick.
It’s important to have a good deep filled mince pie in my book otherwise you feel cheated with just a mouthful of pastry – key to that is a good deep tin!
Cut out large circles of pastry and use to line your well greased tin, ease the pastry in gently. If the pastry tears or splits as you work don’t worry just stick it back together with your fingers. If you have long elegant nails you may find it easier to press in with a ball of pastry instead of your fingertips.
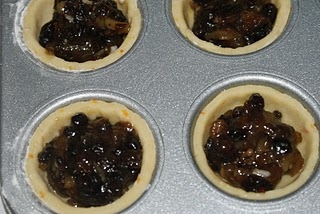
Fill with a good spoonful of mincemeat.
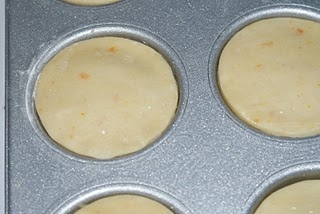
Cut out smaller circles for the tops. With your fingertip wet the top of the base pastry case with water, place the top on and gently ease the two together. With a sharp knife add two slits to the tops to allow the steam to escape.
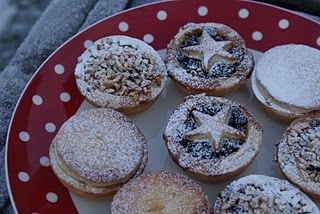
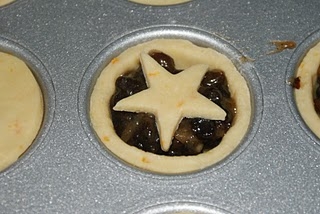
Alternatively cut out smaller pastry star and place on top of the mincemeat.
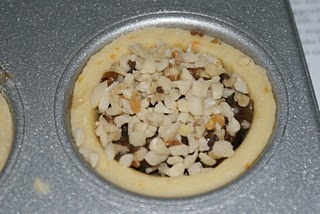
Another favourite of mine is to top with chopped hazelnuts!
Brush the tops with a little milk to glaze and bake in the oven for 15-20 minutes until golden brown. Cool for ten minutes in the tray and then ease each pie out with the help of a knife and allow to cool on a wire rack.Dust with icing sugar and serve.
Ruth Clemens, Baker Extraordinaire
Finalist on BBC2 The Great British Bake Off
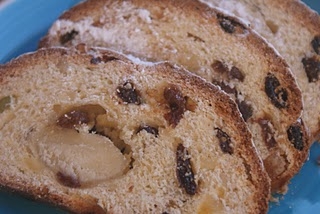
On the eighth day of Christmas The Pink Whisk sent to me……Stollen
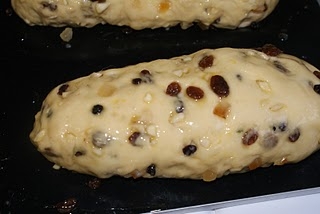
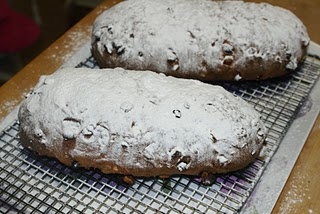
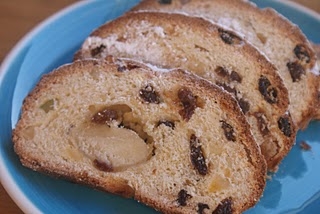
December 8th, 2010Another traditional Christmas baking treat – candied peel and almond paste- mmmmmmmm!
Ingredients:
450g strong plain flour
15g dried yeast
40g caster sugar
zest of one lemon
200ml milk, lukewarm
1 egg large, beaten
115g melted butter
115g sultanas
55g currants
70g mixed candied peel
90g blanched almonds, chopped
250g marzipan
50g butter melted to brush on before baking
icing sugar for sifting onto finished loaves
Makes 2 x small loaves.
In a large bowl mix together the flour, yeast, sugar and lemon zest.
Add in the beaten egg, milk and 115g melted butter and mix to a soft but not sticky dough. You can use your breadmachine on the dough setting to take the hardwork out for you.
Knead for ten minutes by hand or cheat like me and make the machine do it for 6 mins.
Place in a lightly oiled bowl and cover with clingfilm or a clean tea towel. Pop it in a warm spot and allow the dough to rise for one hour until doubled in size.
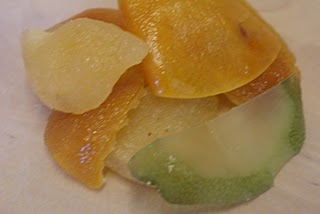
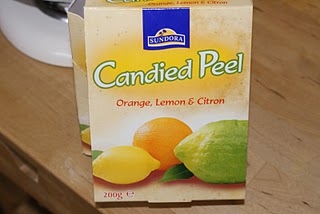
Time to prepare the lovely Stollen additions, first up is candied peel- I like to buy it in whole pieces, the taste is so much better. If you have a Julian Graves store near you then they sell it there. Also Waitrose sell it in a box on the baking aisle – picture included so you know what to look for!
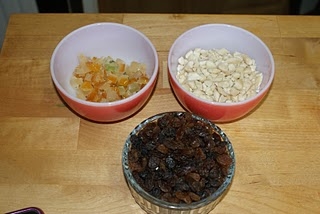
Chop the candied peel into quite large pieces, chop the blanched almonds and measure out the sultanas and currants.
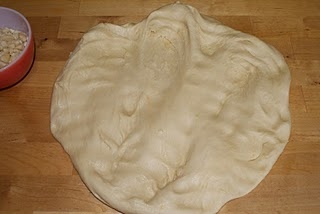
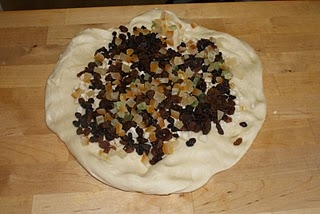
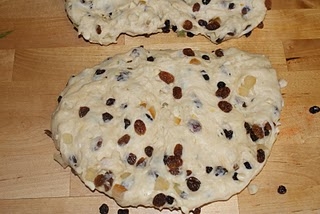
Once the dough is risen, knock it back on the worktop into a large flat piece.
Add the Stollen additions on top.
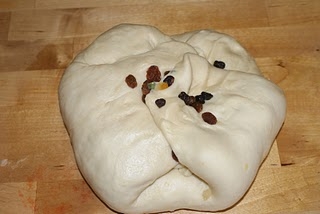
Gather up the edges to seal the fruit and nuts in.
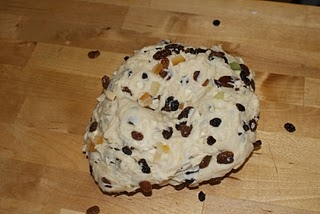
Now knead, going slowly and catching the bits that try to escape! Keep working until the fruit and nuts are evenly distributed.
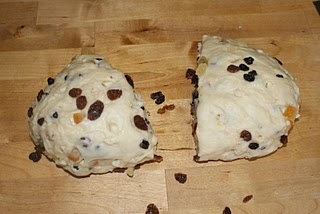
Split the dough into two.
Shape each piece into a flat.
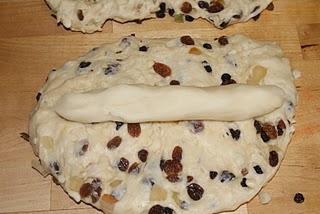
Take the marzipan and split into two, shape into sausages to fit the middle of the dough.
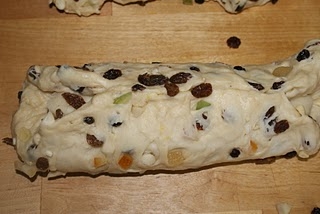
Gather the dough around the marzipan sealing along the length and the ends by pressing the dough together.
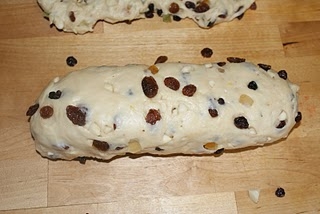
Flip the dough over so that the seal is underneath. Place onto a well greased baking tray and cover with a tea towel again. Bob it back in a warm spot to rise again for a further hour.Preheat the oven to 160c Fan/180c/Gas Mark 4.
After the loaves have risen for the second time, brush them both liberally with the 55g melted butter and then put them straight into the oven.
Bake for 45-50 minutes until the loaves sound hollow when tapped underneath. Remove from the oven and generously sift with icing sugar whilst still warm.
Stollen

Ruth Clemens, Baker Extraordinaire
Finalist on BBC2 The Great British Bake Off
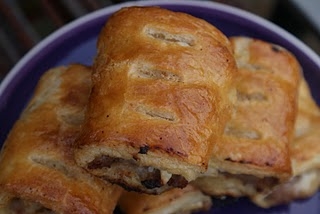
On the seventh day of Christmas The Pink Whisk sent to me…..Ultimate Sausage Rolls
December 7th, 2010There is nothing that tastes better than home made sausage rolls, I have to admit that it’s been a Christmas tradition since I was little and was in fact my Dad who taught me to make them, these really are delicious.
Ingredients:
1 x quantity of Rough Puff Pastry recipe here or 1 x pack of ready made puff pastry 🙁
(really try making your own it’s really easy – honest x)
500g good quality pork sausages
2 x cooking apples
salt and pepper to season
1 egg for egg wash
Makes 16 x 2″ Sausage Rolls.
Preheat the oven to 220C/200C Fan/ Gas Mark 6.
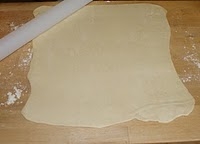
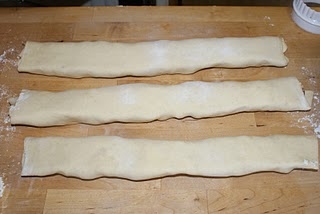
Prepare the puff pastry by rolling out into a large rectangle on your well floured work surface.
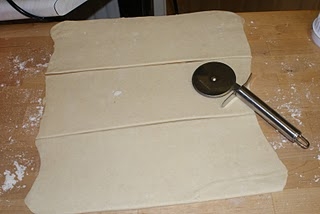
Cut the rectangle into three equal strips.
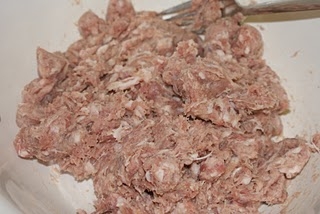
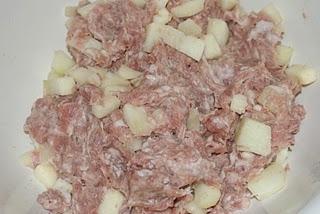
Take a large bowl and your sausages. With scissors snip a little hole at each end of the sausage, from the middle squeeze the sausage meat out from the skins. Repeat until all the sausagemeat is in the bowl. Now I’m sure you want to know why I’m using sausages and not a tray of sausagemeat. Well, sausages are already combined with breadcrumbs and are the right consistency already for sausage rolls, plus they are much tastier than a tray of sausagemeat which will vary greatly in quality.
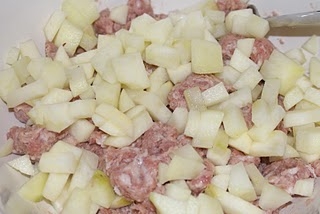
Peel the two cooking apples, remove the cores and dice into quite large pieces. Add to the sausagemeat.
Season with salt and pepper and then mix well to combine. It’s messy but much easier to knead it with your hands!
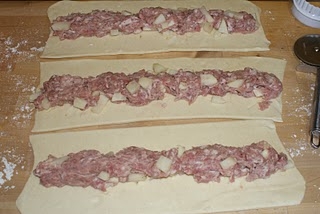
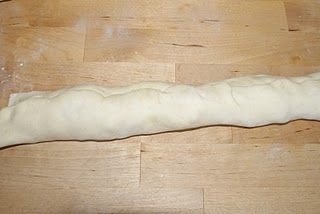
Divide the mixture into three and shape into a long roll the length of your pastry. Place a roll in the middle of each strip of pastry.
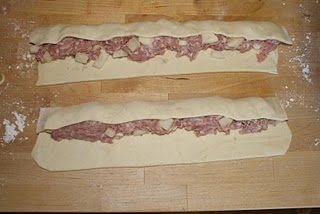
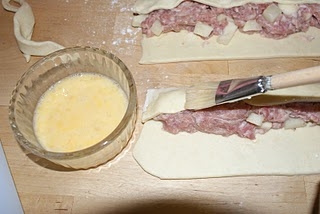
Fold one flap over the top and brush with egg wash.
Take the second flap over and stick the two together, pinching well to seal.
Turn the rolls over so that the seam is underneath.
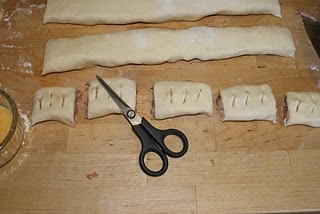
Cut using a sharp knife into 2″ pieces. Snip three vents in the top of each using scissors.
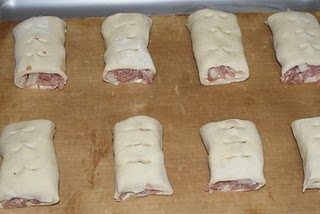
Lay well spaced on a well greased or lined baking sheet.
Glaze the tops and sides well with egg wash.
Bake in the oven for 15-18 minutes until golden brown.
These are best eaten whilst freshly cooked and the pastry crispy. You can freeze them uncooked and then just defrost as and when you need them.

Ruth Clemens, Baker Extraordinaire
Finalist on BBC2 The Great British Bake Off
On the sixth day of Christmas The Pink Whisk sent to me…. Chocolate Coconut Snowballs
December 6th, 2010Chocolate and coconut were made to go together, add in some marshmallow and it’s heaven in a snowball!
Ingredients:-
Cakes
200ml milk
2 tsp malt vinegar
75g dessicated coconut
140g butter, softened
200g caster sugar
1 1/2 tsp vanilla extract
2 eggs
55g self raising flour
165g plain flour
3/4 tsp bicarbonate of soda
60g cocoa powder
Marshmallow
225g caster sugar
85ml water
1 x 7g sachet of gelatine
50ml water
Topping
20g dessicated coconut
50g plain chocolate to drizzle
Preheat the oven to 160c Fan/180c/ Gas Mark 4.
Begin by measuring the milk for the cakes into a jug and add the malt vinegar. Set to one side. The vinegar in the milk takes the sweetness from the milk and makes an alternative to buttermilk which can be difficult to get hold of in the shops, not to mention expensive!
Cream together the butter and sugar until light and fluffy.
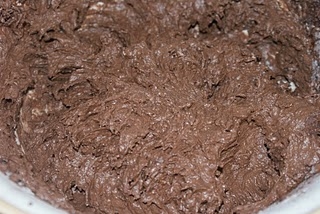
To the creamed butter and sugar add all the dry ingredients, vanilla, eggs and the milk from the jug and combine well.
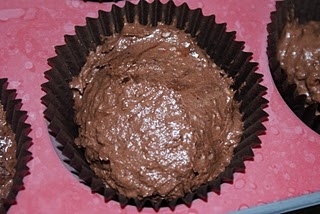
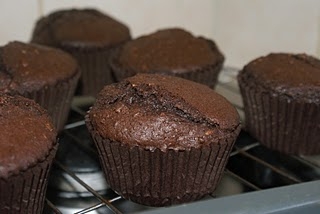
Add the mixture to cupcake cases and bake in the oven for 22-24 minutes until well risen and firm to the touch.
Remove from the oven and allow to cool on a wire rack.
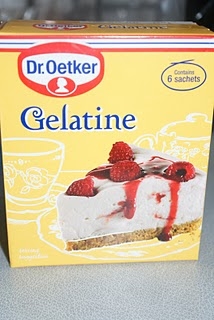
Once the cakes are cooled its time to make the marshmallow topping. You will need to get hold of some of the Dr Oetker gelatine in sachets. Tescos and Sainsburys and Waitrose sell it on the baking aisle.
In a small jug dissolve one sachet in 50ml hot water.
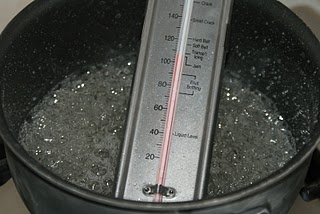
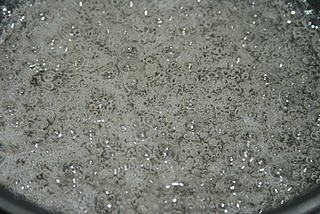
Place the sugar and 85ml water in a pan and heat until the sugar dissolves. Keep boiling the sugar syrup until the temperature reaches 113C.
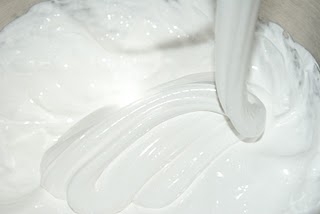
Place the gelatine dissolved in the water into the bowl of a stand mixer fitted with the whisk attachment or a large bowl. To the bowl add in the hot sugar syrup and start whisking carefully.
Keep whisking until the mixture goes to a meringue like stage, you want to get it to soft peaks and this will take about 5 minutes whisking by machine.
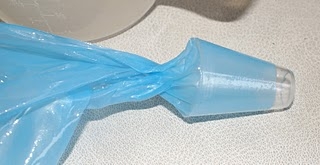
Take a disposable piping bag and a large plain nozzle, fit the nozzle to the bag and give it a good twist – this will stop the marshmallow coming out until you’re ready for it!
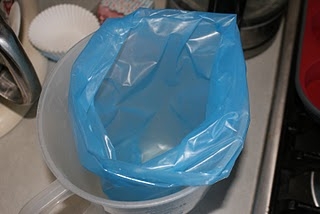
To make the bag easy to fill fit it over the top of a jug, then fill with your marshmallow.
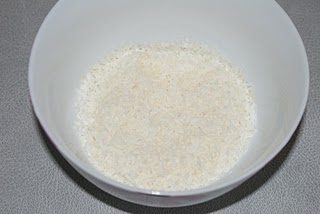
Place the coconut for the topping in a small bowl.
Pipe snowball blobs of marshmallow on to the tops of the cakes, working with a small amount of cakes at a time, dip into the dish of coconut to coat.
Melt 50g dark chocolate and drizzle over the cakes to decorate.
Ruth Clemens, Baker Extraordinaire
Finalist on BBC2 The Great British Bake Off
On the fifth day of Christmas The Pink Whisk sent to me….Party Breadsticks
December 5th, 2010
I suppose you’re thinking breadsticks is a really random type of recipe to include in a twelve days of Christmas, believe me if you’re having a party these will amaze people….you made them yourself…..? really…? Watch them disappear at the speed of lightening!
Makes 24 super long breadsticks.
Ingredients:
225g strong white flour
1 tsp salt
1 tsp dried yeast
1 tsp sugar
150ml milk
30g butter, melted
1 egg to glaze
Flavourings of your choice – salt and pepper, parmesan
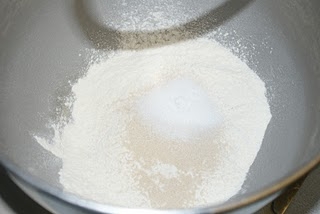
Place all the dry ingredients in a bowl.
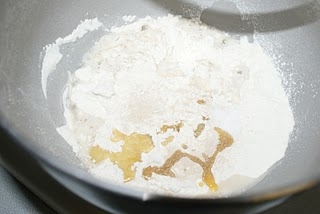
Add the milk and melted butter and combine into a soft but not too sticky dough.
Knead the dough for ten minutes by hand. If you have a bread machine you can get it to do the work for you adding all the ingredients and using just the dough setting.
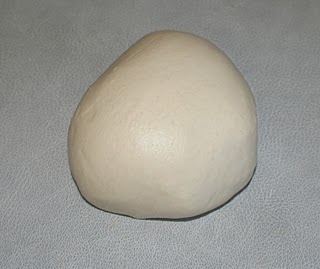
Once your dough is smooth and elastic place in a lightly oiled bowl, cover with clingfilm or a tea towel and leave to rise for an hour in a warm spot.
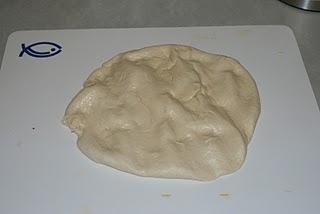
Once doubled in size tip out the dough onto your work surface and give it a quick pummel with your hands to knock it back.
Preheat the oven to 190c Fan/200c/Gas Mark 6.
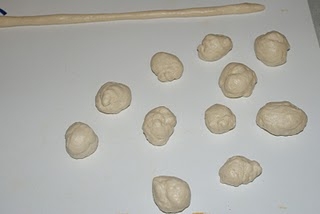
Pinch small amounts off the dough and roll into long thin sausage shapes.
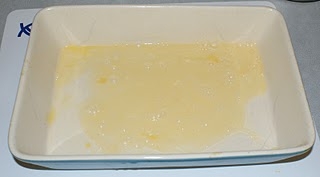
Beat the egg for the egg wash in a large dish, a lasagne type casserole dish is perfect.
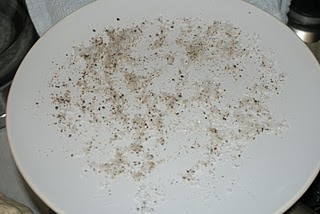
One a plate prepare your flavourings – salt and pepper or grated parmesan cheese – these breadsticks taste just as good plain too.
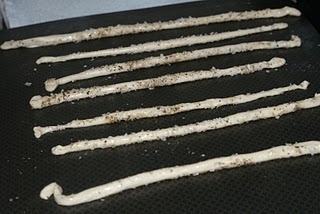
Take the breadsticks one by one holding at either end and swim them through the egg wash, followed by a roll around in the salt and pepper and place onto a greased baking tray.
Bake in the oven for 10-12 minutes until golden brown.
Remove from the oven and cool on a wire rack.
Breadsticks will keep up to two weeks in an airtight container.
Ruth Clemens, Baker Extraordinaire
Finalist on BBC2 The Great British Bake Off
On the fourth day of Christmas The Pink Whisk sent to me………ideas for decorating your Christmas Cake!
December 4th, 2010
I feel like we’ve been working on our Christmas cakes for such a long time lovingly stirring boozy fruit, baking our precious cakes and feeding them with brandy it’s really exciting to be at the final stage – decorating!
For an 8″ cake you will need:
1 x 10″ cake board
500g marzipan
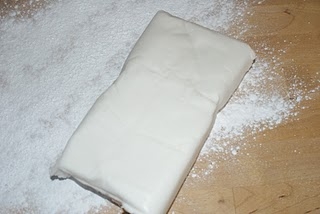
1kg ready to roll icing
2 tbsp apricot jam or marmalade
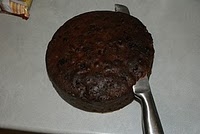
Unwrap your cake from the paper and foil you’ve been storing it in and set it on your worksurface.
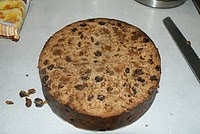
See whether it is level, mine isn’t so it needs to be levelled with a knife – any excuse, it means I get to eat the trimmings!
Using a large serrated knife cut the dome of the top of the cake if necessary.
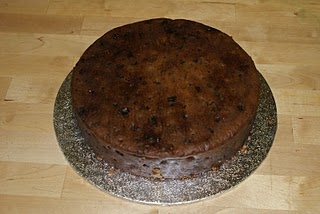
Prepare your cake board and position your cake on it so that the cut side is downwards.
Check that you’re happy with your levelling and adjust if necessary.
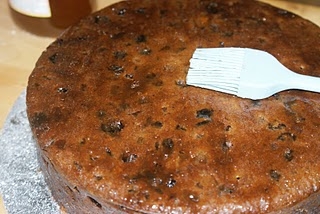
Take your jam or marmalade and zap it in the microwave for 30 seconds to soften.
Using a pastry brush paint the outside of the cake with a thin layer of jam (avoiding any bits!). So now the cake is nice and sticky and will be ready to glue on the marzipan layer.
500g is enough marzipan to coat an 8″ cake. If you love the taste of marzipan you can make this layer thicker but you will need more to do so. Knead gently on your worksurface to ‘warm’ the marzipan which will make it easier to work with.
Take half of the marzipan and shape into a rough sausage shape.
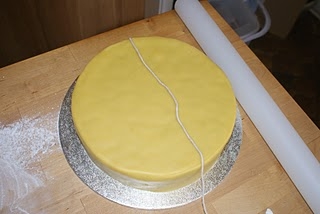
Dust your worksurface with icing sugar and roll out the sausage into a long strip to reach around the outside of the cake. Measure with string to help you know how long it needs to be.
Again with the string measure how tall your collar of marzipan needs to be and cut to the right height. It should be 5mm above the top of the cake.
Easiest for cutting marzipan and sugarpaste is a pizza cutter, the type that rolls.
Position around the outside of the cake and trim neatly where the two edges meet.
Gather together the trimmings and the remaining half of marzipan and roll out to about 5mm thick on your worksurface.
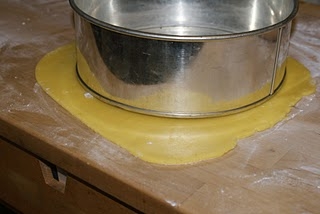
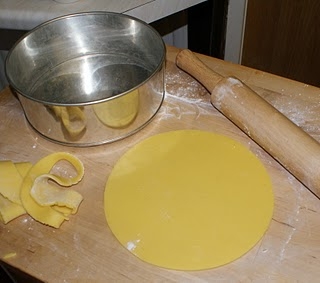
Using the tin you baked the cake in as a template cut out a circle for the top of the cake.
Place the circle on the top of the cake, gently sealing together the edges where it meets the marzipan collar.
Use your hands to smooth the seams of the marzipan. Smooth the top and the sides working out any major lumps and bumps.
Now you need to leave it to one side to dry a little – 24 to 48 hours. Now I know you Pink Whiskers don’t like waiting and like to get things done here and now (far too impatient like me!) but it is important in getting a really good finish on the sugarpaste layer. The marzipan needs to be slightly firmer to give you a fighting chance. So put it to one side and come back to it tomorrow.
Okay, so the marzipan has set a little and we’re ready with the sugarpaste.
Work with 1kg of sugarpaste for an 8″ cake. The thicker the sugarpaste the easier it is to work with and the less it will crack and split on you. I’m not generally a fan of Supermarkets own brand sugarpaste as in the past I have found it too sticky. But in the interests of The Pink Whiskers I have been trying them out – you’ll be fine with Dr Oetker, Sainsburys own brand and Asda’s own brand and Regalice. (In fact I think the Asda one came out top in by book).
Dust the worksurface liberally with icing sugar. Knead the sugarpaste to warm it up making it much more pliable.
Measure across the cake with a piece of string from the board, over the top and back onto the board again and cut the string to the right size. Dampen the marzipan with a pastry brush dipped in a little bit of water.
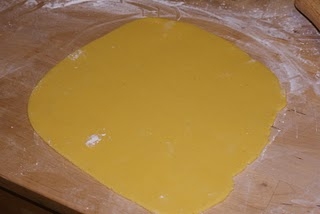
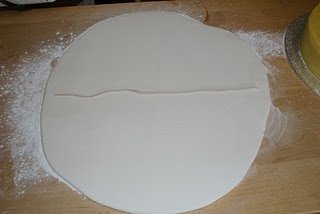
Begin to roll out the sugarpaste making sure you have plenty plenty of icing sugar on the worksurface, once it sticks it’s gameover and you have to start again.
You can turn the sugarpaste when rolling but don’t flip it over.
Measuring with your piece of string keep rolling out, into a rough circle until the sugarpaste is just over the right size.
Polish the top of the sugarpaste with the flat of your hand to smooth it out. Take any rings or watches off first as they always catch and rip up your hard work. You will feel what I mean as you polish – the sugarpaste takes on a shine and will be super smooth.
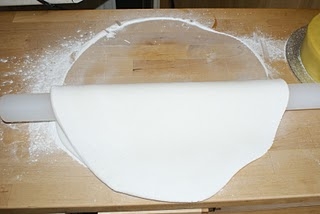
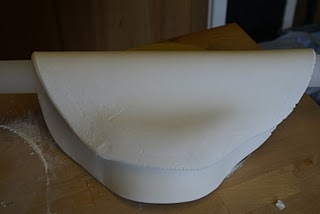
Place the rolling pin in the middle of the rolled out icing and flip it over.
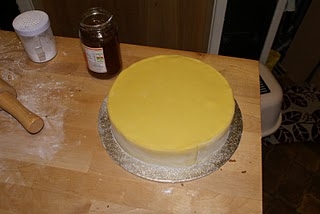
Use the rolling pin to lift into position on the cake.
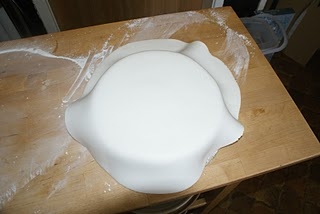
Flip over the sugar paste and remove the rolling pin.
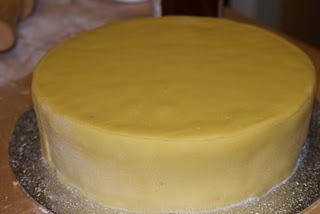
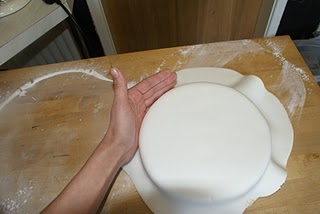
Starting on the top, ignore the sides for now, polish the top of the cake with the flat of your hand again. When you are happy with the top start working the way down the cake with your hands, smoothing the sugarpaste into position. Go slowly and work from the top of the cake down towards the board. If the sugarpaste starts to crease lift it away from the cake and smooth from the top down again. If the sugarpaste begins to crack you can ‘polish’ out the start of any cracks with the palm of your hand.
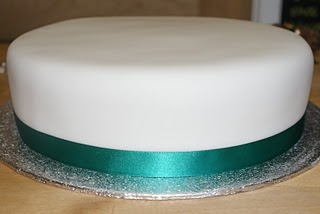
Eventually you will have worked all the way down to the board. With a sharp knife trim off the excess sugarpaste at the base of the cake. Wrap up the excess in clingfilm and save it for now.
Set your cake to one side and leave overnight to firm up. Again this is important before we start adding the decoration as the sugarpaste is soft it is really easy to nick and mark it with your hands and we don’t want that do we?
So here’s a couple of ideas for decorating your cake.
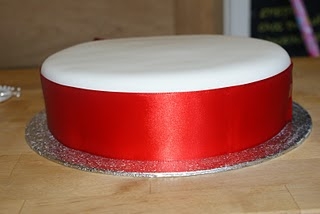
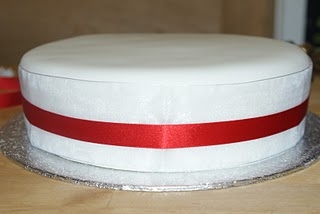
First up ribbonage!
The choice is yours, simply secure it at the back with a pin.
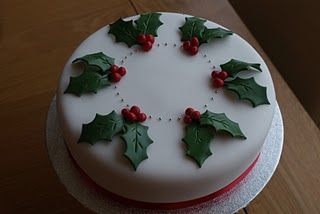
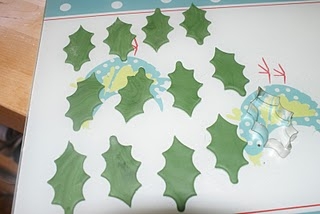
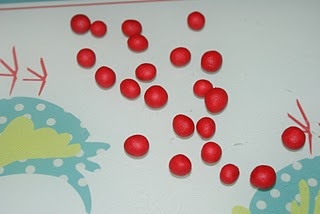
For the holly leaf cake, colour some sugarpaste green and little bit red, or use ready coloured.
Cut out 12 holly leaves.
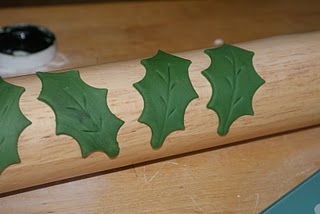
Mark on the leaf veins with a back of a knife and drape over a rolling pin to curl. Leave them to dry out overnight.
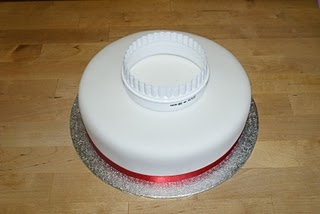
Score a faint circle onto the top of your cake using a circular cutter to use as a guide.
Secure the holly leaves in two’s using the circle as a guide to position them. Take a small blob of sugarpaste and mash in a bowl with a few drops of water to make a glue. Use to secure the holly leaves in place.
Make some holly berries using the red sugarpaste and glue in place.
I have also added some little silver balls, a dab of water will hold these in place.
Equipment Links to Amazon:
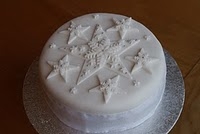
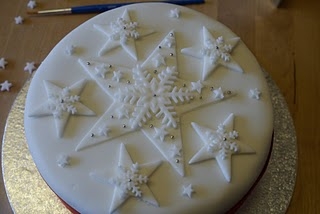
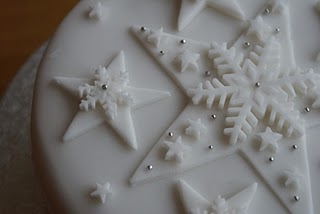
For the snowflake/star cake.
Cut out one large star and five small stars from white sugarpaste. Cut out one large snowflake and five small ones in white too.
Lastly cut out some little white stars.
Position onto your cake using a little dab of water to glue together, again I have added some silver balls – just because I can’t leave them alone!
Equipment Links to Amazon:
Snowflake Plunger Cutters PME – Set of 3
For the last cake idea I have made a little polar bear from sugarpaste. Instead of covering the cake in white sugarpaste I have coloured some an ice blue colour.
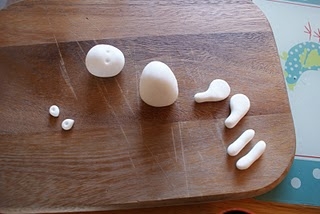
Add an iceberg circle of white sugarpaste to the top for the polar bear to sit on. Here’s how to make a polar bear.
Form the shapes shown in the picture – a tapered ball like an egg shape for the body, a ball for the head which I have shaped to form a slight muzzle, two sausages for legs, two back legs like chicken drumsticks and two ears – circles pinched together to form a teardrop shape.
Indent the eyes using the end of a paintbrush and indent the ears too.
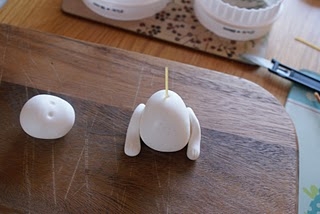
First stick the back legs in place using a dab of water.
Insert a piece of dry spaghetti through the body. It will help secure the head.
Add the head. Add the front legs and mark in some polar bear claws. Poke two small paintbrush end holes in the head to stick the ears into.
Cut out a thin strip of coloured sugarpaste, fray the ends and stick into place as a scarf.
Add in small balls of black sugarpaste for the eyes and nose. Mark on his mouth using a drinking straw cut in half.
Add a couple of pieces of holly to his head and a couple of red berries too.
The entire cake has been brushed over with snowflake lustre dust so it is all sparkly and then I’ve added some little white stars too.
Equipment Links to Amazon:
PME Star Plunger Cutters – Set of 3
Whatever you choose to do with your cake have fun! Don’t forget it’ll be delicious come Christmas Day!
Ruth Clemens, Baker Extraordinaire
Finalist on BBC2 The Great British Bake Off
