Posts by The Pink Whisk:
Super Zingy Lemon Curd
July 19th, 2010I’m famous for my Lemon Sponge cakes but what makes them super special is my very own Super Zingy Lemon Curd.
Ingredients:
Zest and Juice of 6 Lemons
120g Butter
450g Caster Sugar
4 Eggs
Makes 1litre of Lemon Curd.
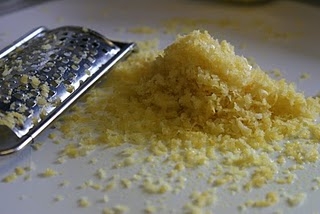
Step one is to zest all 6 lemons, so I’ll meet you for the next step in half an hour! You need a coarse style grater for the zest. Next, juice all 6 lemons.
It’s important to do it in this order so that once you have grated a knuckle or two in the zesting stage you can follow it up by getting the sting from the lemon juice too!
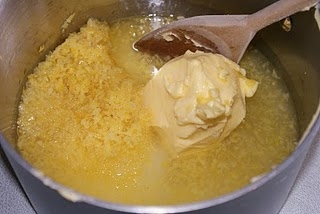
Put the zest and the juice into a thick based pan along with the butter and the sugar.
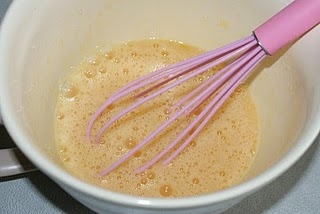
Break the eggs into a large jug and beat well. Keep to one side.
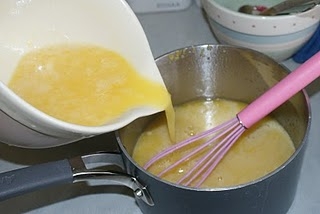
Whoop Whoop – The Pink Whisk makes an appearance!
The first of many!
Place the pan over a medium heat and allow the butter to melt and sugar to dissolve.
Once this has happened add the mixture little by little to the jug of eggs, whisking well after each addition.
Once both mixtures have been fully incorporated pour back into the pan and return to the heat.
Stir frequently as the lemon curd heats. Over a medium heat it should take about four mins to begin to boil. Bubble for a further three minutes to thicken.
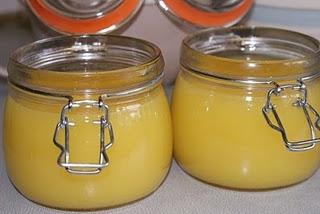
Take from the heat and pour into ready prepared kilner or jam jars.
Allow to cool at room temperature before storing in the fridge.
Kept in the fridge the Lemon Curd will last up to three months, but I guarantee you’ll be needing to make some more far sooner than this!
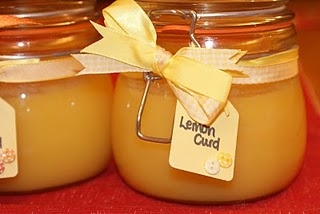
This batch are for my boys school teachers, I like to give them ‘different’ gifts thinking they must get inundated with the usual chocs, candles and plants! So whether they like them or not from me it’s something handmade!
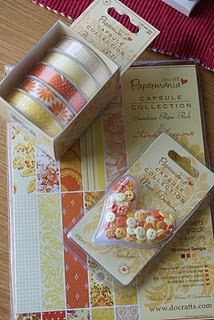
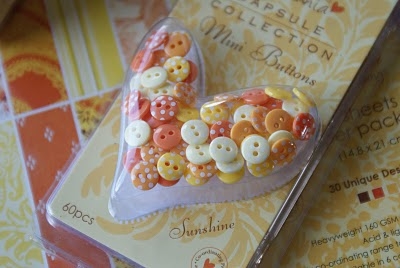
A little trip to Hobbycraft found me this little lot, which I just couldn’t leave behind (especially the teeny tiny buttons)
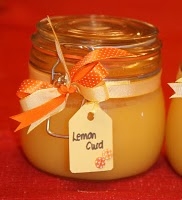
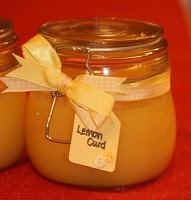
And turned them into these…
Beautiful – Super Zingy Lemon Curd
 Ruth Clemens, Baker Extraordinaire
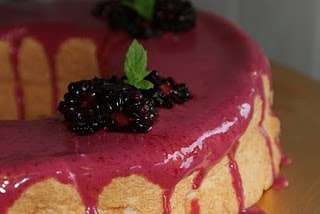
Blackberry Glazed Angel Food Cake
July 18th, 2010
Light, Sweet and Virtually Fat Free – In my house WE LOVE THIS CAKE. In fact as I write it’s all gone!
Ingredients:
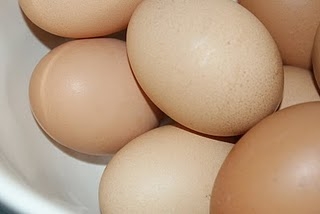
9 Egg Whites
120g Plain Flour
250g Caster Sugar
1 1/2 tsp Cream of Tartar
1 1/2 tsp Vanilla Extract
For the glaze:
350g Icing Sugar
250g Blackberries
Sprigs of mint to decorate
Preheat oven to 170c/160c Fan/325F/Gas Mark 3.
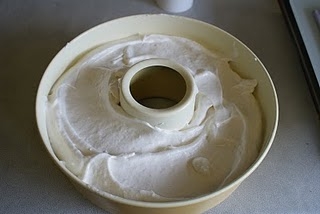
You will need a ring/funnel type tin, they’re not quite a bundt tin but very nearly! My pan is 10″ in diameter which seems to be the perfect size.
Grease your pan whichever way you prefer, I use a spray oil that I get from my local sugarcraft supplier and it really is brilliant and these days I wouldn’t use anything else. If you come across it treat yourself to some – you’ll be amazed!
Begin by sifting the flour three times, yes three times – now do as I tell you! Then sift the sugar separately into another bowl – sift caster sugar I can hear you say? Now weren’t you listening?? Trust me, sift the sugar.Finally measure out 40g of the sugar and add to the flour and sift together one final time.
Separate all nine eggs and place the whites in a large bowl, or your stand mixer if using.
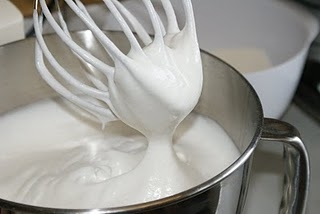
Add the Cream of Tartar and whisk until very stiff. Add in two tablespoons of the sugar and the Vanilla Extract and whisk again until stiff and shiny.
Gradually add in the rest of the sugar, beating well after each addition.
Fold in the Flour and sugar very carefully using a large metal spoon to cut through the egg whites. Be careful not to overwork the egg whites and knock too much air out but you do need to make sure that you get rid of all large pockets of flour.
Add the mixture to your prepared pan and roughly level.
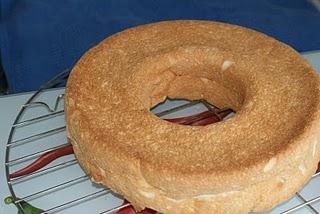
Bake in the centre of the oven for 40 mins. The top of the cake should feel light and springy when tested.
Remove from the oven. Turn out straight away onto a cooling rack and allow to cool.
To Make the Blackberry Glaze.
Wash and drain 150g blackberries, blitz using a stick blender and then pass the mixture through a sieve. This will remove the seeds which you don’t want in your glaze. Stir in 350g sifted icing sugar and 2 tbsp of water and mix well. This will give you a wonderful vibrant blackberry glaze for the top of your cake.
Carefully pour over the top of the cake allowing it to drizzle seductively down the sides.
Use the remaining blackberries to decorate along with a few baby sprigs of mint.
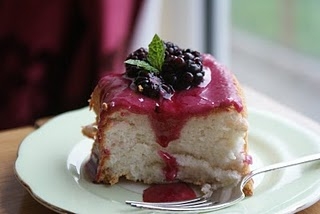
Blackberry Glazed Angel Cake

Ruth Clemens, Baker Extraordinaire
Ice Cream Cone Cakes
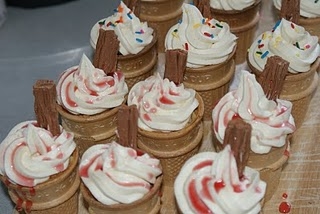
July 16th, 2010Anyone for ice-cream? Prefer some cake? – Hooray it’s both!
Ice-cream Cone Cakes – perfect for a little one’s birthday party. Who am I kidding??- Perfect whoever you are and whenever you feel like it! No complicated trickery involved these really are super easy. What are you waiting for…get on with it!
Ingredients:
12 Ice-cream cones with flat bases
200g Butter
200g Caster Sugar
4 Eggs
200g Self Raising Flour
2 tsp Vanilla Extract
For the icing:
225g Butter
450g Icing Sugar
1 tsp Vanilla Bean Paste
1 tbsp Milk
1 box of mini Chocolate Flakes
Plus a variety of cake sprinkles and ice-cream sauces – whatever takes your fancy!
Preheat the oven to 180c/160c Fan/350F/Gas Mark 4.
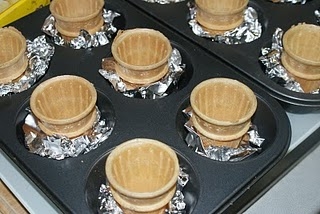
Prepare your baking pans, Use a muffin tin, one of the large type variety. Cut out 12 foil squares you will need them to be about 15cm square each. Press n one foil square into each hole. Next place your empty icecream cones onto each foil piece, shape the overhanging foil around the cone to create a support and keep them standing upright. You don’t need to be too neat with this just make sure they feel supported and aren’t going to topple over the minute you go to put them in the oven.
Make your cake mixture by creaming together the butter and sugar. Once light and fluffy add the vanilla extract and then one egg at a time making sure it is well mixed after each addition. Any sign of the mixture curdling add a tablespoon of the flour.
Once all the eggs are incorporated mix in the flour.
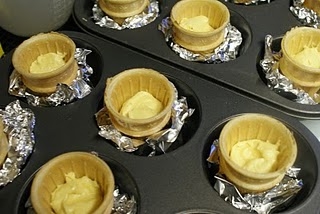
Fill each cone approx 2/3rds full.
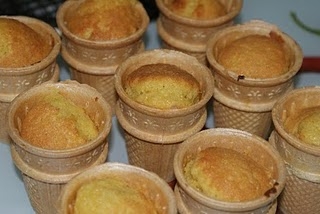
Bob them into the oven for 18-20 minutes until fully cooked and a skewer comes out clean.
Magic – the cones don’t burn or go soggy from the mixture and you have beautifully cooked cakes!
Allow them to cool and then on with the decorating. Make up the buttercream by beating the butter to ensure it is super soft, then beat in the sifted icing sugar along with a tablespoon of milk and the vanilla bean paste.
Add the butttercream to a piping bag with a star nozzle and pipe the Mr Whippy effect on top of the cakes. But we’re not done yet!
Take a mini flake and push it through the buttercream into the cake. I found they were just a smidgen to long so I cut a 2cm piece of each to make them the right size.
Unfortunately you will have to eat all these cut off pieces just like I did (there – my secrets out)!
Finally decorate them with sprinkles or ice-cream sauce – whatever you fancy.

Ruth Clemens, Baker Extrordinaire
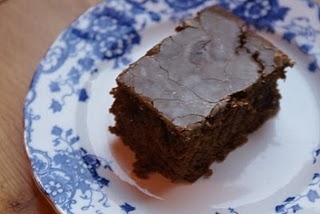
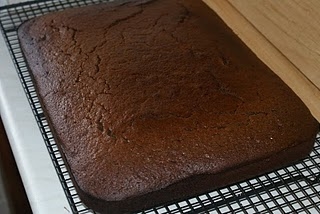
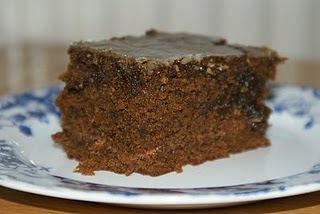
The Best Ever Ginger Cake!
July 14th, 2010The best recipes have a good story behind them and this one is no exception.
Back in the day, when I was at High School, the canteen made a wonderfully moreish ginger cake – my friends and I all went mad for it (well we were only 12!) I must have been interested in baking even then and tried no end to prise the recipe from the Dinner Ladies – to no avail. Why it was such a closely guarded secret I’ll never know.
Over the years I have tried and tested any ginger cake recipe I could get my hands on to recreate the loveliness I remember from school most turned out far too dense and not at all what I was looking for.
Until one day, my Son started High School and came home with tales of a fabulous ginger cake – and he’s a bit of a connoisseur when it comes to cake – it had to be the same one! Hurrah – but how to get my hands on the recipe????
A ten pound bribe to Son in question set him into action and he came up with the goods – Ginger Comfort – and it’s here to share with you. SShhhhhhh….Don’t tell the Dinner Ladies!
Ingredients:
Cake:
500g Plain Flour
180g Butter
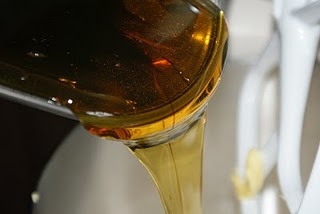
225g Golden Syrup
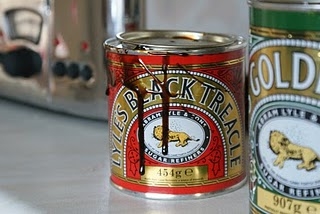
225g Treacle
1½ tsp Baking Powder
1 ½ tsp Ground Ginger
1 ½ tsp Bicarbonate of Soda
180g Caster Sugar
¾ tsp Salt
400ml Boiling Water
Icing:
300g Icing Sugar
90ml Water
Preheat oven to 190c/180c Fan/375F/Gas Mark 5.
Grease a deep tin, I use a roasting tin approx 25 x 35cm.
Put all ingredients with the exception of the Golden Syrup, Black Treacle and Water into a large bowl, or the bowl of your stand mixer if using.
Weigh out both the Syrup and Treacle into your scales and add to the mix.
Pour the Boiling water into your scales pan and allow it to soften the syrup and treacle that will have been left behind. Then pour it into the mix. That way you will get all the lovely syrupy treacly magic.
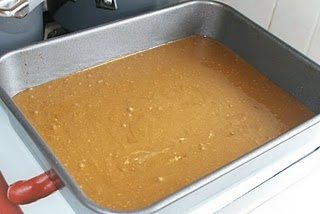
Mix together using an electric mixer going slowly at first as it can be a bit splashy to begin with.
When fully combined pour straight into tin and bake in the oven for approx 30 mins.
How easy is that!
Remove from oven and allow to cool.
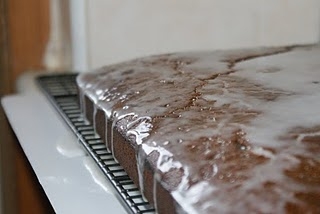
Mix an icing glaze, it should be nice and runny and spread across the top of the cake. Really it doesn’t need anything more complicated than this.
Makes 15 generous squares. You could scale down the recipe if you don’t want to bake quite so much but it keeps really well (as long as the gannets in your house don’t get to it!)
 Ruth Clemens, Baker Extrordinaire
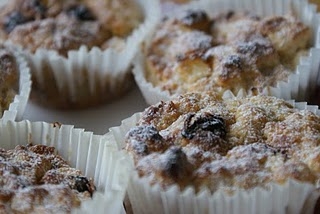
Bread & Butter Pudding Cupcakes
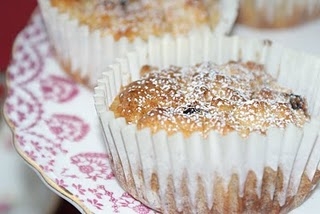
July 13th, 2010I like unusual stuff, especially when it works (okay then only when it works!) So, from me to you comes Bread and Butter Pudding Cupcakes – Bread and Butter Pudding on the go!
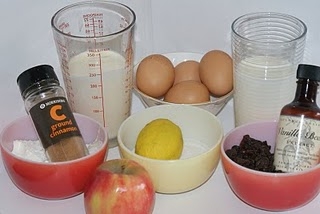
Ingredients:
100g Caster Sugar
40g Plain Flour
100g Unsalted Butter (melted)
300g Bread (cut into bitesize cubes)
225ml Double Cream
225ml Milk
4 Eggs (Beaten)
2 tsp Vanilla Extract
1 ½ tbsp Baking Powder
Grated Zest of one Lemon
½ tsp Salt
½ tsp Ground Cinnamon
80g Raisins
1 Apple (peeled and diced)
Icing Sugar to dust
Preheat oven to 180c/160c Fan/350F/Gas Mark 4.
Line your cupcake tray with muffin liners.
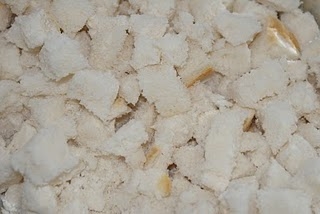
Chop the bread into small bitesize chunks, I would say ½ cm square, place in a bowl and pour in the cream and milk. Stir till they’re all coated in lovely yummy milky cream and leave to soak for 5 mins.
Make yourself a brew and relax or… prepare the rest of your ingredients!
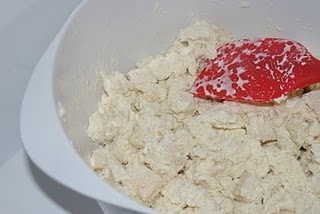
Stir in the sugar, vanilla, melted butter and beaten eggs.
Granted not the prettiest of batters
Separately mix together the flour, salt, baking powder and cinnamon, add to your bread mix and stir.
Fold in the raisins, diced apple (I like to use Pink Lady apples because they’re firm but lovely and sweet too) and lemon zest.
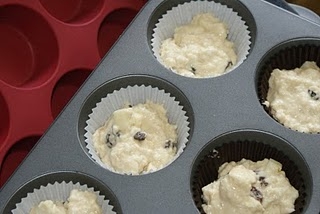
Spoon the mixture into your muffin liners, filling three quarters full. I find an icecream scoop works really well for this job.
Place in the centre of the oven and bake for 25-30minutes until puffy and golden.
Allow to cool in the trays for five mins before attempting to get them onto your wire rack – failure to follow this instruction may result in collapsing cupcakes – do so at your own peril!
Dust with icing sugar to serve. Makes 12 – Enjoy!

Ruth Clemens, Baker Extrordinaire
Welcome to The Pink Whisk
July 7th, 2010Welcome to The Pink Whisk and my very first post.
I am hoping that this will be a blog that inspires you to get baking and to try out new ideas.
There really is no better feeling than sharing one of your creations with friends and family or indeed scoffing the lot yourself with a cup of tea!
Please subscribe to the blog so you can be kept updated with all the exciting things I have planned and if you feel like it you can follow me on twitter too.
So, here’s to The Pink Whisk and our giddy baking adventures together!

Ruth Clemens, Baker Extrordinaire
 " width="477" height="261" border="0">