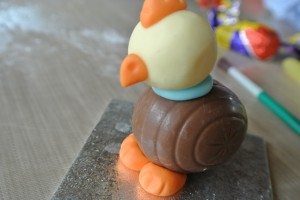
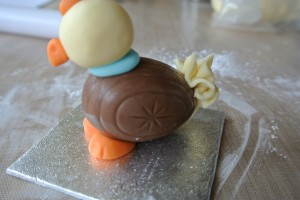
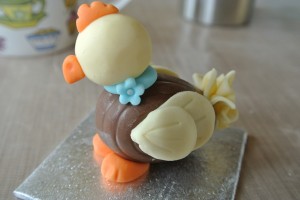
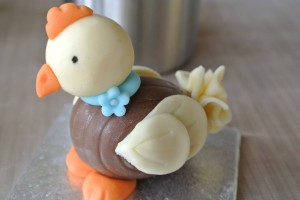
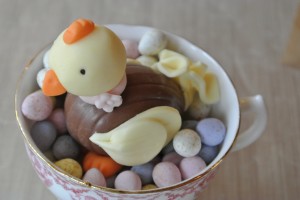
How cute is this little chickie?
He’s made from a creme egg! When I saw these made by Helen at Casa Costello I knew I had to have a menace about and see what I could come up with!
(Do bob over and see more of Helen’s fab creations)


It’s also my first ever foray into video tutorials if you need a bit more than just the photos!
(There’s a few glitches, like cutting my own head off at times etc, I have lots more grey hairs and frazzled brain cells then when I started – thank goodness for 13 year old boys is all I can say – thank you Ash x)
You will need:
Chocolate Egg (Creme Egg or similar)
Sugarpaste: yellow, orange, pink and white
Square of baking paper
Rolling pin
Cocktail stick
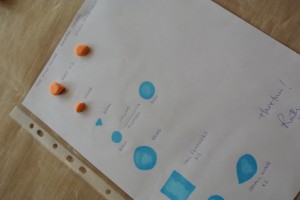
Cutters: petal and blossom or use this cheat sheet How to Make an Easter Chick Shape Guide to help you make the right shapes!
Water and paintbrush
Sharp knife
Black icing pen
Create little chick on a small square of baking paper, this will stop it from sticking to the worksurface and you’ll be able to transfer him easily to a chocolate crispy cake nest or to the top of a cake – whatever you want to do with him.
Knead the sugarpastes until they are soft and pliable. You can colour your own using gel colour pastes or buy them ready coloured (Lakeland have a good selection of colours)
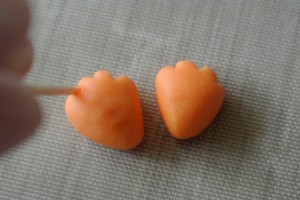
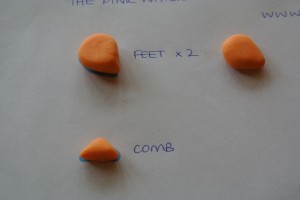
Roll two small balls of orange sugarpaste for the chicks feet.
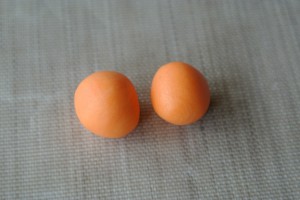
Flatten them slightly and pinch one end to make a teardrop shape.
Using the cocktail stick mark three indentations into the end of each foot for the toes.
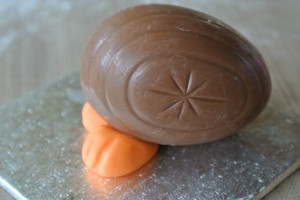
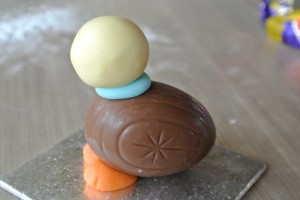
Set the feet side by side. Apply a dab of water to the backs and press the chocolate egg down onto them in position. The tapered end of the egg points away to become the tail.
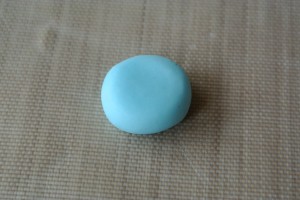
Roll a small ball of a pastel sugarpaste and flatten with your finger into a disc.
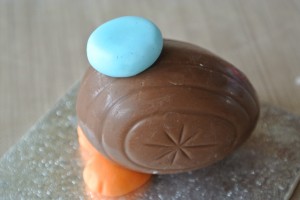
A dab of water to the top of the egg and place the disc in position.
Roll a ball of yellow sugarpaste for the chicks head (if yours is quite vibrant yellow you can mix a small amount with some white to create a paler colour).
If you print off the cheat sheet here (How to Make an Easter Chick Shape Guide0001) and place it inside a plastic document wallet you can use it as a guide to get the right shapes and sizes!
A dab of water onto the chicks collar and position the head.
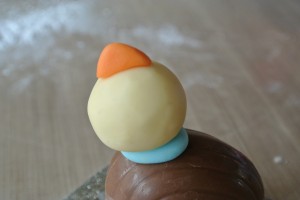
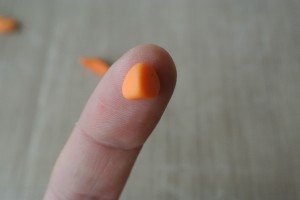
Create the chick’s comb using small piece of orange sugarpaste, shaping it with your fingers into a small flattish triangle. (The shape guide will help)
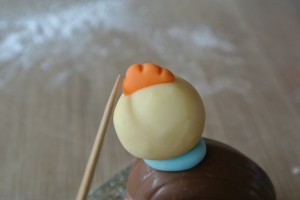
A dab of water on chicks head and stick in place
Using the end of the cocktail stick press in little indentations to create the comb.
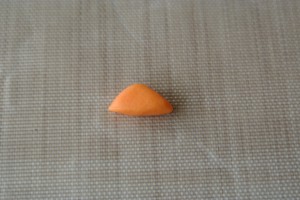
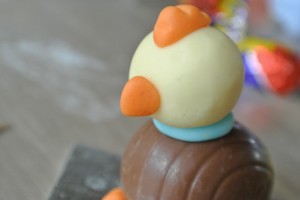
Now for the beak, more orange sugarpaste – shape it into a pyramid shape between your fingers.
A dab of water and into position.
Using the wrong end of your paintbrush mark an indentation on each side of the beak for nostrils (I’m not sure that’s what you call them on chicks but you know what I mean!)
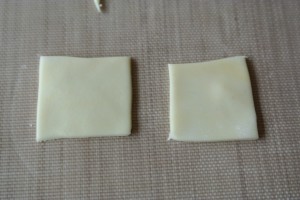
Roll out some yellow sugarpaste (about 2-3mm thick) a light dusting of icing sugar will make sure it doesn’t stick to the worksurface.
Cut out two small squares (2.5cm)
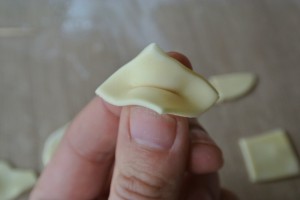
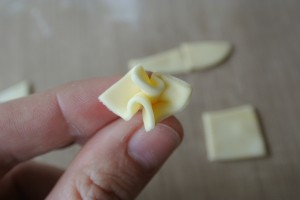
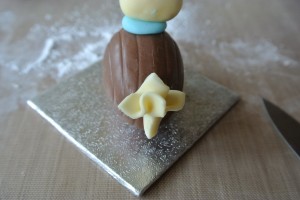
Fold each one in half opposite corners together and then fold in the remaining corners pinching together to create a spiky ruffle with a stem.
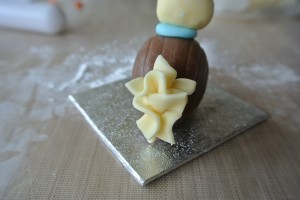
A dab of water on chickie’s bum and stick on the first spiky ruffle.
A dot more water and stick the second one just underneath the first.
Trim away the excess stem bits at the bottom with a sharp knife.
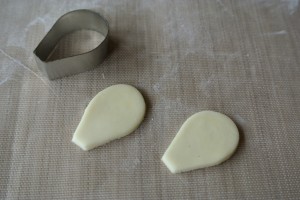
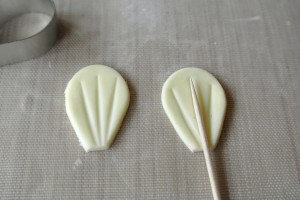
For the wings I’m using a small petal cutter (because I have one!) it’s easy enough without simply shape a ball of sugarpaste and use the shape guide to flatten and press into the right shape.
You will need two large and two small wings.
If using a cutter, cut out four in total.
Using the cocktail stick indent three lines on each wing for feathers.
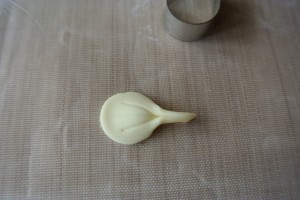
Pinch together the ends of two wings so they are in a pointed teardrop shape.
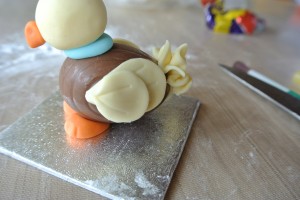
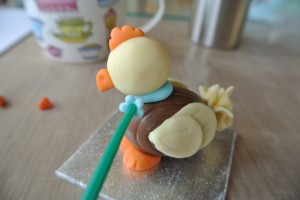
Stick one on either side of the chick’s body with a light brush of water.
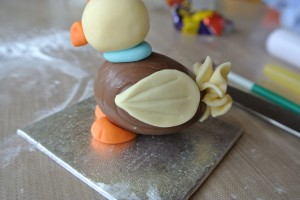
With the remaining two wings pinch them together about one third of the way in from the tapered end and pinch away the excess.
Set the smaller wings on top of the first set securing with a dab of water.
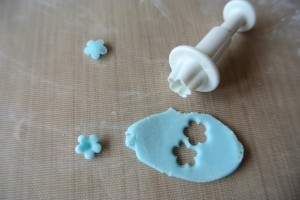
Roll out a little of the pastel coloured sugarpaste (the same colour as the chick’s collar) and cut out a small blossom.
A little dab of water on the collar and lift the blossom into position using the wrong end of your paintbrush.
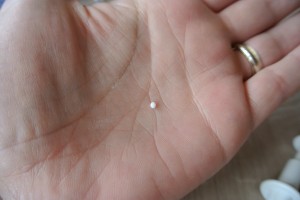
Roll a tiny ball (almost a speck) of white sugarpaste, a dot of water in the centre of the blossom, and using your fingertip press the centre into place.
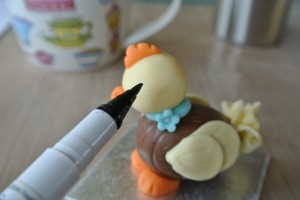
Last step is to add an eye to either side of your chick’s head. Using an edible black icing pen is the easiest but could also be done with royal icing or a tiny ball of black sugarpaste.
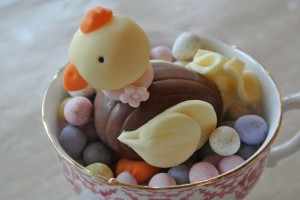
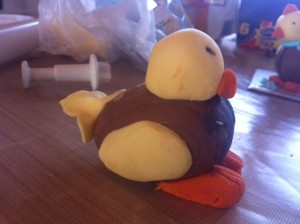
Aww, how cute! The boys loved making these with meand would make a great Easter holiday project – stock up on chocolate eggs and get stuck in. Be warned though they do like to go ‘off piste’ and we had a plethora of farm animals and after sticky fingers abounding only they would eat them!
Here’s Dyl’s chick….
And don’t forget the video is here if you need a little more help
Ruth Clemens, Baker Extraordinaire








Pingback: Mr & Mrs Easter Chick – Creme Egg Creatures |
Pingback: Easter Lambs – Creme Egg Animals! | Baking, Recipes and Tutorials - The Pink Whisk
Pingback: Easter Egg Chik Tutorial by “The Pink Whisk” « The Cake Directory – Tutorials