This cake will work in all sorts of colour combinations – this year I’m drawn to all things purple but go with your own colour scheme if you’d prefer.
You will need:-
Modelling paste – purple and white
Snowflake sugarpaste cutters – large, medium and small
(link is to a PME set on Amazon, there are cheaper alternatives to PME but I can’t vouch for their quality you’ll have to judge that for yourself)
Silver dragees (balls to you and I)
Ribbon
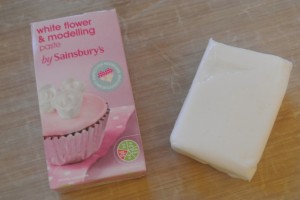
To decorate, start off with the modelling paste (Sainsburys sell it on the baking aisle or you can make your own, the recipe is here) It’s much easier to work with for decoration that sugarpaste, less sticky and you can roll and shape it much finer giving you a better finish.
Colour some of it purple – gel paste colours (available in Lakeland or online) are your best bet, for good colour without changing the consistency of the paste.
Roll out the purple paste, dusting the worksurface with icing sugar and making sure it’s not sticking.
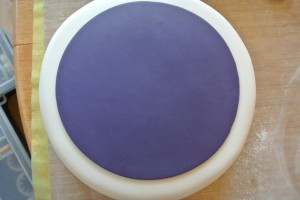
Smooth the surface of the paste with the palm of your hand and then cut out a circle slightly smaller than the top of your cake with a large pastry cutter, you could make a template from a piece of card or use a suitably sized plate as a guide.
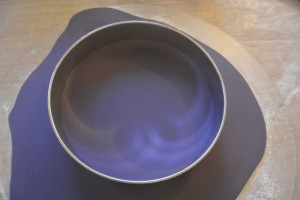
Apply a light brush of water to the top of the cake and set the circle centrally into position.
Roll out some white paste, making sure you’ve washed your hands well before hand otherwise the purple remnants will transfer dirty marks to the white paste.
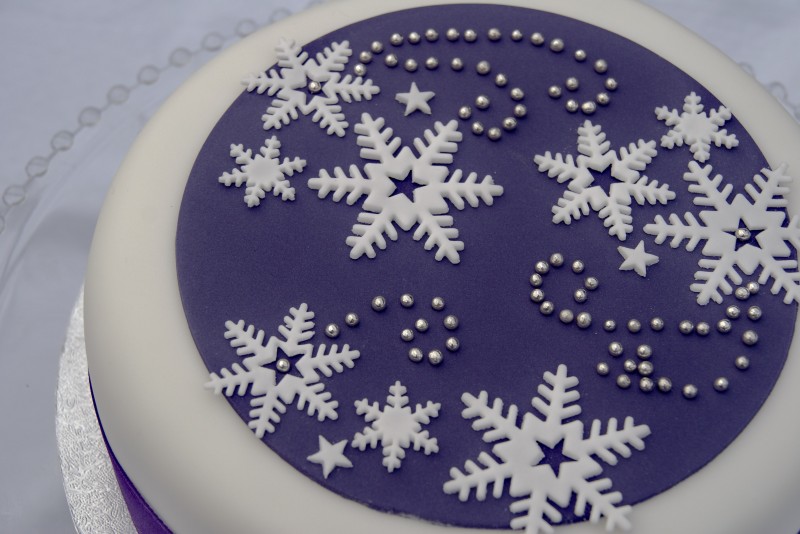
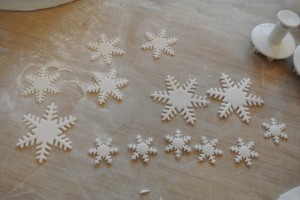
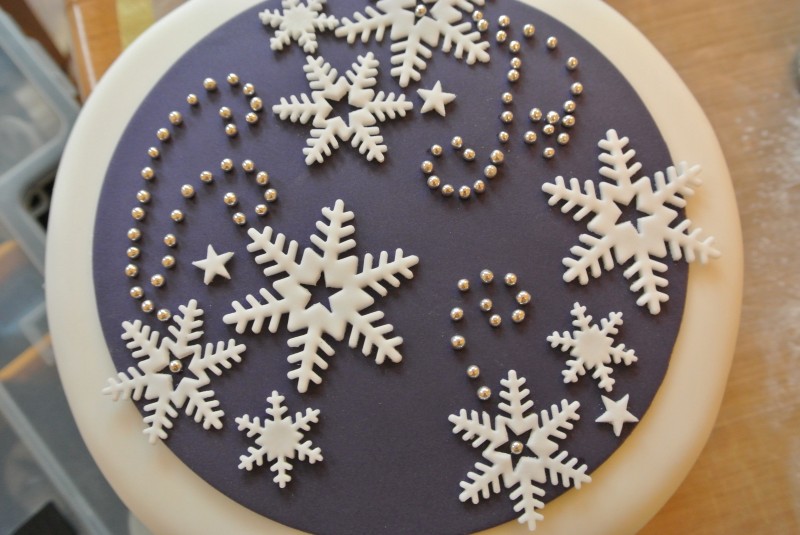
Roll it out nice and thinly and cut out 3 large snowflakes 3 medium and 3 small.
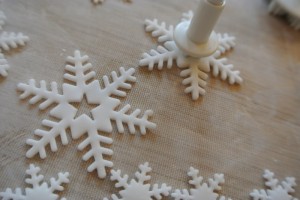
Use the small star cutter to cut out the centre of the large and medium snowflakes, keep the small cut out stars.
Set them aside to dry for 10 minutes – this way they are firmer and will hold in shape when you move them onto the cake.
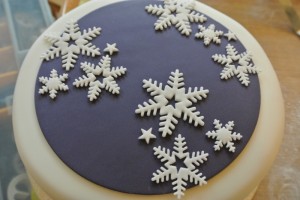
Secure the snowflakes and stars on the top of the purple disc securing them with a light brush of water to the backs.
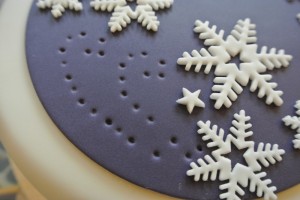
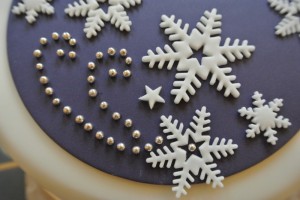
Using the wrong end of paintbrush indent small wells for each silver ball to sit in in a curled swirl shape and in the centre of the snowflakes that the swirls are coming from.
Dot each indent with a light touch with a damp paintbrush and set a silver ball into each. Press the balls down lightly to secure.
Allow to dry for 2 hours before brushing off any dust marks with the dry bristles of a small soft paintbrush.
Finally trim around the base with ribbon, securing it with pearl headed pins.
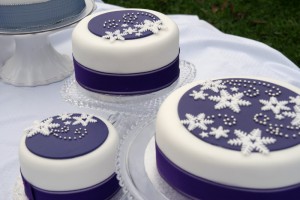
Its easy to work this design on a smaller cake too.
Purple and Snowflakes Christmas Cake – done!

Ruth Clemens, Baker Extraordinaire

















5 Responses to Purple & Snowflakes Christmas Cake