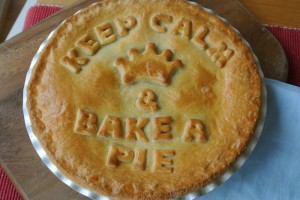
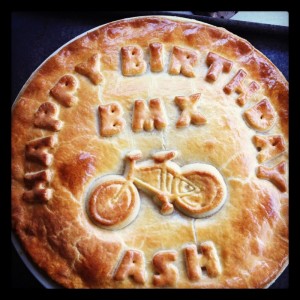
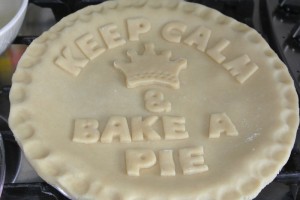
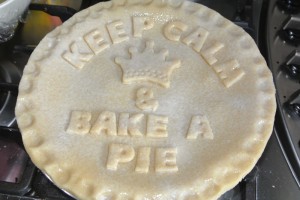
This recipe is for a ‘Pie Art’ Pie allowing a little extra pastry for decoration. If you struggle with pastry then the addition of an egg yolk as part of the liquid to combine it is a brilliant addition. It makes the pastry so much easier to work with, it’s far less likely to become overworked and elasticky, it’s a breeze to roll out and it doesn’t crack and fall apart! Of course the decoration is up to you, check out your cookie cutters for inspiration – raid the children’s playdoh cutters (just give them a good wash first!)
These mad pies all came about because my children have allegedly been over-exposed to cake. If asked what they’d like for their birthday bake the response is now often ‘pie please’ I suspect that it’s just for the custard.
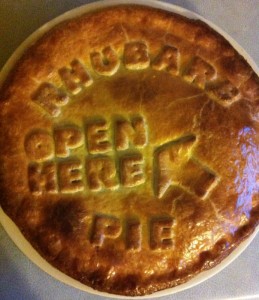
If you fancy giving rhubarb pie a try here’s my recipe and how I do the ‘Pie Art’ bit too.
Ingredients:
Pastry
335g plain flour
40g caster sugar
150g butter, diced
1 egg yolk
30-40ml cold water
Filling
525g rhubarb
100g caster sugar
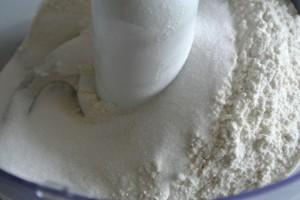
Place the flour and sugar in the bowl of a food processor and blitz it up to mix.
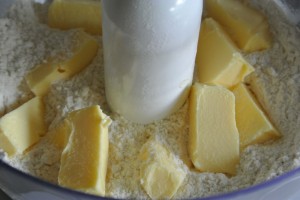
Add the butter, preferably cold from the fridge. Typical for me I’ve only got softened butter never mind I chucked it in and hoped for the best.
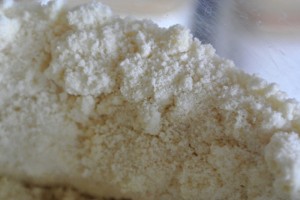
Blitz until the mixture resembles bread crumbs.
Phew I got away with that one.
Of course you can do all this in a bowl by hand. Me? This week I’d drop the bowl.
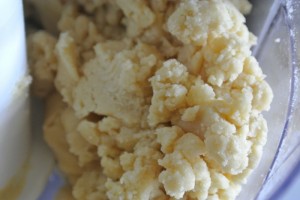
With the mixer running add the egg yolk followed by enough cold water to bring the pastry together into moist crumbs.
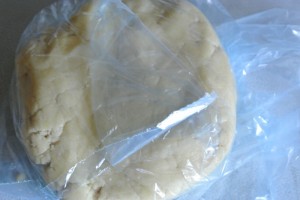
Gather it all together and wrap the pastry in a plastic sandwich bag or clingfilm. At the moment it’s soft like a biscuit dough so into the fridge to chill for half an hour.
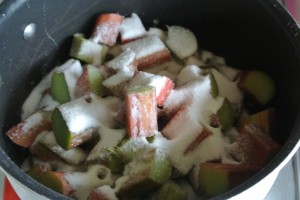
Prepare the rhubarb chopping it into good sized chunks and place in a pan.
Add the caster sugar and heat gently over a low heat stirring every now and then.
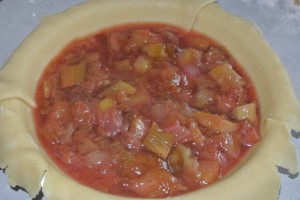
Cook until the rhubarb has softened but still holds its shape, about ten minutes. You don’t really want to cook it to mush.
Set the fruit aside and leave it to cool to room temperature. Generally if you put a hot filling in a pie it causes the pastry to sweat on the surface and can give your pie a strange lumpy look!
Once the filling is cooled it’s time for pie assembly.
Metal pie tins, ceramic pie plates, I like pie whatever it’s baked in.
Grease the tin.
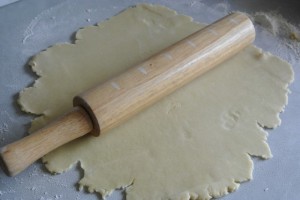
Lightly dust your work surface with a little flour. Roll out half of the rested pastry to a size big enough to line the tin with a bit of an overhang.
See even my rolling pin is conspiring against me – one of the handles has run off to join the circus!
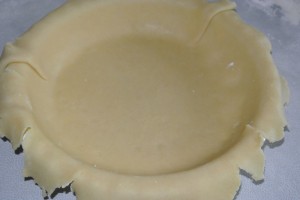
Lay it in. Patch up any rips cracks, or holes where you’ve poked your finger!
Before you add the filling taste a little bit. If the fruit is still too tart for your taste add in another 50g or so of caster sugar to taste.
Tip the fruit into the pie.
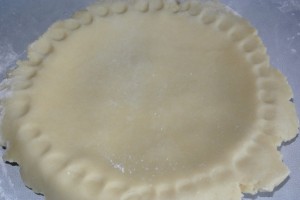
Roll out the remaining half of pastry, again big enough for the top plus a little bit for an overhang.
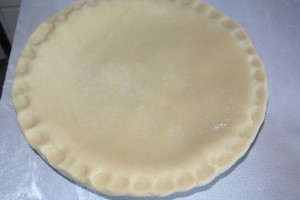
Using a damp finger slightly wet the pastry rim of the base and lift the top into position. Press the edges together with your fingertip, working all the way around the edge to seal the two together.
Using a sharp knife cut away the excess pastry all around the edge.
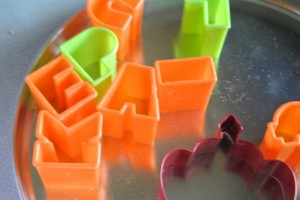
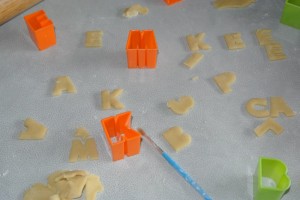
Gather up the trimmings and use these for your decoration. I have a fab set of little plastic letters cutters that came out of a children’s Halloween baking set from Sainsburys a couple of years ago but there are lots available on the internet if you want to get your hands on some. (I’ve included some Amazon links at the end)
Roll out a little bit of pastry at a time and cut out the letters or shapes that you need. Keep the pastry fairly well floured so it doesn’t stick to the worktop.
Dip the cutters into a little pile of flour to dust before using them which again helps to stop the pastry sticking.
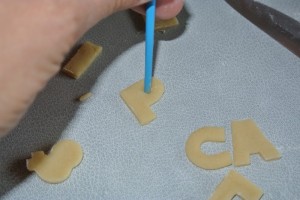
Because they’re small the pastry generally doesn’t drop out of the cutter straight away so poke the pastry with bristle end of a paintbrush. Using the hairy end means you don’t get poke marks in the pastry.
Cheapy cutters also don’t have the holes cut out of the centres of letters. I poke the wrong end of the paintbrush through them and it does the job.
There’s a lot of poking going on, maybe that’s where I’m going wrong!
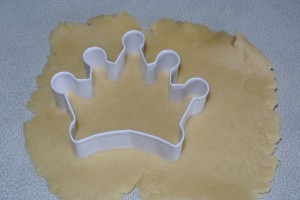
For bigger shapes use cookie cutters. Roll out a bit of pastry that’s big enough for your shape. Pop it on a piece of greaseproof paper and drop it into the freezer for 10 minutes. That makes it firm enough to cut out neatly.
Pick up each piece of your decoration with the blade of a knife and place it onto the top of the pie in the spot that you want it. You don’t need any water or anything else to stick them down they do a pretty good job of staying put.
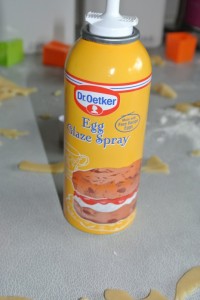
I like to use an egg glaze spray for decorated pies. It’s easier to get into the nooks and crannies and the doesn’t pool around the decoration like an egg wash does. Dr Oetker do one, so do Lakeland.
Give it a good spray.
Bake it in the oven at 180c (fan)/200c/Gas Mark 5 for 35 minutes until golden brown and lovely.
Enjoy (and please don’t forget to cross those fingers for me!)
Amazon – Alphabet Pastry Cutters
Amazon – KitchenCraft Alphabet Cutters
Ruth Clemens, Baker Extraordinaire (but not this week)














Pingback: Pieday Friday – Message on a pie… |