Removing from the Mat
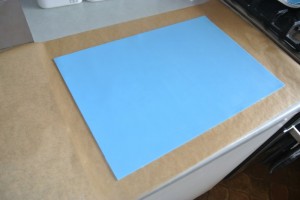
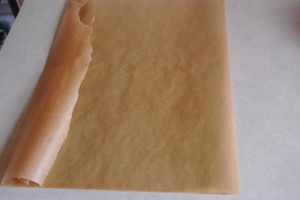
First up lay a sheet of non-stick baking paper just over twice the size of the mat on the worksurface. I have done it directly onto the worktop which resulted in the sheet sticking to it like glue, after all that hard work you don’t need that!
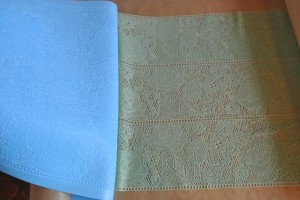
Flip the mat Sugarveil down onto the paper.
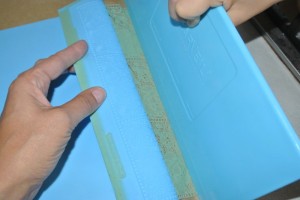
Gently release one short edge of the Sugarveil about 1 cm.
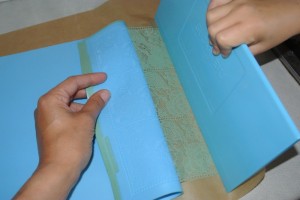
Now place the spreader onto the lace to pin it down. Make sure it’s holding it down securely along the full length otherwise it will start to rip.
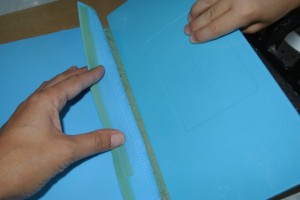
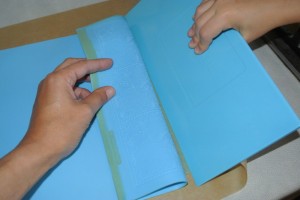
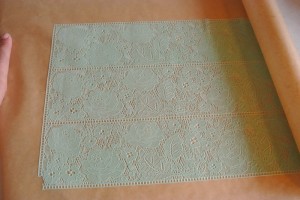
Gently does it, begin to peel away the mat from the Sugarveil. A couple of inches at a time, then move the spreader up to hold it securely again and then repeat.
All the way along the Sugarveil a couple of inches at a time.
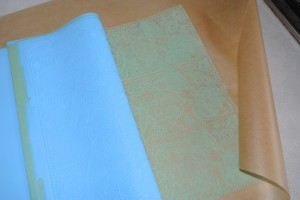
Take extra special care as you reach the end.
Phew, sheet out of mat… I lost the last bit of corner 🙁
Storing Sugarveil Sheet & Mixture
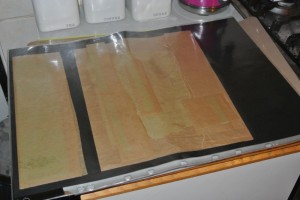
Reposition the lace on the baking paper and fold the paper around it.
It needs to be stored away from the air so that it doesn’t dry out and will stay flexible. I found A3 document wallets from an Arts & Crafts shop the best thing for it. Store them flat squeezing out the air from the plastic wallet and folding over the end.
For the wedding cake I ran out lots of Sugarveil sheets, storing them all in one wallet each sheet wrapped in baking paper.
2 weeks is the maximum I managed to store them for. The sheets that waited for me for 3 weeks had dried out too much and simply cracked to pieces and was quite obviously unusable.
Store any unused mixture in a bowl covered in clingfilm at room temperature, it will keep for 10 days or so but needs to be stirred every other day. I found when stored in the fridge it dried out far too quickly and became unusable. Re-mix the Sugarveil for a full minute each time before filling a mat.
One 142g sachet should fill 8 mats worth. You can see why people sell them for £8-10 for a full sheet on eBay, the amount of work that goes into getting a full sheet out!
Sugarveil takes practice, perseverance, patience and time. It’s not an easy product to use but once you get the knack you’re away.
I guarantee you will tear your hair out finding the best drying spot and will end up with sheets like this while you practice. Don’t give up!
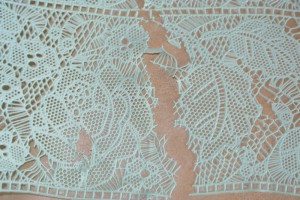
Even ripped sheets can be used for all sorts so don’t just throw them out. Fill your mat and go again.
There’s a couple of good places online to buy Sugarveil supplies from Cake Decorating Company and MakeBake.co.uk
There are also a lot of YouTube videos using Sugarveil too if you’re feeling inspired to give it a go
Next post will cover how to use Sugarveil on your cake – I think that’s enough to be going on with for now!
Ruth Clemens, Baker Extraordinaire











22 Responses to Sugarveil – A How To… Part 2