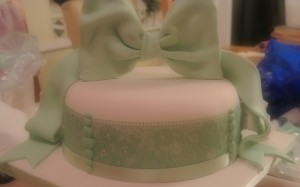
I thought it would be useful to show you how to make an oversized bow topper and tails for a cake. It needs a bit of forward planning for the drying out stage but looks super impressive, especially on a tiered cake. This sizes given for the bow are proportional for an 8″ round cake but can be scaled up or down depending on the size of your cake.
You will need:
A covered cake (obviously)
A cake tin the same size as the cake.
2 x plastic cake dowels (Cake Dowels – Amazon)
Cocktail stick – cut in half
Sharp knife
200g Sugarpaste
200g Gum paste/Sugar Florists Paste (I like Satin Ice Gum Paste or the Squires Kitchen Sugar Florists Paste)
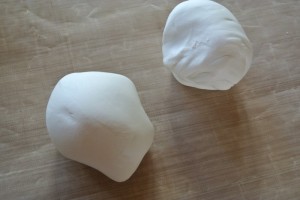
Start off by kneading together equal amounts of sugarpaste and gumpaste. This will give the bow it’s strength. Colour it your chosen colour using a gel paste colouring.
Now roll it out – it’s much easier to work with extra, which can then be reworked for the tails than it is to stretch out the exact amount.
Working with a little vegetable fat (Trex) on your hands and worksurface will stop it from sticking and also give it a lovely sheen. Avoids the dusty icing sugar look too!
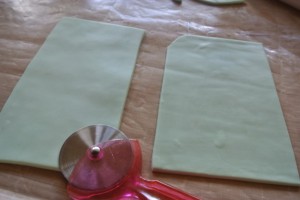
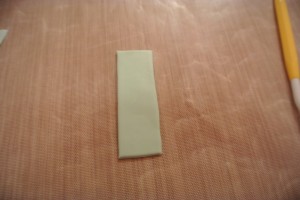
Roll it out to a thickness of approx 4mm. Cut two rectangles roughly 22cm x 12.5cm, if you have a metal pizza cutter these are great for cutting sugarpaste, if not a sharp knife will do.
Now we’re going to form each one into half of the bow.
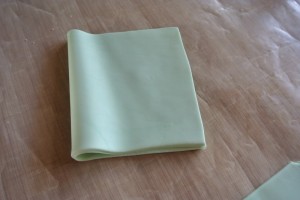
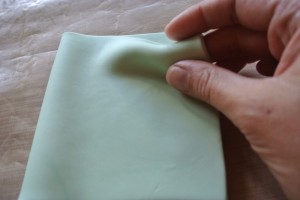
Fold the rectangle over.
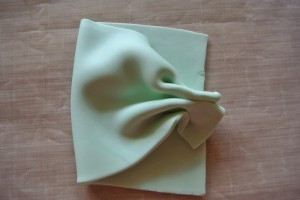
Taking the top half at the edge gather it together with your fingers creating ruffles in the paste as you go.
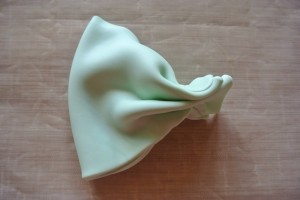
Now gently squeeze in the back so that it matches the front.
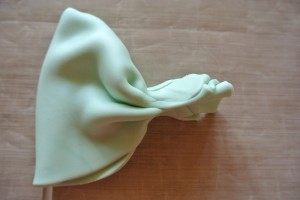
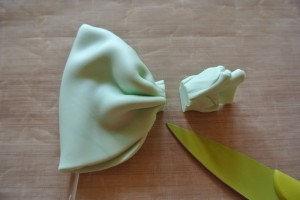
Pinch the gathers together tightly and cut away the excess with a sharp knife.
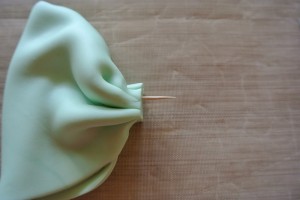
Take half a cocktail stick and insert it into the pleated together part.
Set this half of the bow to one side and repeat making a second.
Wrap the remaining paste well in clingfilm or a plastic bag and save for making the tails.
Using the two cocktail sticks gently secure the two halves of the bow together.
Now take the plastic cake dowels and thread one carefully through the widest part of each bow.
Set the dowels so that they are flush at the bottom and protrude out of the top half.
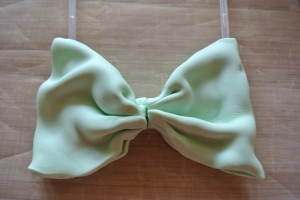
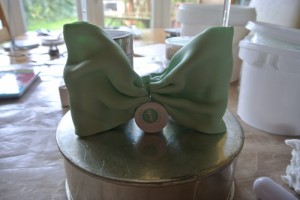
Using the cake tin, turned upside down. Lightly sit the bow onto it so that it sits neatly, supporting the centre section so it doesn’t pull apart. I’m using a complicated concoction of tin, icing sugar shaker and jar so that I have my hands free to take snap but you won’t have to do that. Try not to handle the bow too much as it starts to dry out because the paste will begin to crease and crack.
Now lie it down on a piece of baking paper. Pull the dowels back down so that the tops sit inside the bow and protrude through the bottom.
The bow now needs a good 24 hours to dry out and firm up. You can speed this up by putting it in the oven, with the door open on a baking sheet lined with baking paper at a super low temp of 80c if time isn’t on your side.
It needs to be fully dried out before putting on the cake, if it’s not completely dry then the middle will sag.
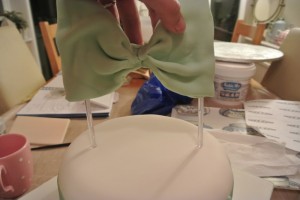
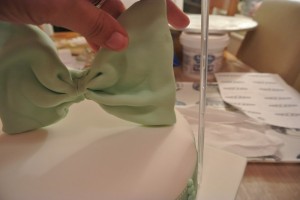
Carefully offer up the dowelled bow to the top of the cake, marking lightly two indentations where the dowels need to go. Make sure you’re supporting the bow well as it will be fragile.
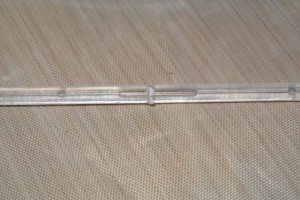
Remove from the cake and slip out the dowels. Measure how long they need to be to go right the way through the cake down to the board and three quarters of the way up the bow.
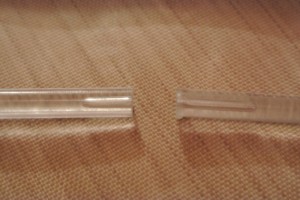
Cut the dowels to size, score the place where they need to be cut with a sharp knife and then snap them right through using your hands – this should give you a clean break.
Using the indents on the cake as your position guide insert the dowels down through the cake angling them backwards slightly. This will show off the bow best, rather than them being dead upright.
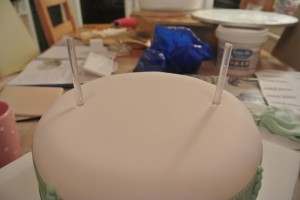
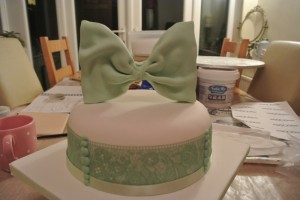
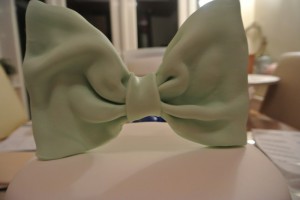
Now the dowels are in carefully slip the bow over the tops and down onto the cake.
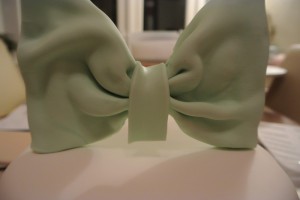
Roll out some more of the paste and cut a long thin rectangle. Brush the back lightly with water and then gently ease it into position around the centre of the bow.
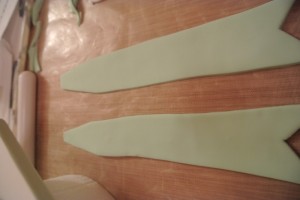
And now for the tails. Roll out the paste, again to a 4mm thickness and cut out two slightly tapered very long strips. (35cm long, 5cm wide at the ends)
Using a sharp knife, cut away the V in the end of the ribbons tail.
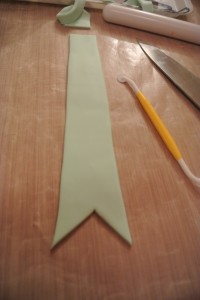
Taper the top of the ribbon where it will fix behind the bow.
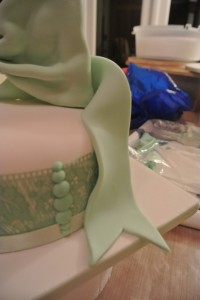
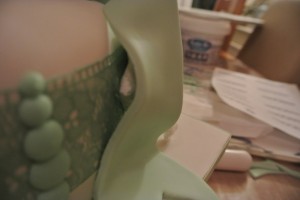
Now support the tail between your two hands and lay it onto the cake, folding and creating the ruffly movement of the ribbon as you go. Play around with it a little bit until you’re happy with the look.
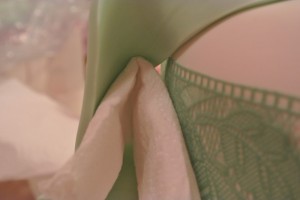
A light brush of water on the top end of the ribbon and press it gently onto the back of the bow in the centre to secure.
Support any of the folds in the ribbon using folded pieces of kitchen paper.
Repeat the positioning of the second tail on the opposite side and set aside for the tails to dry out before removing the kitchen paper supports.
There we are, a beautiful bow and ribbon tails!
How to make a Bow Topper and Ribbon Tails.
Ruth Clemens, Baker Extraordinaire
 " width="477" height="261" border="0">










3 Responses to Making a Bow Topper and Ribbon Tails