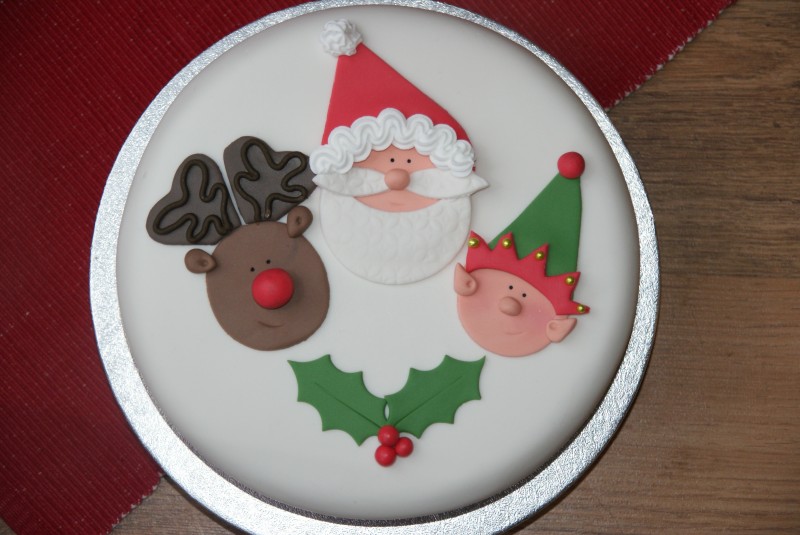
A cute character Christmas cake which everyone will love
(and it’s simpler than you might think!)
You will need:
1 x 8″ Christmas Cake, marzipanned and iced See here for the how to
10″ Cake card
Ribbon for trimming around the base of the cake
Sugarpaste; white, flesh, red, green, brown and dark brown.
All the colours can be bought ready coloured or can be coloured yourself at home using gel paste colours
Cutters: round, hearts large and medium, large holly
Royal Icing; white and dark brown
Piping nozzles – open star and no. 3
Gold dragees (balls!)
(The links above will take you to suggested products on Amazon)
It’s easiest to set the cake to one side and make up all the pieces needed on a spare cake card or board, dusted very lightly with icing sugar to prevent them from sticking. When working with the sugarpaste it should be rolled out to a thickness of 3-4mm on your surface, lightly dusted with icing sugar to stop it from sticking, check it is free moving before cutting out pieces will stop you from getting frustrated! All the pieces are stuck together with a really light brush of water – try to avoid daubing it on, a tiny brush will do.
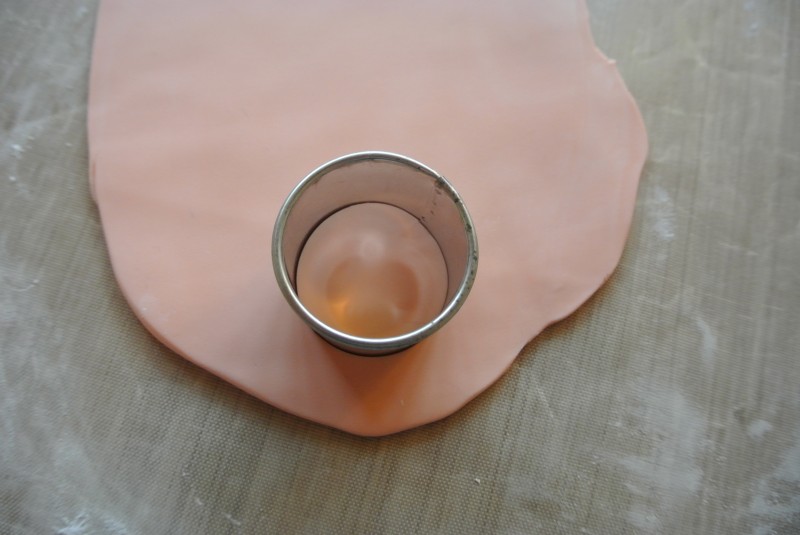
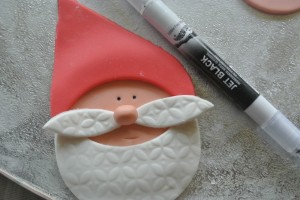
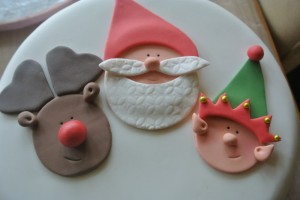
First up Father Christmas! Cut a round circle of flesh for his face.
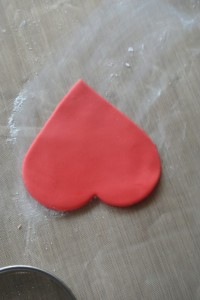
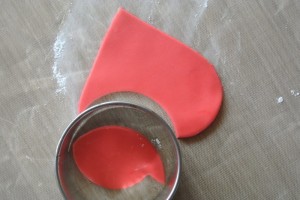
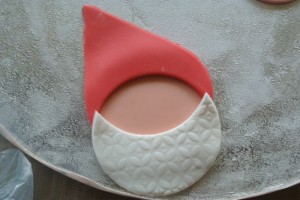
A large red heart, cut away one piece with a round cutter and then chop off the side with the heart cutter.
Hat goes onto the top of the head.
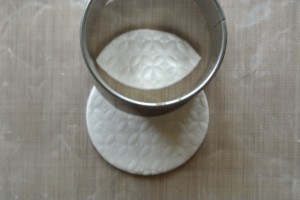
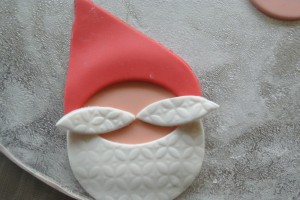
For his beard some white sugarpaste rolled with an embossing rolling pin or mat to imprint some texture, or Renshaws edible icing ribbon. Cut out a circle and then cut away the top third using the same cutter.
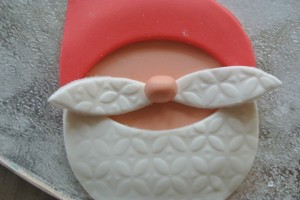
From the piece you cut out of the circle cut out two moustache pieces and place across his face meeting in the middle.
A ball of flesh coloured paste for a nose
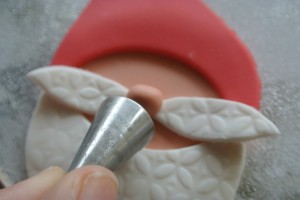
Imprint a smiley mouth with the wrong end of piping nozzle
And add two eyes with the black icing pen
Set him to one side and onto the cheeky elf!
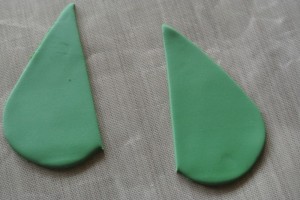
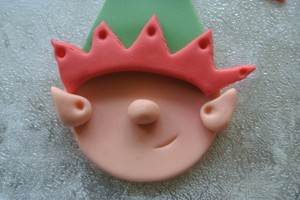
A flesh circle for a face and a large green heart
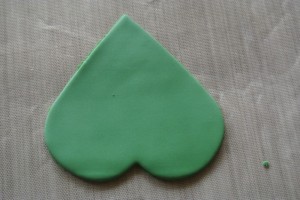
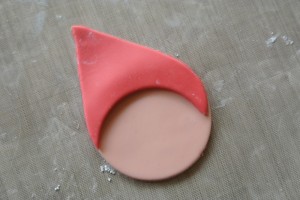
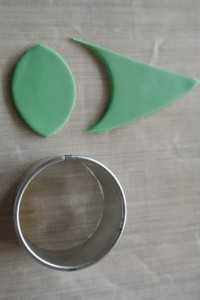
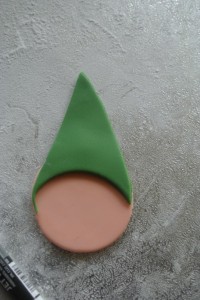
Cut it in half with a sharp knife and using a round cutter, cut away the bottom of the hat.
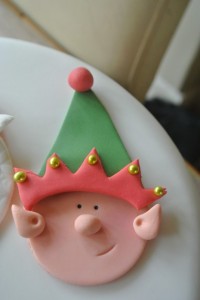
Place on top of the Elf’s head
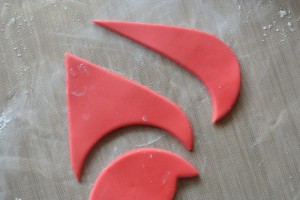
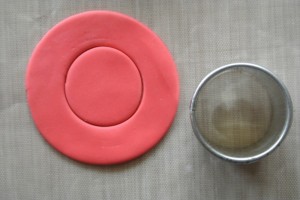
A large circle of red, cut way the middle with a smaller round cutter. Cut through the loop and gently fold out into a strip.
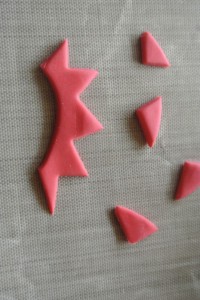
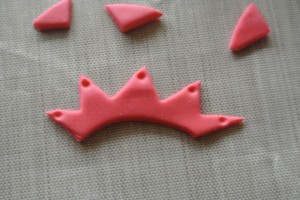
Using the pointed end of a heart shaped cutter, cut out pieces to make the spiky trim of the hat.
With the wrong end of paintbrush indent little holes in the spikes of the trim
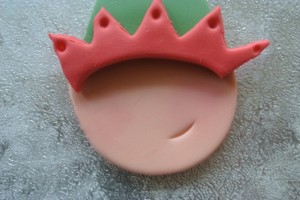
Add the trim to the hat, dust the cheeks with a little pink dust and imprint the mouth with the wrong end of a piping tip
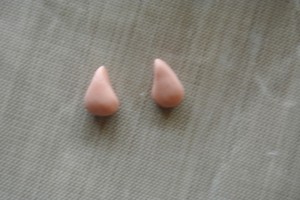
Add a two pointy ears and a ball of flesh paste for the nose
A tiny dab of water in each indented hole and add a gold ball to each spike and a ball of red paste to the tip of his hat
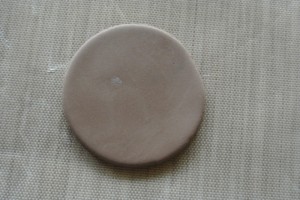
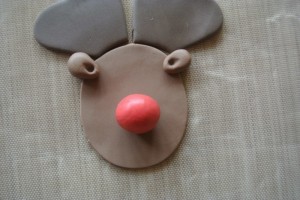
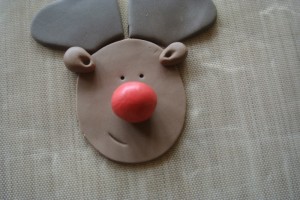
 For Rudolph, start with a circle of brown sugarpaste. Roll over it very lightly with your rolling pin to elongate it ever so slightly.
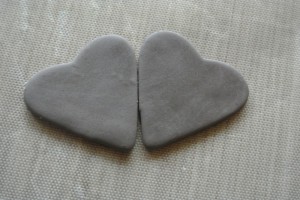
Two medium hearts in dark brown paste for the antlers
Cut away a small amount from the very bottoms of the hearts with a round cutter so that they will sit flush to his head.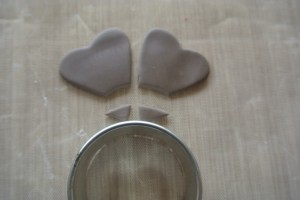
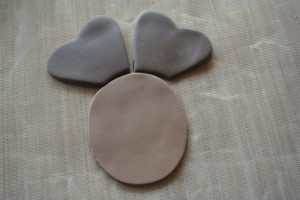
Roll two small balls of medium brown and then pinch with your fingertips to form the ears.
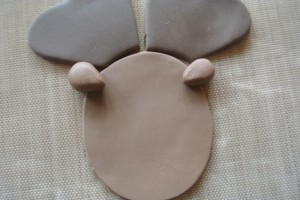 Poke a hole in each ear with the wrong end of paintbrush and roll a large ball of red for his nose. For a super shiny nose, rub a little trex onto your hands first.
Two dots with the black icing pen for eyes and imprint his cheeky mouth with the wrong end of piping tip.
Using a palette knife transfer the pieces to the top of the cake, play around with the pieces until you’re happy with the positioning and then scoot a dab of water underneath each to secure them in place.
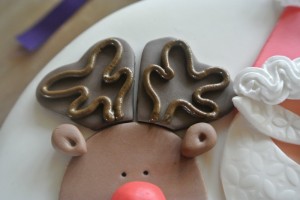
Pipe on a fur trim and bobble to Santa’s hat using the white royal icing – the ridged effect is caused by a star nozzle – as you pipe move the bag up and down to create the wiggle!
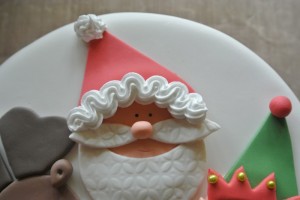 Using a no. 3 piping tip pipe on Rudolph’s antlers using dark brown royal icing.
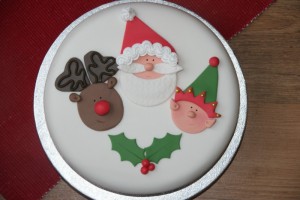
Two large holly leaves, with the centre vein marked on with a knife and three glossy holly berries.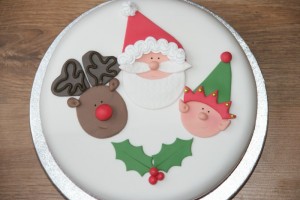
Trim around the base of the cake where it meets the board with a lovely Christmas ribbon and you’re good to go!
Santa, Rudolph and Cheeky Elf Cake!
Ruth Clemens, Baker Extraordinaire
 " width="477" height="261" border="0">











29 Responses to Santa, Rudolph and Cheeky Elf Cake