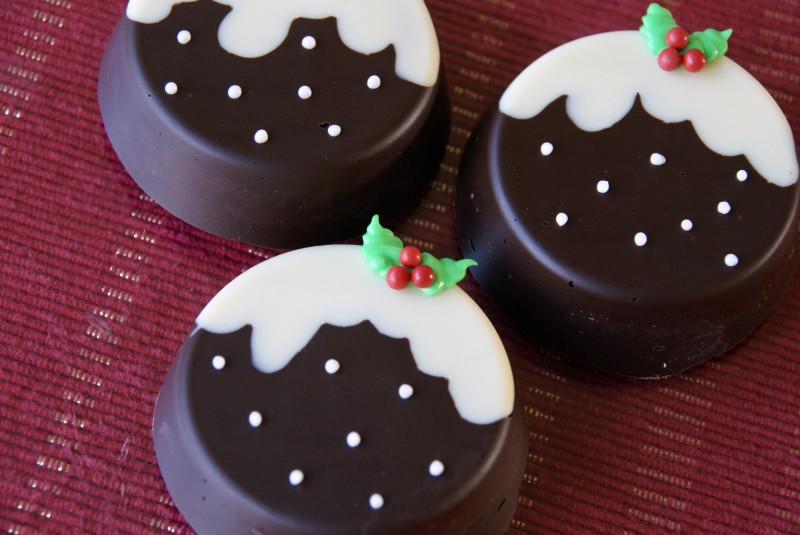
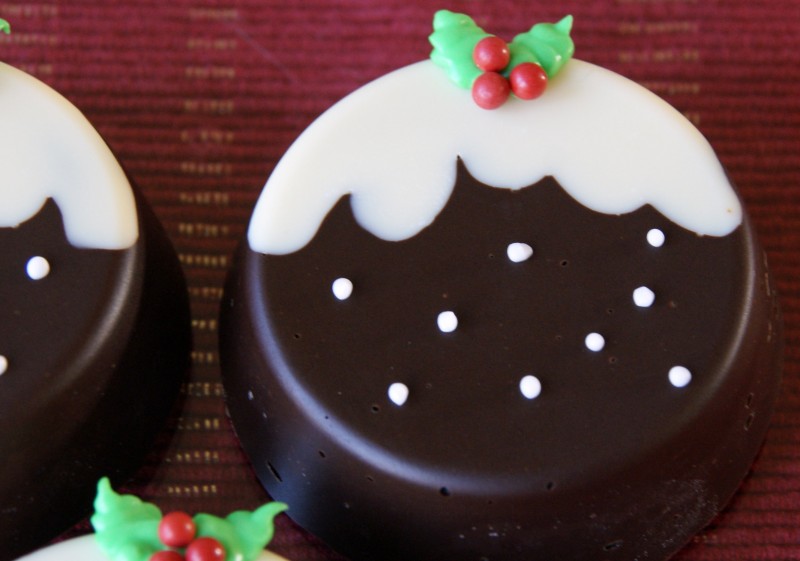
Mmmmm! Christmas pudding shaped Chocolate Covered Oreos!
Now you can get specific chocolate oreo moulds that are a good deal smaller than the way I’m doing these. I don’t have one, my kitchen is bursting with equipment and I may be the recipient of an angry husband should any more essential bits and pieces make their way into our house!
They’ve turned out just perfectly and are just right to wrap up as a gifts.
You will need:
75g White chocolate
500g Dark or milk chocolate
10 Oreos (there’s 12 in a packet, you don’t need to ask me what happened to the other 2!)
Royal icing – white and green
Red ball sprinkles
Makes 10
So no mould needed, just a silicone cupcake tray.
Make sure its clean and completely dry.
Note: Tempered chocolate will always behave better for you than a straightforward melt, if you fancy giving it a go then my instructions are here.
Melt the white chocolate gently and add it to a disposable piping bag.
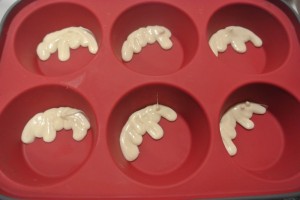
Snip off the end and in the base of the silicone cupcake tray pipe in the top part of the christmas pudding design.
Try and keep it in a fairly thin layer.
Set them to one side and let the chocolate set.
Now for the dark chocolate. Melt about 100g of it to begin with.
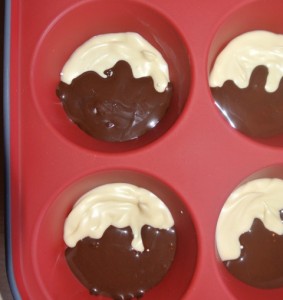
Same process into a piping bag, snip off the end and fill in the rest of the base to meet the white section and let it set.
Melt up the rest of the dark chocolate, if you’re using small piping bags, split it over 2 bags rather than jamming it in one as it will ooze over the top. I know, I tried!
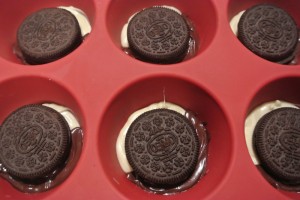
Add an oreo into each recess.
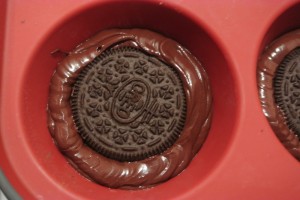
Pipe around the oreo with the chocolate to fill in the space at the sides.
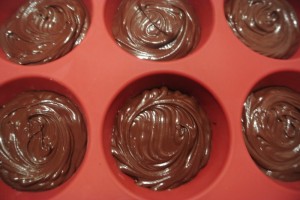
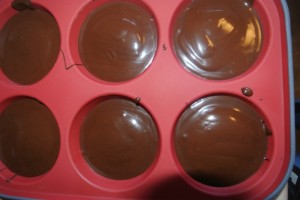
Then pipe over the top, just enough to seal in the oreo. Dont worry if the top is lumpy bumpy to begin with. Tap the cases on the worksurface until it levels out.
With them all sealed in, leave them to set completely. It takes about 4 hours but leaving them overnight is ideal to be doubly sure.
All set up, now it’s time for the decoration. Mix up a fairly thick royal icing you don’t need much – just using the stuff from a packet but go slowly with the water, it’s easy to add too much and end up with it too thin.
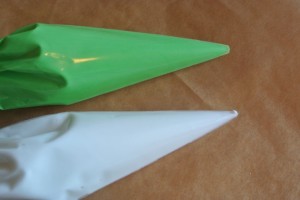
Colour half of it green and keep the rest white. Add them both to separate piping bags.
Release the chocolate covered oreos from the silcone tray.
Snip the end from the green and pipe two small leaves at the top – as you apply pressure just squiggle the bag in a zig zag to create the movement in the leaf shape.
Add on a few small red balls for berries, the wet leaves will hold them in position.
Snip a very small amount from the bag of white royal icing and pipe small dots over the body of the christmas pudding.
Allow the piped decoration to set and then serve/wrap/munch!
Christmas Pudding Chocolate Covered Oreos

Ruth Clemens, Baker Extraordinaire
















21 Responses to Day 2 – Christmas Pudding Chocolate Covered Oreos