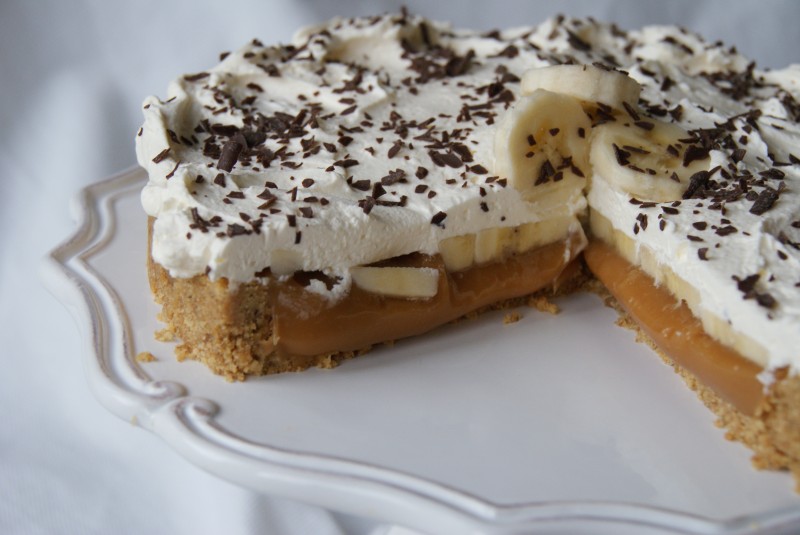
This was the birthday bake of request from my youngest, Fin, just recently. Lots of you asked for the recipe so of course here it is. Whilst not strictly baking, I’m sure you’ll forgive me! I’m including instructions to make the toffee layer from sugar/butter and cream so you don’t have to use condensed milk if you don’t want to. It’s always good to learn something new.
Ingredients:
Crust
250g digestive biscuits
100g butter, melted
Toffee Layer (3 options depending on how much time or bother you want to go to!)
Option 1. 1 x 397g can of ready made Carnation Caramel
Option 2. 1 x 397g can of condensed milk
Option 3.
140g caster sugar
50g light muscovado sugar
90g golden syrup
200ml double cream
50g butter, diced and softened
1 tsp vanilla extract
1/2 tsp salt
1 1/2 – 2 bananas
200ml double cream
2 tbsps icing sugar
chocolate shavings to decorate
Makes 1 x 8″ Pie
So to start with the tin and the crust. I use an 8″ pushpan from Lakeland now instead of springform tins for all my cheesecakes, pies etc. I’ve long disliked the ridges in the base/side of springform tins and find that they trap whatever you’re baking into them. The pushpans are very good and have completely flat sides and base, not that I want the blame for encouraging you to the Lakeland website but…. here’s the link 
Grease the tin lightly and crush the digestive biscuits, food processor is the easiest option but a bag and a bash with the rolling pin will work just as well.
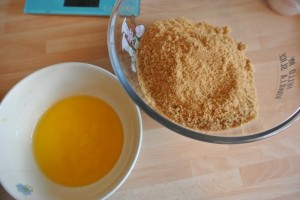
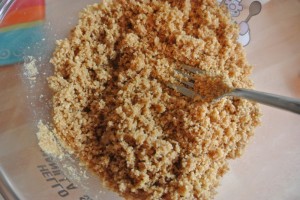
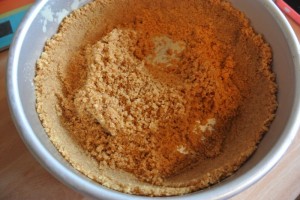
In a big-ish bowl mix the digestive crumbs with the melted butter to make a sandy mixture.
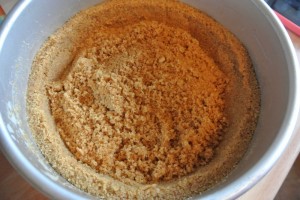
Tip them into the tin and work on the sides first, a silicone spatula works well to press it up against the sides, compacting the crumbs working to roughly the same height and thickness of crust, don’t worry about the base for now.
Level off the crust on the top edge pressing it down.
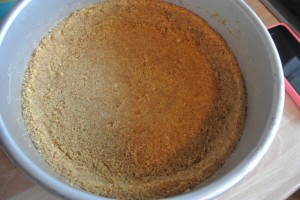
Now for the base, spread out the remaining crumbs and press down well making sure to join the base to the sides.
Put it in the fridge for at least 1 hour to chill.
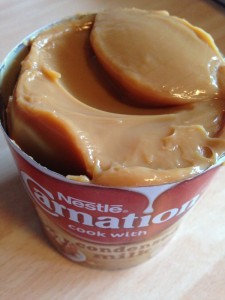
Now for the toffee you can of course use a can of ready made caramel (in which case just empty it in), or you can use a tin of condensed milk.
BEFORE I GIVE YOU THESE INSTRUCTIONS PLEASE BE AWARE THAT THE CAN OF CONDENSED MILK NEEDS TO BE UNOPENED AND AFTER TIME IS UP LEFT IN THE PAN, UNDER THE WATER TO COOL COMPLETELY, IDEALLY OVERNIGHT. YOU MUST NOT OPEN THE CAN WHILST IT IS IN ANY WAY WARM. I DO IT ALL THE TIME AND HAVE NEVER HAD ANY TROUBLE, IF YOU ARE DOUBTFUL PLEASE GO AND BUY A TIN OF READY MADE CARAMEL OR FOLLOW THE MAKING IT IN A PAN FROM SUGAR INSTRUCTIONS BELOW!
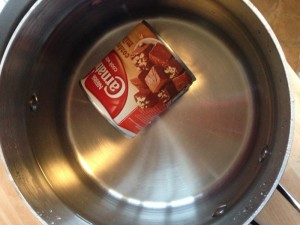
So to convert your can of condensed milk to caramel – Place it in a large pan, unopened and cover completely with water. (Adding 1 tbsp of vinegar to the water will help stop the pan being marked by limescale)
Bring the water to the boil, reduce the heat and simmer for 1 hour 30 minutes, regularly topping up the water.
Turn off the heat and leave the tin in the pan of water to cool completely, ideally overnight. Once fully cooled the tin can be opened to reveal a lovely caramel for you to use.
If you want to make your own toffee in a pan it’s easy to do, a sugar thermometer is extremely useful but it can be done without it.
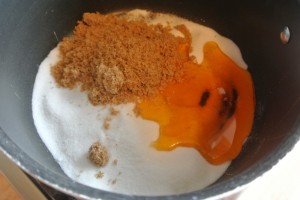
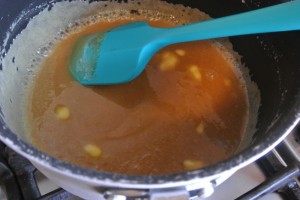
Put the caster, muscovado sugar and golden syrup in a medium sized pan.
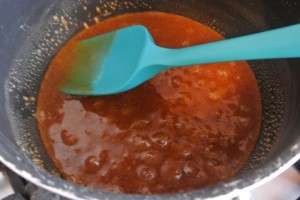
Heat is gently, gently until the sugar has dissolved. You’re not looking to boil it hard at this point, that means the heat is too high, just a gentle heat until you can’t feel any crystals under your spatula against the base of the pan.
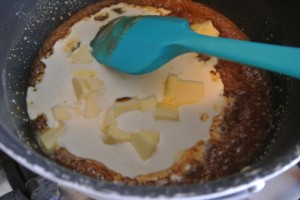
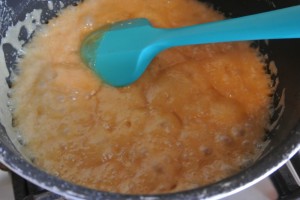
Add the cream, butter, vanilla extract and salt to the sugar mixture in the pan and turn the heat up to medium. It may splutter a bit at you as it first goes in.
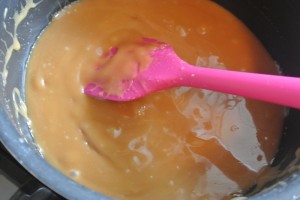
Keep stirring until the butter has melted completely and the toffee is a smooth consistency.
Bring the mixture to the boil, , simmer for 3 minutes, again stirring fairly frequently, or until the temperature on the thermometer reads 112c.
Take it off the heat and give it a good stir in the pan.
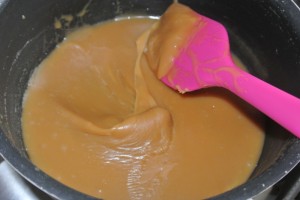
Now, it can go straight into the chilled crust, but what I like to do, knowing that I would be disappointed if it’s too runny or if I’ve overdone it and I’m going to take someones teeth out I leave it to cool to room temperature in the pan.
Once it’s at room temp you can see how set it is.
If it’s just right warm it gently (easy to do because it’s still in the pan) without boiling it, stir it frequently just until it’s soft enough to transfer to the prepared crust.
If when you test it at room temp it’s too liquid, it needs to go back on the heat and simmered to reach 112c. If it’s too chewy your rescue is again to warm gently but this time add more cream and butter (same amount again), taking care not to bring the mixture to the boil.
If you are making it without the sugar thermometer remember that the size of pan and the heat you cook it over are important, too big a pan or too much heat and the temperature of the toffee will be much hotter faster. Remember a medium pan and a medium heat.
There’s a lot of instructions there for something that’s actually simple to do, but at least you have options!
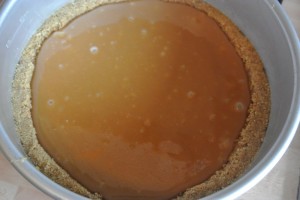
So the toffee layer is now in the crust. It needs to be chilled in the fridge for 30 minutes to 1 hr. It’s happy to wait there until you’re ready for it. Once chilled it’s time to get it out of the tin, for the push pan you just set the base on top of a mug or something similar and push down the sides to separate the base from the sides. Carefully slide a palette knife under the base of the crust to release it and transfer it to a serving plate, a low sliding action works well!
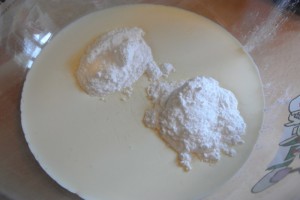
Softly whip the double cream with the 2 tbsps icing sugar and set to one side.
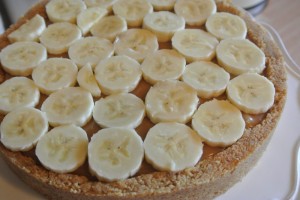
Slice the bananas and arrange over the top of the toffee. Add a double layer if you love banana! But reserve 2-3 slices for the top if you’re serving it shortly. It’s not worth doing if you aren’t serving for a good few hours as the exposed banana will quickly go brown.
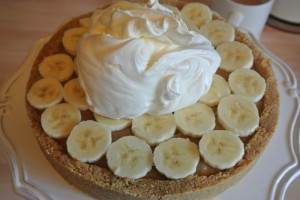
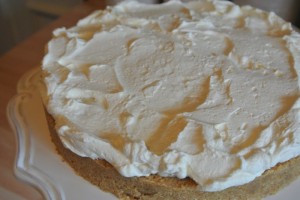
Add the whipped cream, I find it works well to add it all to the centre and then work it out to the edge of the crust with a palette knife.
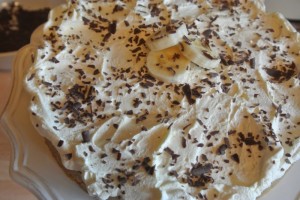
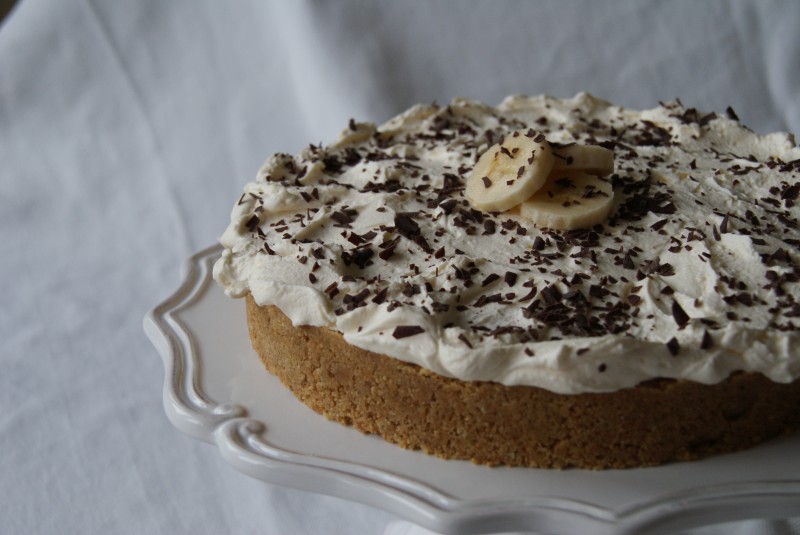
Decorate the middle of the top with the reserved slices of banana and decorate with a scattering of grated chocolate.
Now enjoy!
Banoffee Pie

Ruth Clemens, Baker Extraordinaire


















Pingback: Top 10 British Desserts