How much fun are these? When Lindt sent me a chocolate delivery (yes I know, that’s a great delivery to get) I knew I had to come up with something Christmassy – there was no way I was melting those Reindeer down for truffles!
These are great project to get you feeling festive and a fab activity to do with the children – not to mention they look blooming fabulous too! Every barn ends up a little bit different and you can be as creative as you like with the decoration. The kids love having free reign with a piping bag and a good selection of sprinkles.
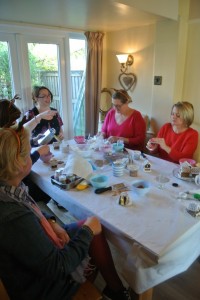
I like to get the girls round whenever I get a chance, all gathered round the table and making something a little bit different so getting them round to build reindeer barns had to be done, it’s lovely to share a bit of Christmas fun together before everything gets completely manic! We had a ball, lots of laughs, collapsing houses, eating icing and gingerbread crumbs and everyone took home their own reindeer barn or two. Christmas Magic!
If you fancy giving these sweet barns a go then here’s how…
You will need:
1 x qty gingerbread dough recipe here
Lindt mini chocolate reindeer
Royal Icing
Small cake card
Christmas sprinkles – holly and berries (Asda), snowflakes (Iced Jems), small pearls (Lakeland)
Sparkling icing sugar (Asda)
Green food colour pen (optional)
Card template – a rectangle 5cm x 4cm (I cut mine from a cereal box)
Makes: approx. 6 reindeer barns
Make up your gingerbread dough following the steps and allow to cool.
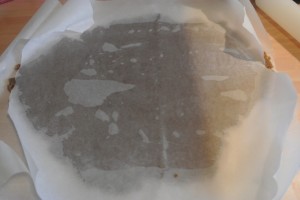
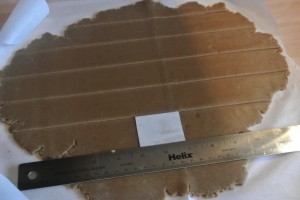
Knead the dough until smooth and pliable and roll out between 2 sheets of non-stick baking paper. Rolling between sheets helps to keep the gingerbread dough from cracking and rolls it nice and smoothly.
Roll the dough to about 5mm thick.
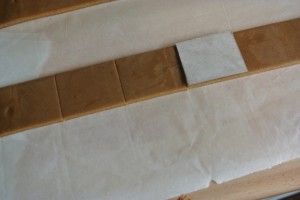
Take off the top sheet of baking paper and using your card template cut the dough into strips the correct width using a pizza cutter.
Replace the top sheet of baking paper and slide the sheet into the fridge to chill for 1 hour until firm.
Preheat the oven to 180c(fan)/200c/Gas Mark 6 and line 2 baking trays with non-stick paper.
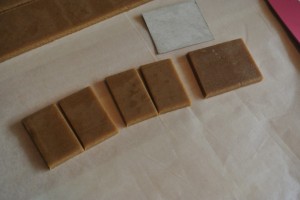
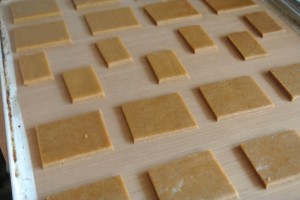
Take the dough from the fridge and working with one strip at a time use the template and a sharp knife to cut out 5 rectangles the same size per reindeer barn, cut 1 of the rectangles in half and then set all the pieces, spaced well apart, onto the baking tray.
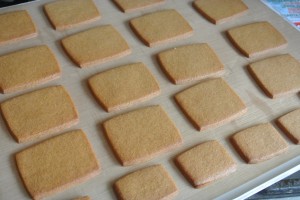
Bake them in the oven for 6-7 minutes. Allow them to cool on the tray to firm up before transferring to a wire rack to cool completely.
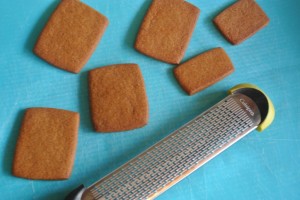
They will have spread out of shape a little but don’t worry, there’s too many to trim them with a sharp knife whilst still warm so I’ll show you how to even them up next.
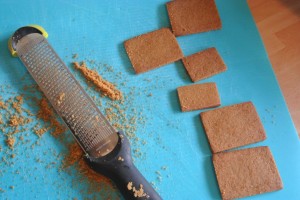
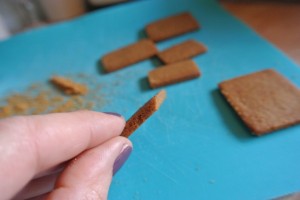
Take a fine microplane grater if you have one, or use the fine grater on a box grater. Gently file the edges of each piece of gingerbread straight.
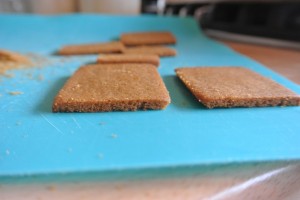
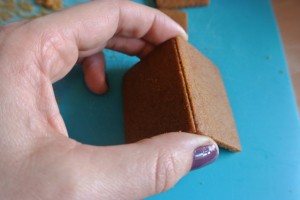
Now to make them fit together neatly when you’re assembling grate the upright corner edges to a 45 degree angle and the top edges of the roof pieces where they will meet at the ridge of the roof.
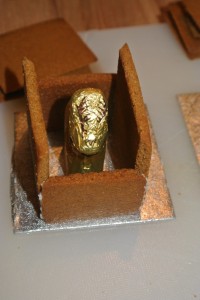
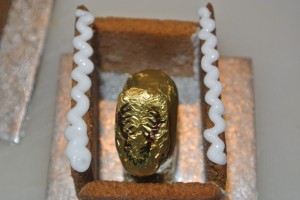
So now for the assembly. Arrange your pieces and make sure that your Lindt reindeer can see out over the top of the front piece. If it’s too tall just file it down a bit more with the grater till he can peep out.
Make up your royal icing and add it to a disposable piping bag. I’m using a no.2 piping nozzle but you can just snip the end from the bag if you prefer.
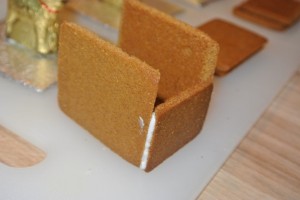
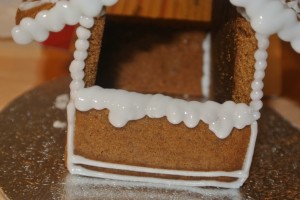
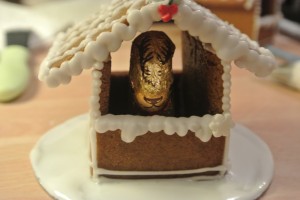
Using the royal icing glue together the 4 walls of the barn. Now allow it to set.
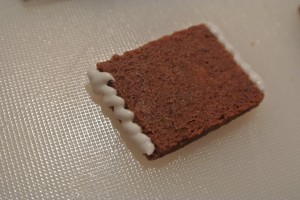
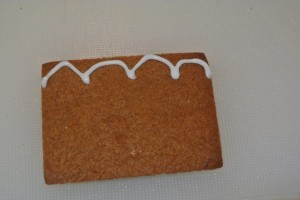
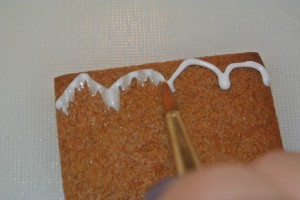
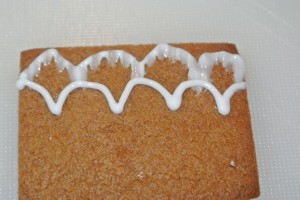
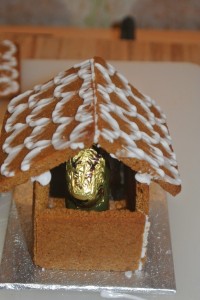
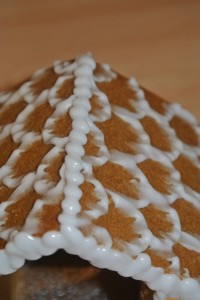
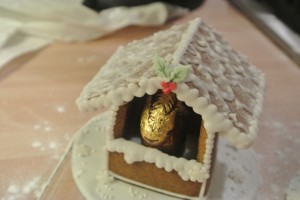
Whilst the walls are setting you can decorate the roof. For the tiled effect I have used pipe on a scalloped line of royal icing. Take a damp paintbrush and brush through the royal icing towards you to spread it slightly. Just work on one line at a time brushing through one line before you start on the next until the roof is fully decorated. Allow to dry.
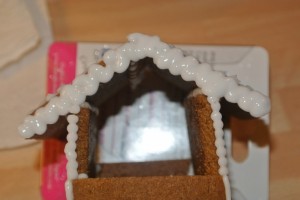
To add the roof to the barn you need a good line of icing along the two tall walls of the barn and a line of icing along one roof piece where the two pieces will meet. With steady hands place the two roof pieces into position and hold for 30 seconds so that they secure.
Let the roof dry in place before continuing with any more decoration.
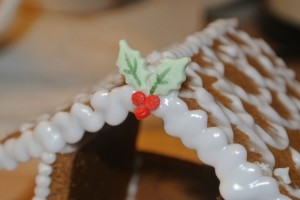
Add a good dose of royal icing snow to the ridge, the front edges of the barn and the reindeer’s door.
Glue on some holly and berry sprinkles (I have marked veins on the holly sprinkles with a green icing colour pen) with royal icing and add a snowflake or two.
You can add any extra decoration you like – piping and sprinkles galore!
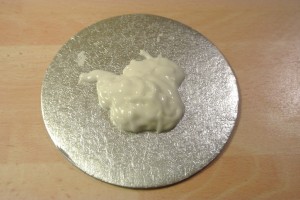
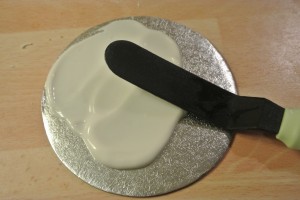
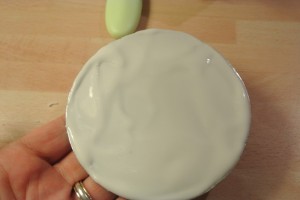
Now to ice the board. Using royal icing from your piping bag squeeze a good amount onto the cake card. Spread it out to the edges using a small palette knife. Whilst the icing is still wet place the reindeer in the centre of the board and gently lift the barn over his head and set into the icing in position.
Add a few more snowflakes and some minipearls to the snow of the board and allow to dry.
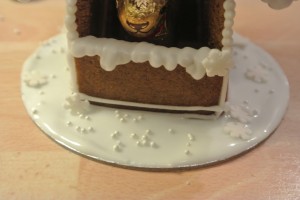
The final step is to add a dusting of sparkling icing sugar! (I am in love with this stuff and yes it’s just icing sugar mixed with sparkly bits but who’s not going to love that!)
Once the icing has fully dry they can be added to gift bags or wrapped with cellophane or clingfilm, they’ll keep all the way till Christmas! Unless like the children you are too tempted to eat the reindeer and you’ll be left with a village of empty barns 😉
Ruth Clemens, Baker Extraordinaire
 " width="477" height="261" border="0">





















4 Responses to Day 2 – Gingerbread Reindeer Barns