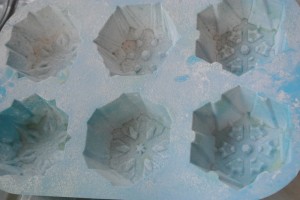
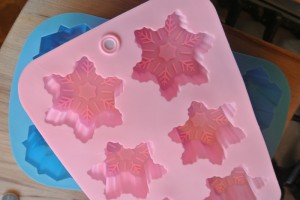
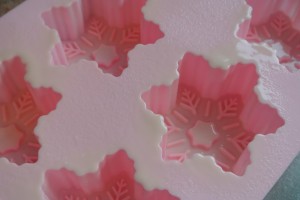
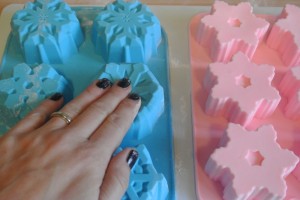
These seem to be all over the place in the shops at Christmas time so I thought it was time I figured out how we do them at home – and it’s easier than I thought. You will need a sugar thermometer and a silicone snowflake mould (or any other kind of Christmassy silicone mould if you prefer)
They are easier to make in a stand mixer if you have one, it makes the hands juggling a lot easier but it can be done with an electric hand mixer too.
Ingredients:
2 large egg whites
450g caster sugar
1 tbsp liquid glucose
200ml water
1 tsp vanilla extract
8 leaves of gelatine
2 tbsps cornflour
2 tbsps icing sugar
Cake pop sticks
Silicone Snowflakes Mould – Iced Jems or eBay
Makes: 12 marshmallow snowflakes
Soak the gelatine leaves in a bowl of cold water and set to one side.
In a small bowl mix together the 2 tbsps cornflour and 2 tbsps icing sugar.
Grease the recesses of your silicone moulds – spray cake release is ideal for these fiddly ones, or use vegetable oil on a kitchen towel.
Dust over half of the icing sugar cornflour mix and tap and turn the moulds to dust the insides of each fully. Put the prepared moulds onto a tray and set to one side for now.
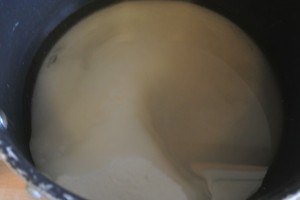
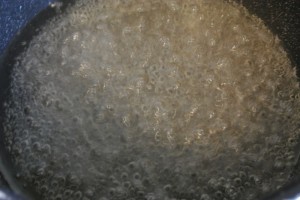
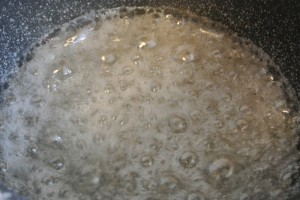
Add the caster sugar, water and glucose in a pan and put on to a gentle heat stirring occasionally until the sugar has dissolved. Turn up the heat but do not stir again. Use the sugar thermometer to heat keep an eye on the temperature. This needs to be heated to 121c.
When the sugar mixture gets to 110c start to whisk the egg whites in the bowl or a stand mixer or in a large heatproof bowl with an electric mixer. Whisk the whites until they are light and foamy.
Drain the gelatine sheets and warm gently in a small pan until they are completely liquid.
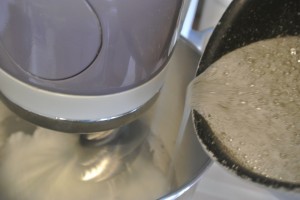
When the sugar syrup comes to 121c take it off the heat straight away. Whilst continuously whisking the egg whites start to pour in the syrup in a slow steady stream until it has all been added.
Add the vanilla extract and then pour in the dissolved gelatine, again whilst whisking continuously and pour in in a slow steady stream.
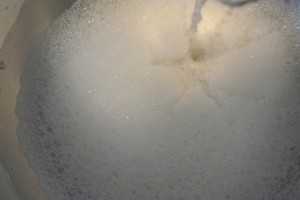
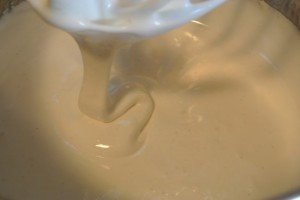
Continue to whisk the marshmallow mixture until it is thick and glossy and will stream from the whisk in a ribbon that doesn’t disappear straight away.
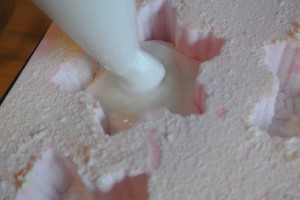
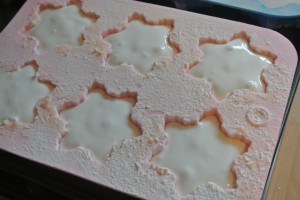
Fill a large piping bag with the mixture and use it to fill the dusted recesses of the silicone moulds. (The marshmallow will still be warm – check it’s not too hot to handle)
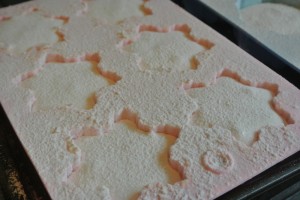
Dust the top surface of the marshmallows with a little more of the cornflour/icing sugar mixture and set them aside to set overnight – just at room temperature, not in the fridge.
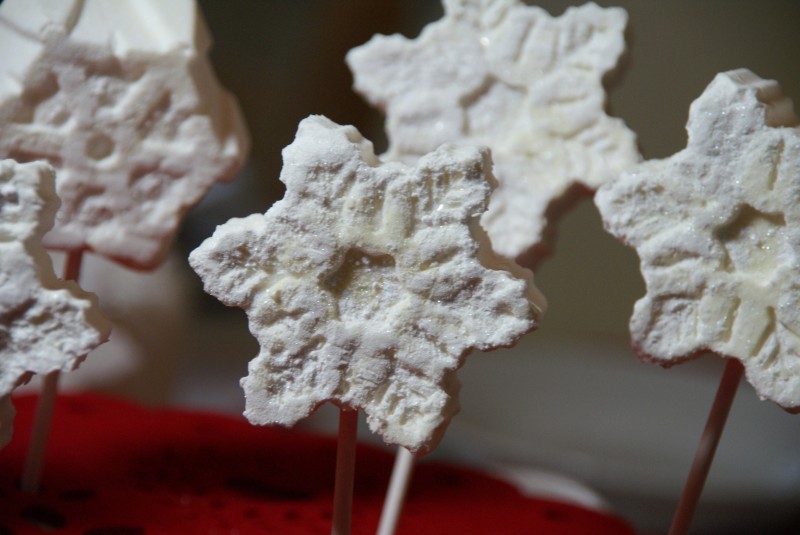
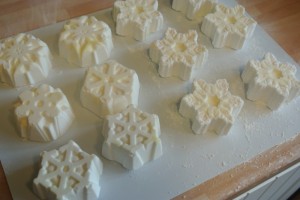
Once the marshmallows have set up take a work board and dust it lightly with the icing sugar/cornflour. Invert the moulds and a sharp press to the back of each should pop the marshmallows right out!
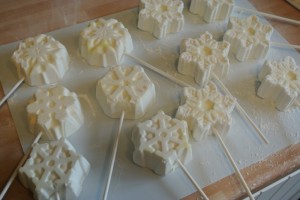
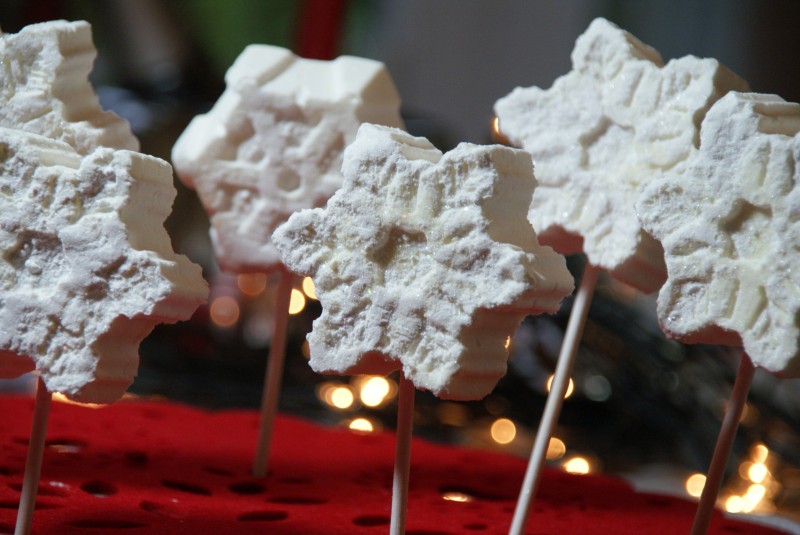
If you want to turn them into lollies just insert a cake pop stick right through the centres. Leave them lying down until the next day to allow the marshmallow to grip the stick so that you can stand them upright without the stick piercing through the top.
Make sure you package them up in individual bags fairly quickly otherwise they will start to dry up if left exposed for too long.
Marshmallow Snowflakes
Ruth Clemens, Baker Extraordinaire

















4 Responses to Day 3 – Marshmallow Snowflakes