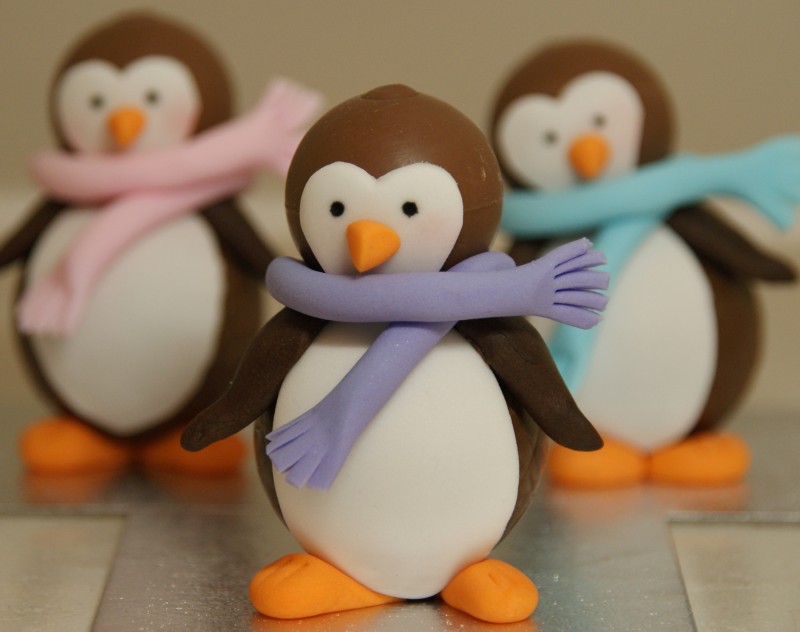
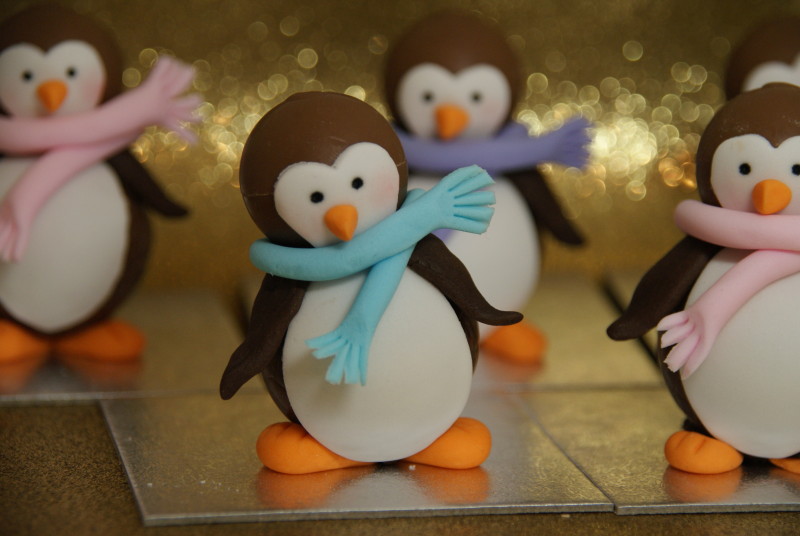
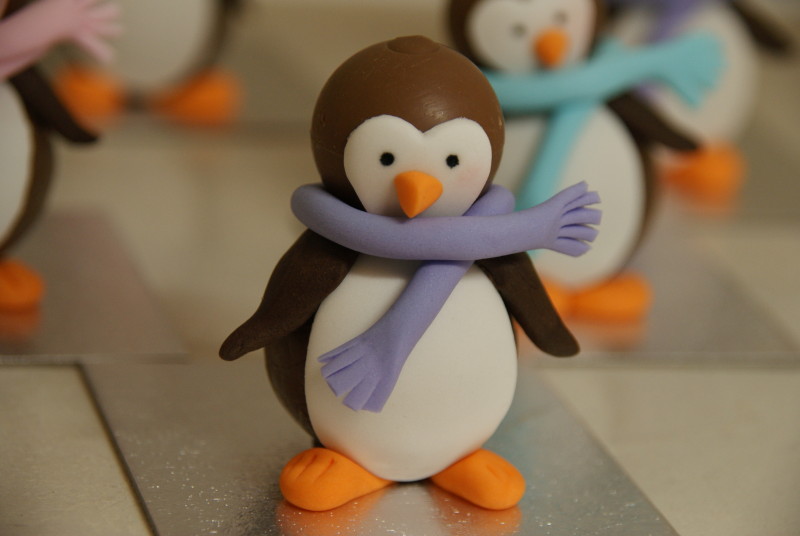
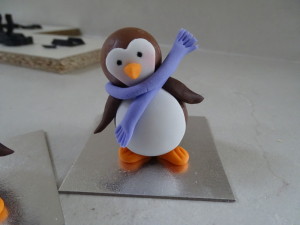
I have to admit I love making these little chocolate models, this year I’ve come up with these cutie pie little chocolate penguins, I’m sure you know someone who’d love one of these!
You will need:
Round christmas tree chocolates
Lindt Lindor chocolates
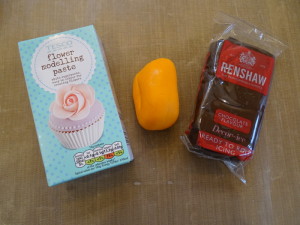
Chocolate ready to roll icing (Renshaws – Amazon) or sugarpaste coloured dark brown
Modelling or flower paste (available in Sainsburys or Tesco)
Gel paste colouring in orange plus another colour for the scarves
Edible ink pen in black (Amazon)
A little pink petal dust (Amazon)
Small cake cards, a square of card covered in foil or a square of baking paper.
A circle pastry cutter plus a small heart or petal/blossom shaped cutter.
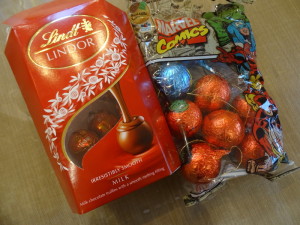
These are the sorts of chocolates you need for this project, the christmas tree chocolates are round balls in shape – I picked mine up in B&M bargains for next to nothing but all sorts of places sell them.
For each penguin you will need 1 x chocolate ball decoration and 1 x Lindor chocolate. You will also need to colour a little of the modelling paste orange for the feet and the beaks and another colour for the scarves – just choose your favourite! It’s best to do this now then you have everything you need to work with. Using modelling/flower paste instead of just a regular sugarpaste is better because it’s stronger and you can roll it much thinner without it breaking so do pick up a pack when you’re shopping.
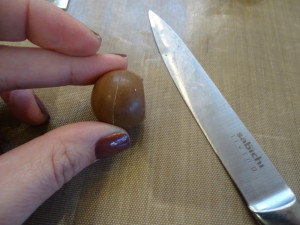
Take the Lindor chocolate and using a sharp knife carefully slice off a little just to flatten the ball on one side (they have a dimple recess and if you cut here then the chocolate is thicker and you shouldn’t crack the chocolate). Set the heads to one side.
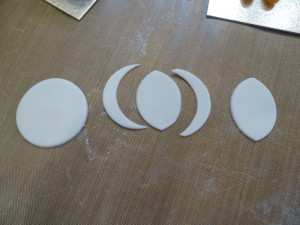
Now roll out a little of the white modelling paste, nice and thinly. Cut out small circles.
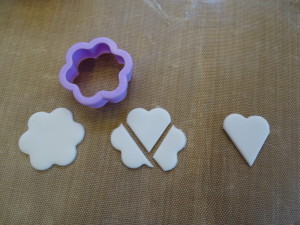
Using the same round cutter cut the edges away from the circle to form the penguins tummies.
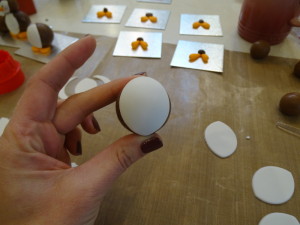
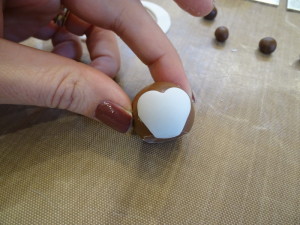
Apply a light brush of water (or edible glue) to the back of the tummy and gently press it onto the chocolate body of the penguin.
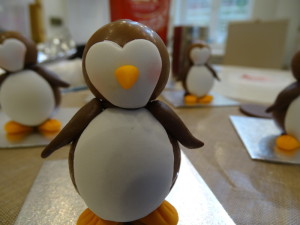
For the faces cut out small heart shapes if you have a heart cutter, if not a blossom type cutter will do the trick, cut out the shape and then trim away the excess as shown in the pics.
A light brush of water on the back and secure it to the penguins head, wrapping the point of the heart shape just under the flat base.
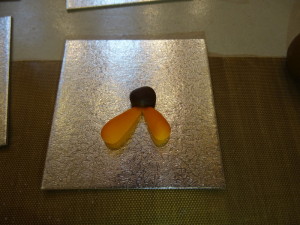
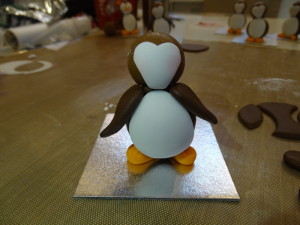
Now for the feet. Roll 2 teardrop shapes from orange paste and set them onto the base you’re using. Behind them place a ball of chocolate paste – this will help secure the penguins to the card.
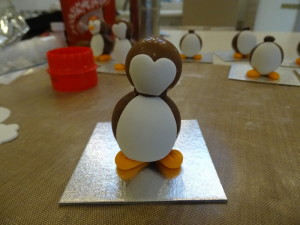
A light brush of water to the chocolate paste and the back of the feet and gently press the body of the penguin down onto them leaving the tips of the feet poking out slightly.
Using a sharp knife indent the marks for the penguins toes.
Add a small ball of chocolate paste to the top of the body, a dab of water or edible glue to hold it in place and then add the head.
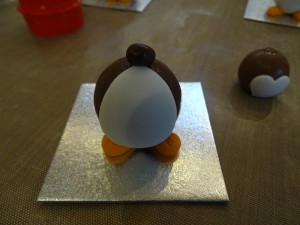
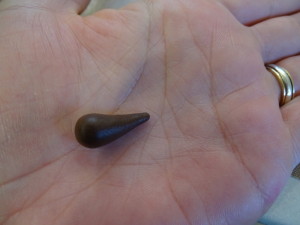
By hand make 2 same sized teardrop shapes from chocolate paste and flatten with your fingertips. A light brush of water and secure them in position for the wings.
Make a small triangle shape from orange paste and secure onto the face for the beak.
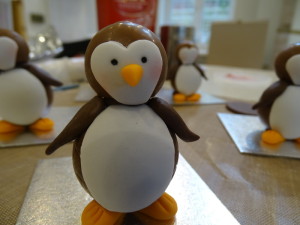
Add a light dust of pink petal dust to the cheeks and 2 dot eyes with the edible ink pen.
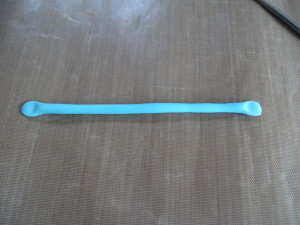
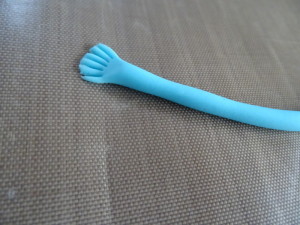
Roll a thin sausage of coloured modelling paste for the scarves, flatten each end of the sausage with your fingertip and cut the flattened part into scarf tassels using a sharp knife.
Wrap the scarf around the penguins neck adding a dot of water or edible glue where they cross over to secure it in place.
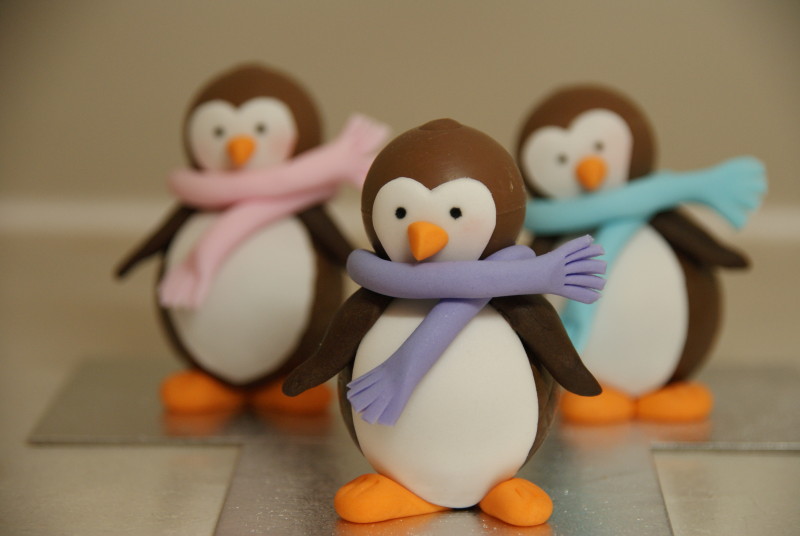
Ta – dah! Chocolate Christmas Penguins!
 Ruth Clemens, Baker Extraordinaire











5 Responses to 3 – Chocolate Penguins